


I might be a little late to the game, but I finally got a felt letter board after unsuccessfully trying to make my own. And now I might be a little obsessed with the ability to think up puntastic phrases for each holiday. But, while I love the little letters whether they be colorful or white, I find myself wanting to deck out my letter board with a little more somethin’ somethin’. So, I came up with the easiest way to decorate your letter board. Custom letter board flair! Oh yes!
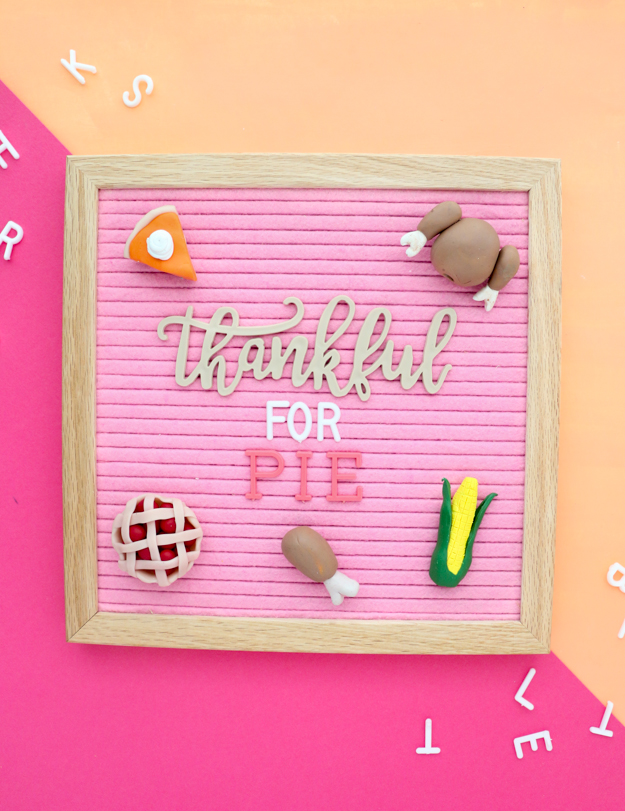

See those little Thanksgiving goodies? They are made from clay and fit right into the slots of any letter board so that you can decorate with more than just words! Sweet right?
- Polymer clay
- X-acto knife
- 12mm jump rings
- oven and baking sheet that you use only for clay
- Felt letter board
The process is really super simple, just shape your clay into any design you want. I went with a Thanksgiving theme, but you can do rainbows, stars, clouds, hearts, whatever!
Once you have your clay pieces made, turn them over and press in the jump ring so that only about 1/4″ of it sticks out. Then press the clay over the slit to secure the jump ring. Next, place on your baking sheet and bake for 15- 20 minutes at 275F or as your clay package suggests.
Once cooled, they are ready to insert into your letter board!
Now tell me your head isn’t spinning with all the possibilities?!


November 6th, 2017 at 3:09 pm
This is amazing! I just got a letterboard for my birthday yesterday and now I can't wait to have event more fun with it. Can I ask how you did the cursive "thankful?" And how did you get pink letters? Thanks!
November 6th, 2017 at 3:14 pm
Hi! How perfect! The thankful and pink letters are both from Joann fabrics stores. I only made the shaped foods.
July 2nd, 2018 at 1:52 pm
Did you use something to soften the clay to make it easier to use as I’m having a very difficult time molding my shapes.
July 3rd, 2018 at 9:13 am
If you work the clay in your hands a bit, it will soften. Also fresher clay is softer. Sometimes you can stumble upon a few bricks of clay at the craft store that have been on the shelves for quite a bit and they can be hard. Just work them in your hands and with a rolling pin for 4-5 minutes to loosen it back up.