


I guess what they say is true, fashion and trends are cyclical. I totally remember loving the holographic trend in the 90’s as a kid, and now here I am obsessed with it again! But this time around I’m DIYing the holographics. I recently discovered a new product by Therm O Web called Deco Foil and their newest color collection features a holographic opal color. Say what?!
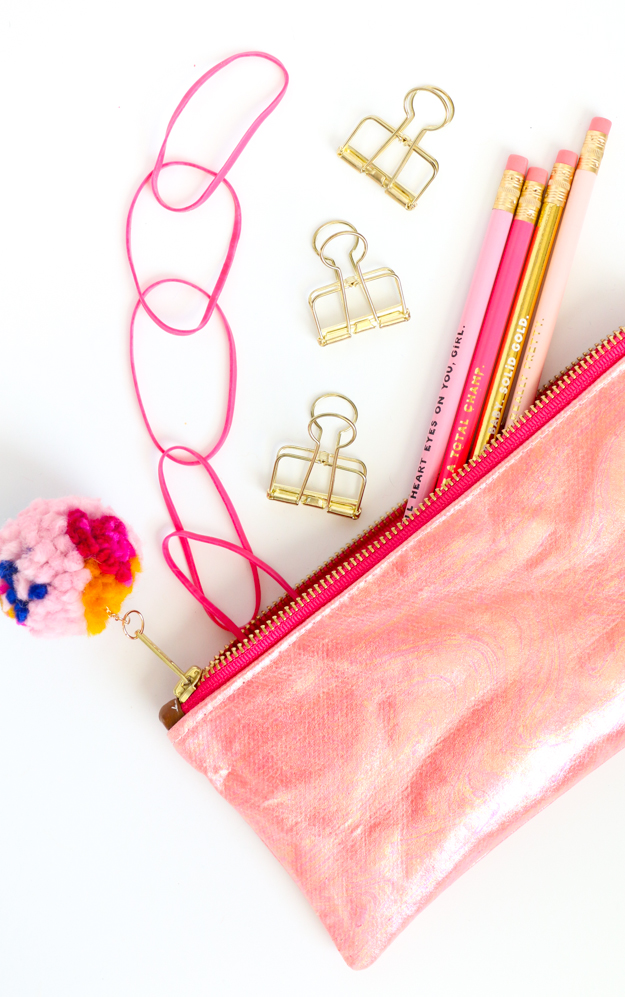
I have been using Therm O Web’s Heat and Bond Lite for years for all the bags I make and sell in my etsy shop, but this is the first time to got to try out their new Deco Foil line. While the Deco Foil comes in a ton of metallic and watercolor-esque options and can be used for paper crafting, I knew from the moment I saw it that I wanted to make a holographic clutch using the holographic opal color. Follow along below for the tutorial on making your own holographic fabric in any color you choose and how to sew it into this little zippered pencil pouch too!
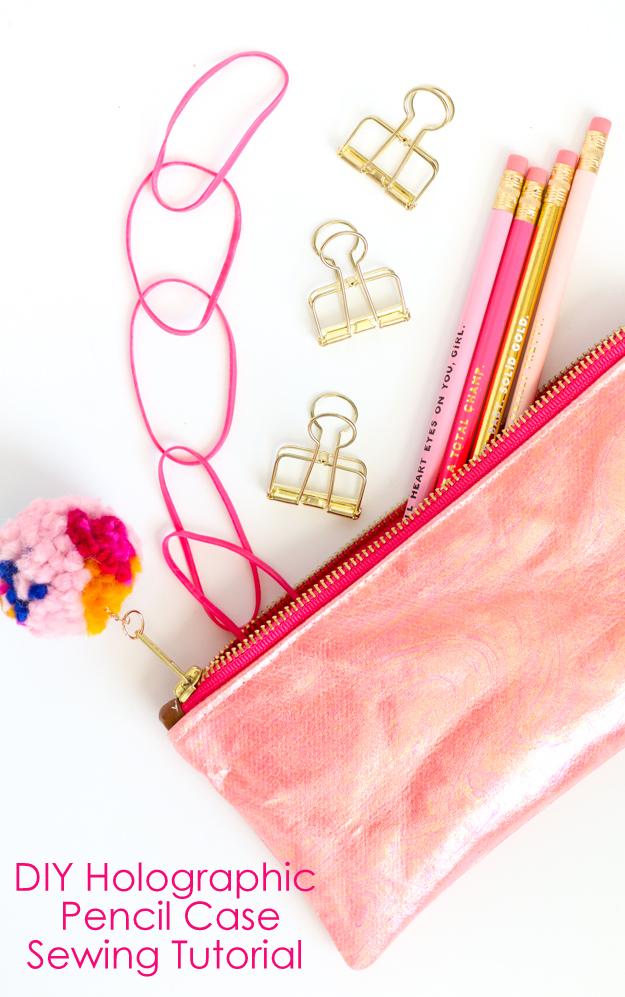
- 2 Pieces of 5″ by 10″ cotton in the color of your choice ( Note that the color will lighten when the holographic foil is applied, so choose your color accordingly. I used a bright coral color for my pouch and after the holographic treatment, it turned a shimmery light pink)
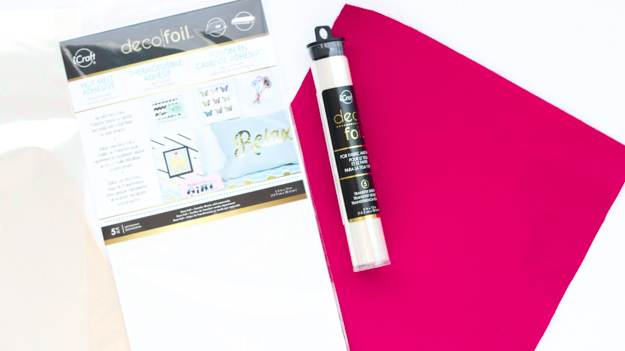
- 1 package of Deco Foil in Opal
- 2 pieces of 5″ by 10″ lining material (this can be anything you like in a quilter weight cotton)
- 4 pieces of 5″ by 10″ Hot Melt Adhesive
- 2 pieces of 5″ by 10″ natural canvas duck cloth
- Zipper of your choice (I found these colorful gold teeth zippers on Etsy)
- Sewing machine, thread, scissors, and an iron
- Pom pom or tassel for the zipper pull (optional)
Begin by laying two one piece of hot melt adhesive onto each of your two exterior fabric pieces with the adhesive side down. Iron for 5-10 seconds on high. Once cool, remove the paper backing and lay the fabric glue side down onto your canvas pieces. Iron again for another 5-10 seconds to adhere the fabric to the canvas.
Now add two more pieces of Hot Melt Adhesive to the top of the exterior fabric pieces and iron again for 5-10 seconds. Let the hot melt cool and then peel off the paper backing exposing the glue. Lay a sheet of Deco Foil over each panel and iron again for 10-15 seconds to adhere the Deco Foil to the Hot Melt Adhesive.

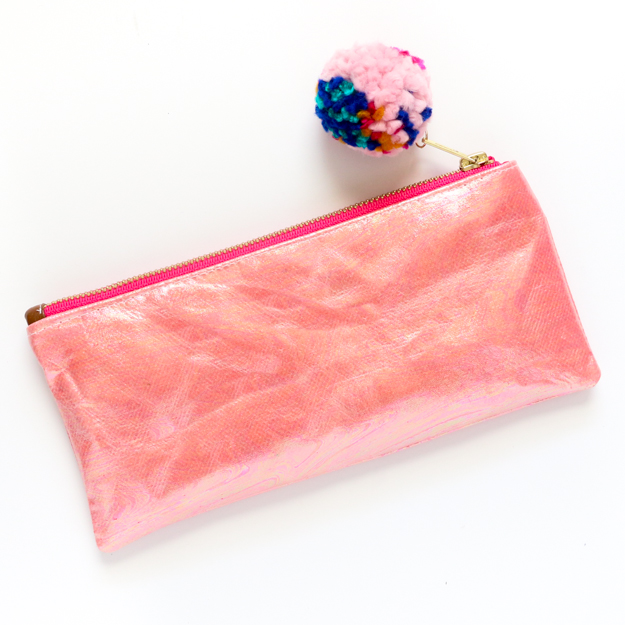
Once cool, peel back the Deco Foil to see your newly made holographic fabric!

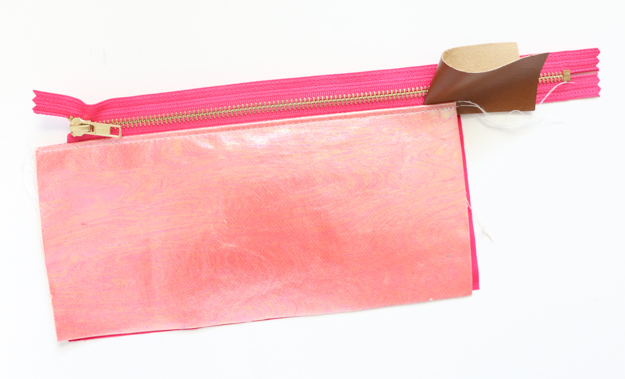
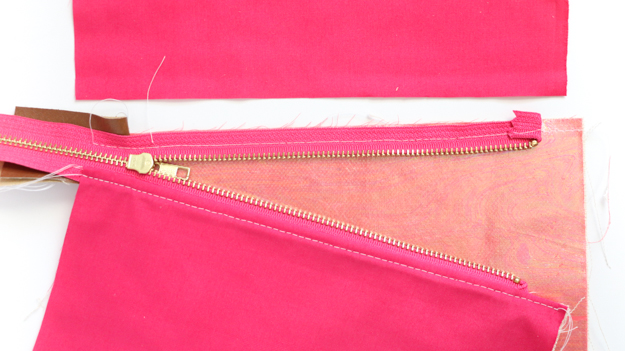
Once you have your holographic fabric prepped, its time to start sewing! Begin by sewing your zipper onto one side of your exterior fabric about 1″ from the edge. If using a metal tooth zipper you will want to add a piece of faux leather or canvas to the end like you see below. This will allow you to cut off the zipper portion before you stitch the bag together and prevent the zipper from pulling out.
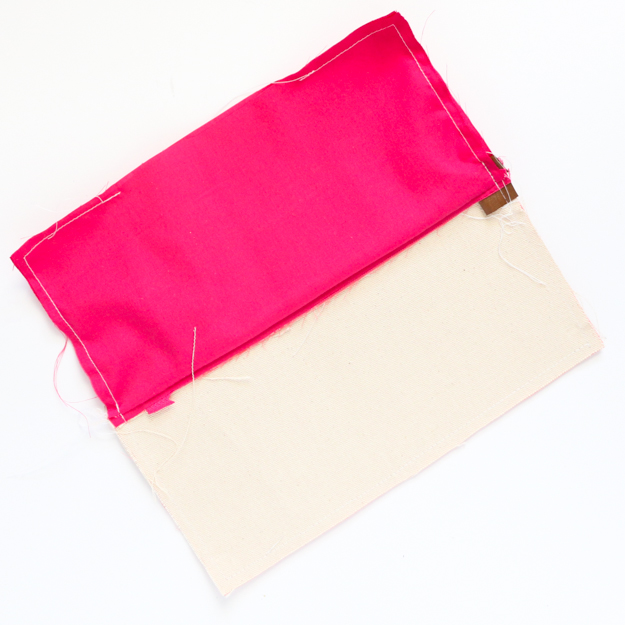
Once you have the zipper sewn on the exterior of the fabric, sew the lining piece over the top of the zipper so that the zipper tape is sandwiched in between the exterior fabric and the lining fabric.

Now fold the exterior and lining fabric together to expose the zipper and top stitch the lining and exterior fabric together. Repeat with the other side. You will also want to top stitch over the piece of faux leather on top of the zipper as you can see below.


Trim all your threads and clip off the zipper just before the top stitched leather piece.
Next, flip the two lining pieces together and the two exterior pieces together with right sides together. You will want to pin this portion to keep everything lined up correctly. Stitch around the clutch leaving a 4-5″ opening in the bottom of the lining. Clip the corners and sides of the bag and then turn it inside out. Top stitch the opening in the lining closed and your bag is done!

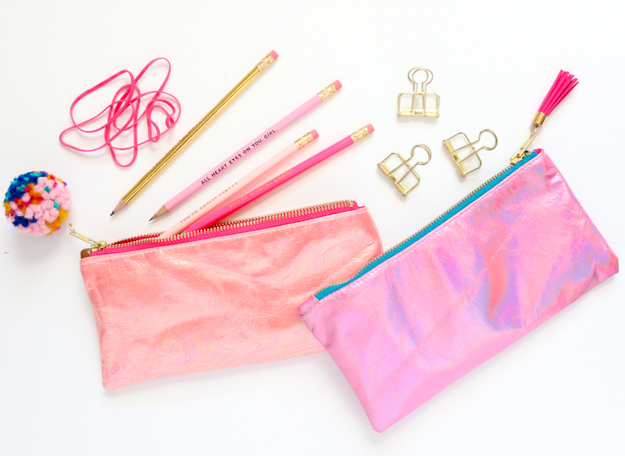
I love that the Deco Foil can be used on any color of fabric to magically create your own custom colored holographic material. I ended up making my own red, white, and pink holographic fabric, and now I want to try a mint blue bag!
Hopefully this tutorial was clear (it’s always difficult for me to write a sewing tutorial), but if you have any questions please ask!
Special thanks to Therm O Web for sponsoring this tutorial!


February 15th, 2017 at 5:33 pm
WOW! This turned out absolutely amazing Kara! It's such a unique and beautiful way to use our Deco Foil Opal Transfer Sheets! I think everyone needs one of these!!!