


While it does take a little bit of wood work to make this tree, the only power tool that is needed is a miter saw. Follow along as I walk you through the steps to make your own modern wooden tree.
- One 8′ long 1″ by 4″ piece of select pine and one 6′ long 1″ by 4″ piece of select pine
- Gorilla Wood Glue
- Miter Saw
- Acrylic Paint
Begin by cutting your wood to the following sizes:
8′ board – Three 2.5′ long pieces with 30° mitered ends to create a trapezoid shape.
6′ board – 1 each of 23.25″ piece, 16.75″ piece, 11.5″ piece, and 6.5″ piece cut with 30° ends to create a trapezoid shape.

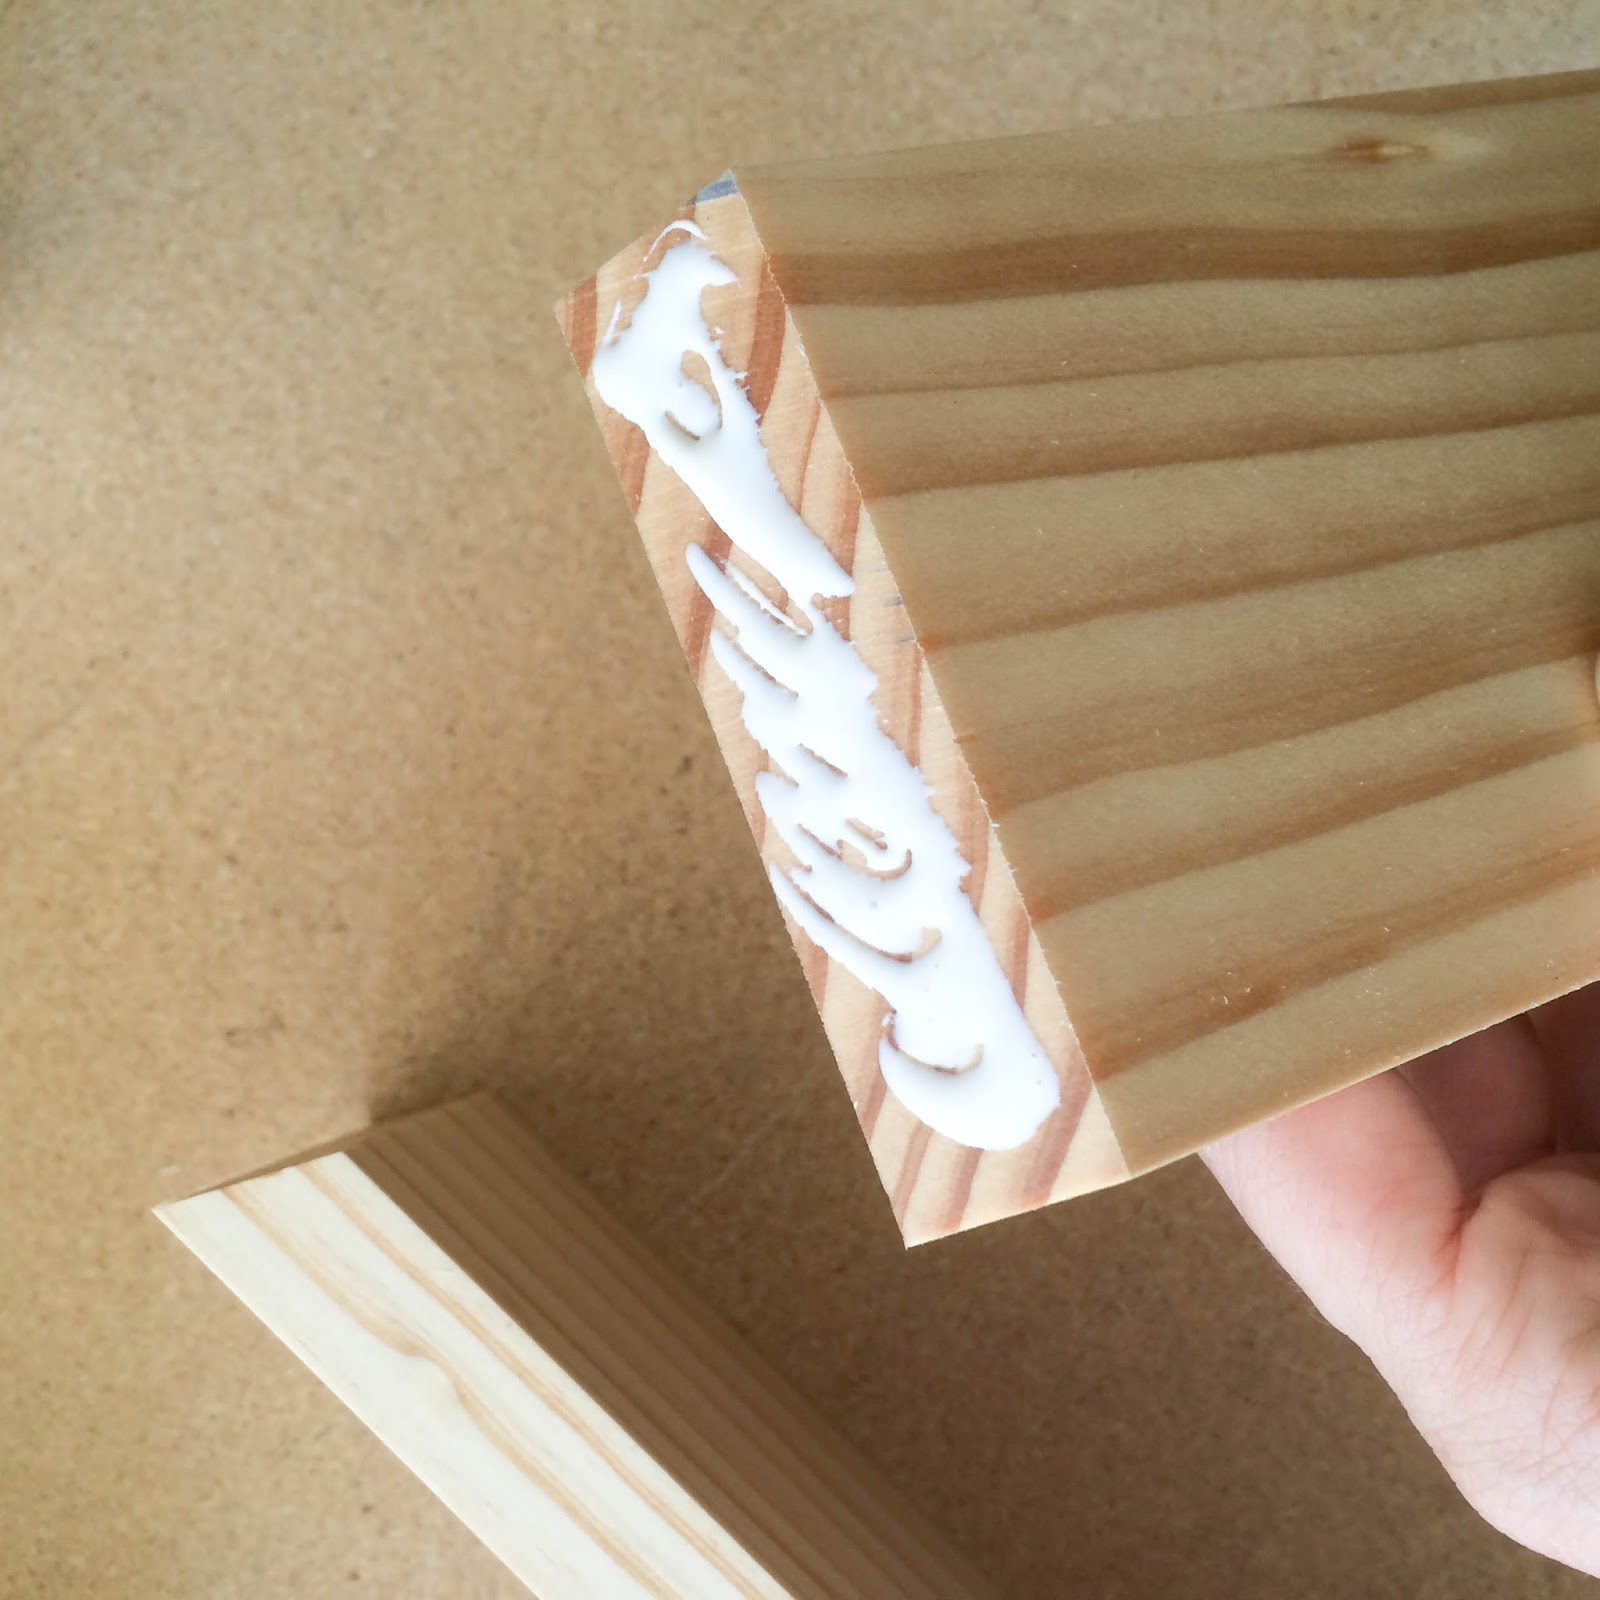
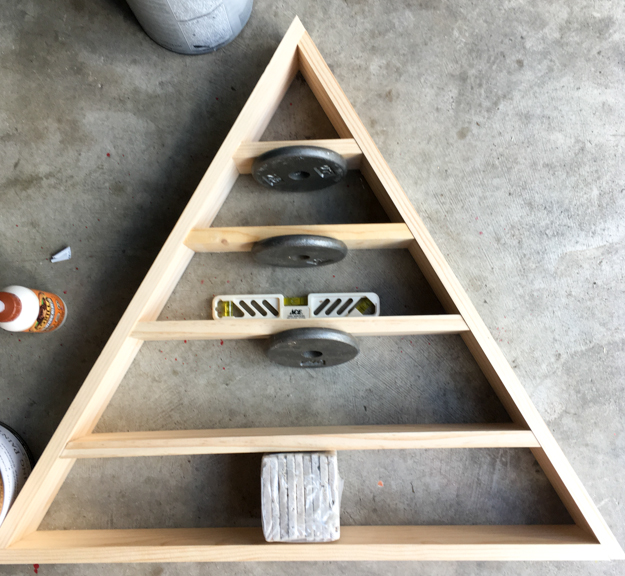
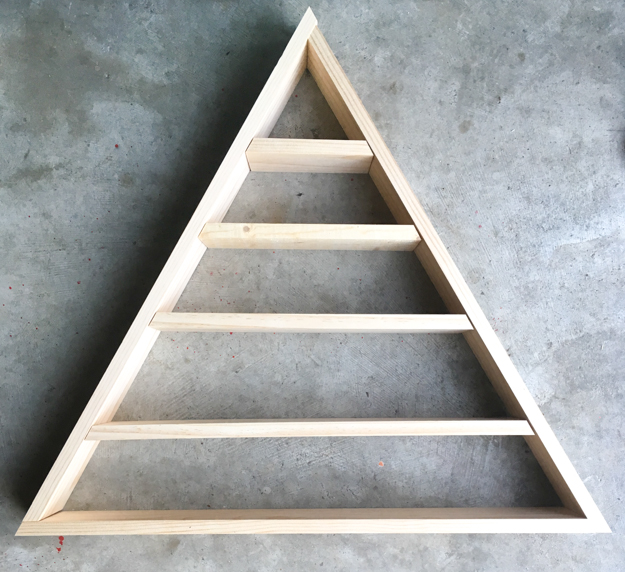
Once you have all your boards cut, use the wood glue on the ends of the boards and form your triangle. Use heavy weights or paint cans to keep the boards in place while the glue dries.


Let your glue dry overnight, then the next day come back and use the same wood glue to attach the shelves inside the triangle.
Once the glue has dried for another 24 hours. Use your acrylic craft paint to paint the front of the the outer triangle.


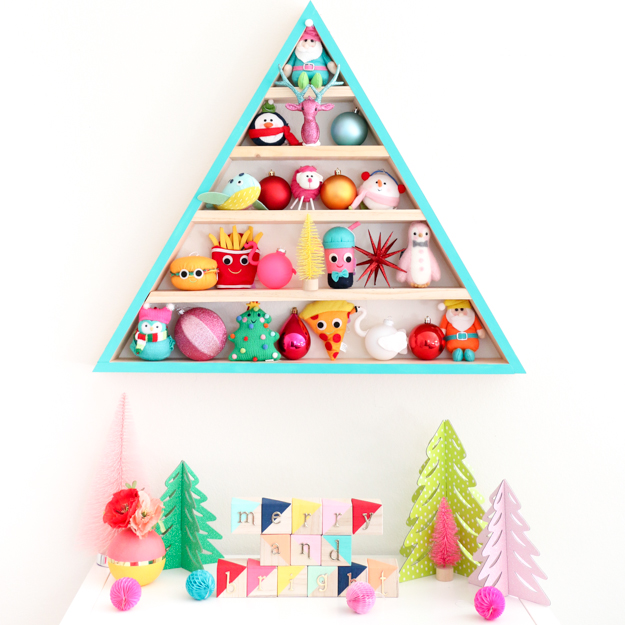
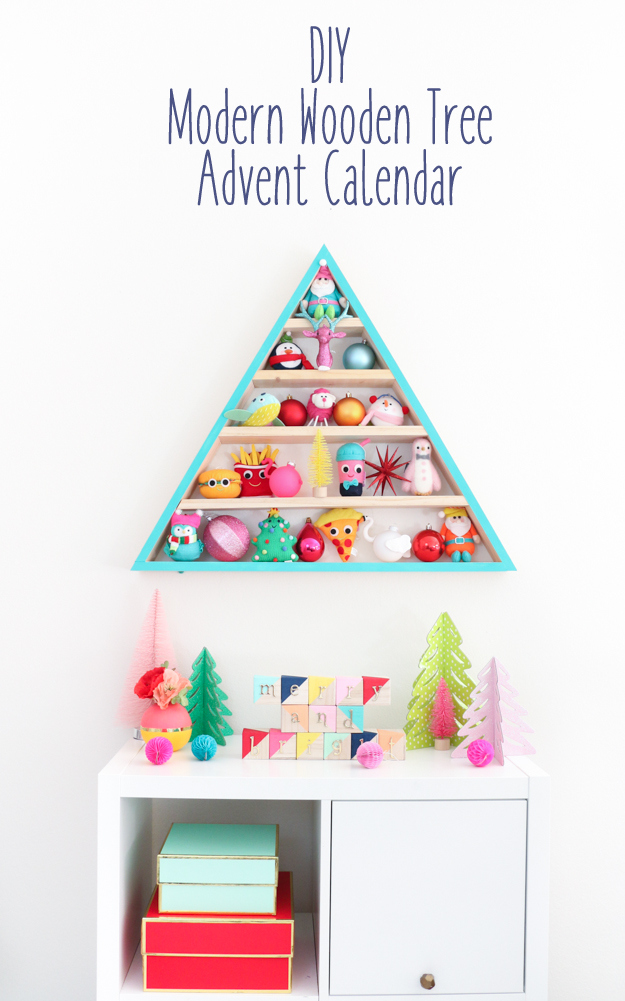
Once the paint is dry, your modern wooden tree advent calendar is ready to hang or sit on a table. If you are going to hang your tree, you can add picture hanging hooks to the back with a screw driver and then hang from screws in the wall (make sure they are into a stud or you are using a molly to support the weight of the tree).
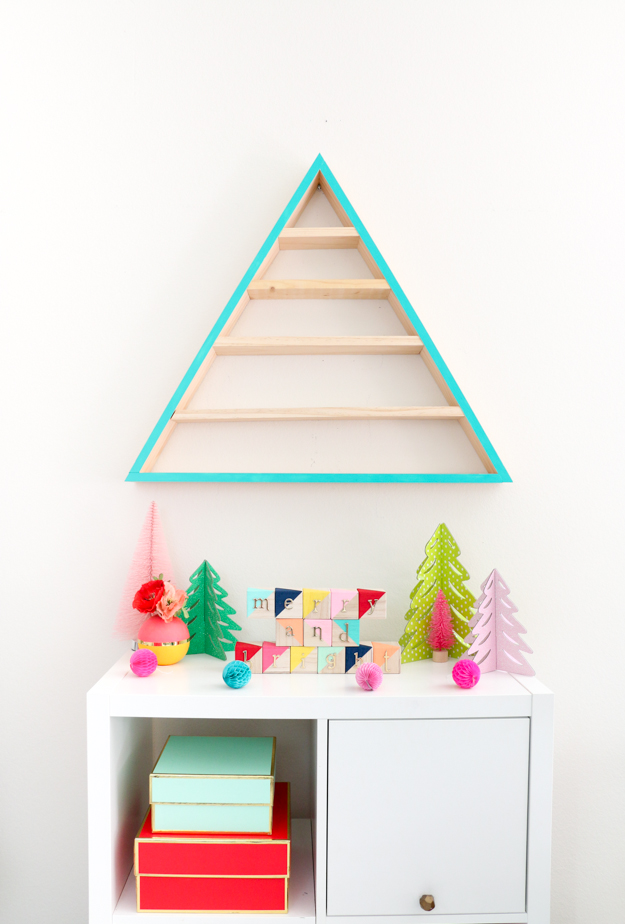
Once your tree is hanging, it is ready for your kids (or you, I won’t tell) to add one new ornament each day all the way up until Christmas.
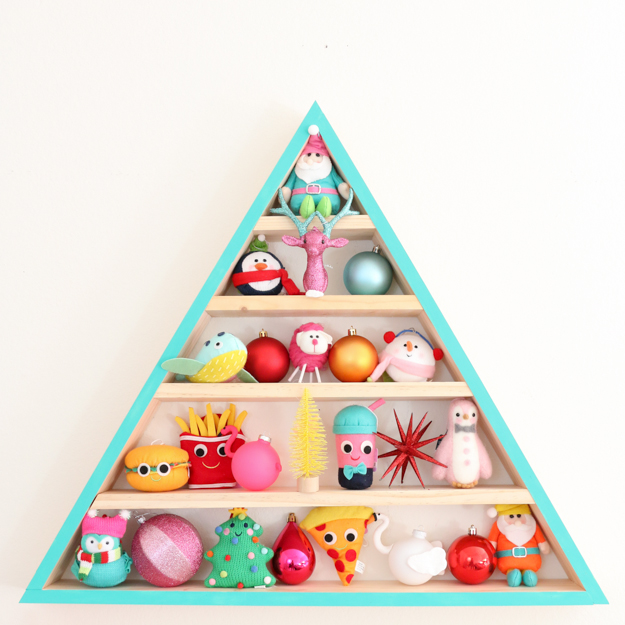
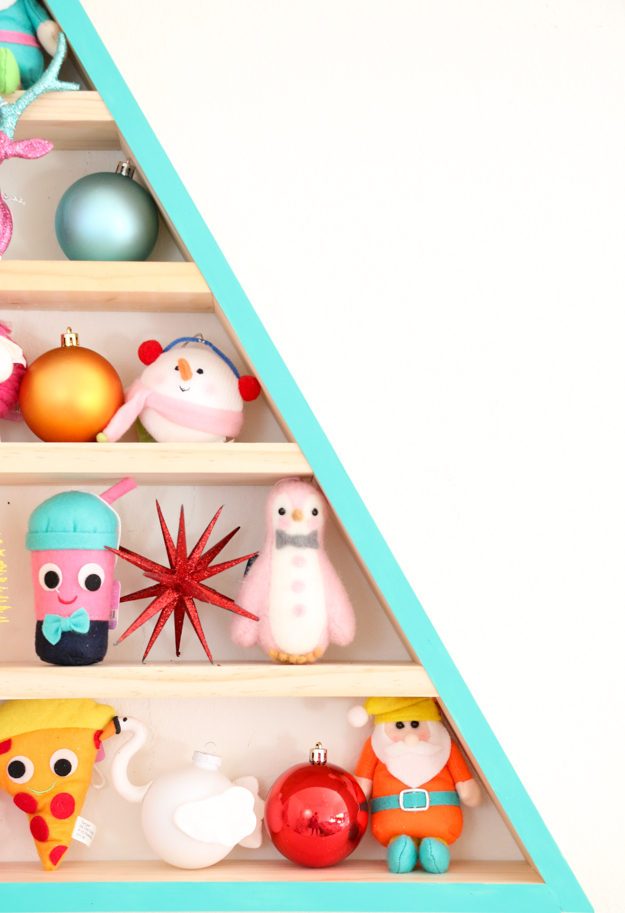
Of course I filled it up to show you how cute it will look filled with all sorts of ornaments. By the way, can we talk about how adorable these ornaments from Target are? I mean there is some serious cute going on over there. Plus, if you look closely you will see the DIY swan and flamingo ornaments I shared with you a few days ago.
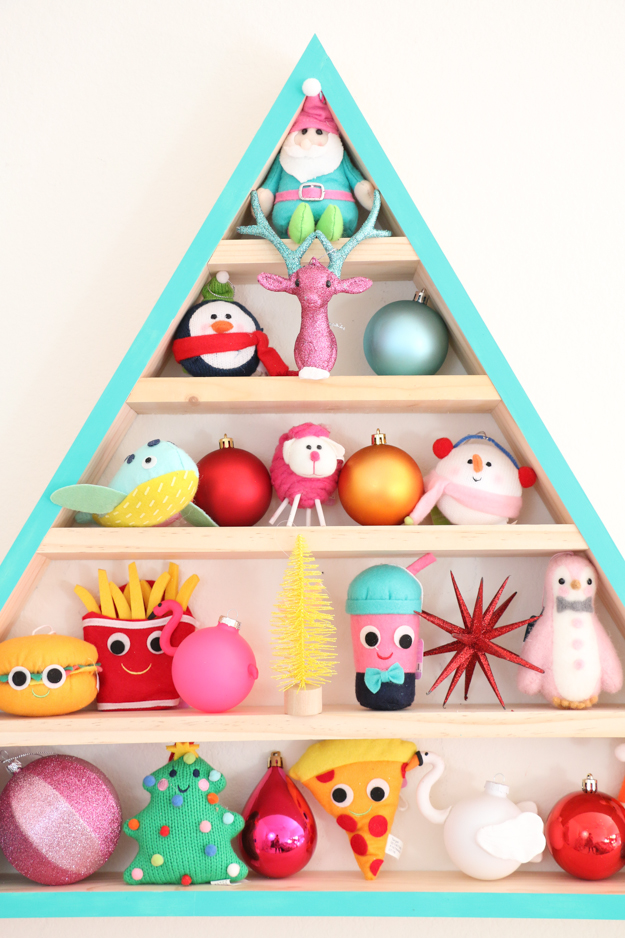
Now don’t feel like you have to use these cutesy ornaments for your tree either. Regular ornaments will look pretty cute in there too. And if you don’t have kids, or they are grown and don’t care about things like counting down to Christmas. Just build this tree and fill it with your favorite ornaments to display during the holidays instead.
So, tell me, which ornaments are your favorites? My kids have already claimed the food themed ones, and my favorites are the little elves and that deer head.


November 27th, 2016 at 7:20 pm
This is super nice and fun! I love your DIY, thanks for sharing x
Jessica — NinetyCo
December 3rd, 2016 at 2:10 pm
Thank you! So glad you like it!
December 3rd, 2016 at 2:08 pm
Adorable! I see someone else got a little carried away in the Target ornament section too? <3
December 3rd, 2016 at 2:09 pm
Hahaha! Yes! They were all so cute!
November 11th, 2017 at 10:58 pm
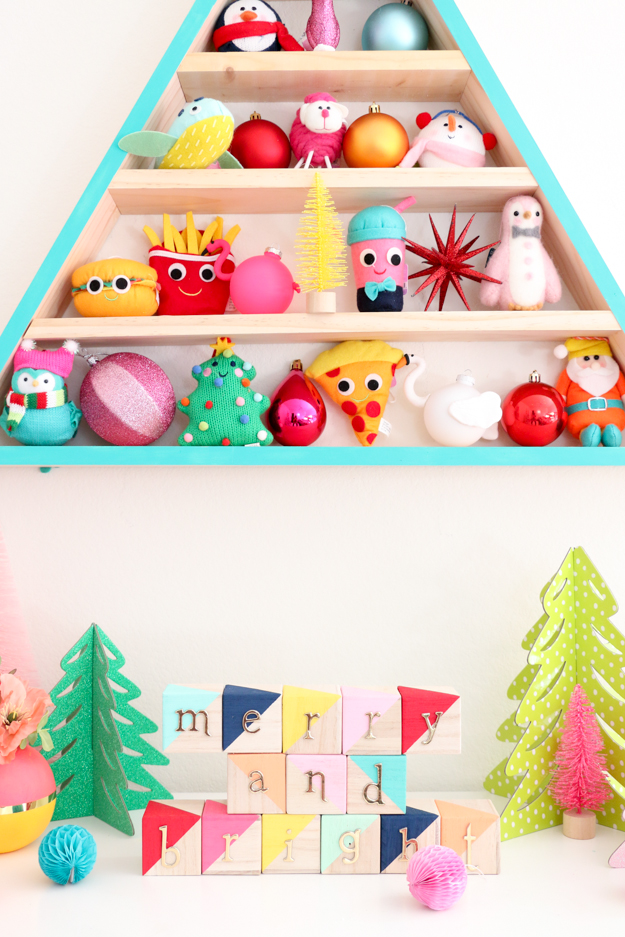
Did you also make the Merry and Bright blocks?? All so adorable!!!
November 11th, 2017 at 11:00 pm
Yes! Just paint and gold stickers. Thanks!