


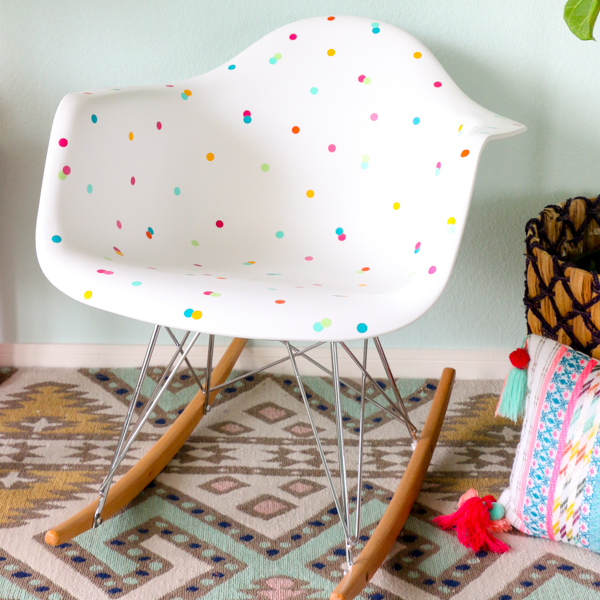
The best part of adding vinyl confetti to my chair is that I can remove it at any time if I change my mind, and I can customize the colors. Follow along for the full tutorial on making your own confetti chair.
- Plastic Molded Chair
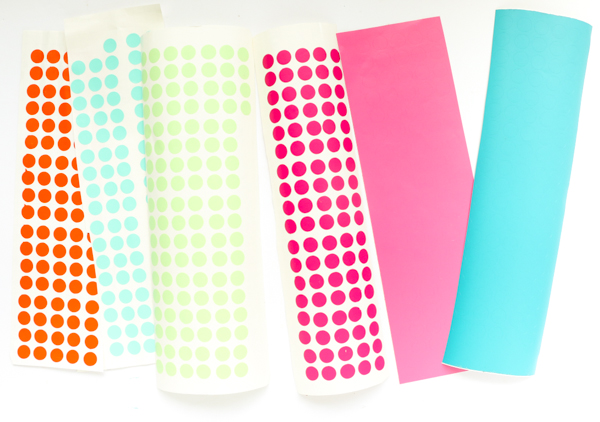
- Temporary Vinyl in your choice of colors
- Silhouette Cameo and Silhouette Studio Software
Begin by cutting out your confetti using your Silhouette Cameo and the vinyl colors you chose. I simply used the Silhouette Studio software to make around 24 – 1/2″ in diameter circles for each color of vinyl. Then I inserted my vinyl and cut it using my Silhouette Cameo. Once the vinyl is cut, remove the extra vinyl and discard so that you are left with just the vinyl confetti pieces.
The last step was to use the circles like stickers and attach them to the chair in a random pattern. I overlapped a few of the pieces so it would look like they fell naturally that way, just like real confetti.


Once my chair was covered in confetti vinyl pieces, I was done. Because I used several different colors, I didn’t need very many circles, but if you are using just 2-3 colors, you will likely need 30+ circles of each color per chair.

I love the way the chair turned out and that it’s temporary, so that when I change my mind in a few weeks, I can easily remove the confetti and have my plain white chair back. Now I just have to decide if I want to spray paint the legs and wood rocker part hot pink or gold!
Thanks so much to Silhouette for partnering with me on this post. I was provided with the Silhouette Cameo and compensated for my time, but all opinions and crafts are my own.


May 25th, 2018 at 7:38 pm
[…] http://www.akailochiclife.com […]
April 15th, 2019 at 6:16 am
[…] DIY Confetti Chair from akailochiclife.com […]