


Of all the no bake desserts out there, chocolate bark has to be the easiest. Just melt your chocolate (or coating chocolate) and add any toppings you want. The possibilities really are endless! After sorting through all my sprinkles a few weeks ago and seeing just how many Valentine’s sprinkles I had, I knew that I needed to make some sprinkletastic chocolate bark with them. To turn up the notch on the bark and make it really different and fun, I tried my hand at marbling the coating chocolate for a little surprise on the back of every piece.


While the marbled chocolate may look complicated, I can assure you it isn’t. And I just used candy melts for the whole thing which made it even easier. The trick is using acetate paper! The acetate paper allows you to create a nice shiny finish that make it look like a
professional confection while it is really only coating chocolate. Read on to see how to create this look yourself.
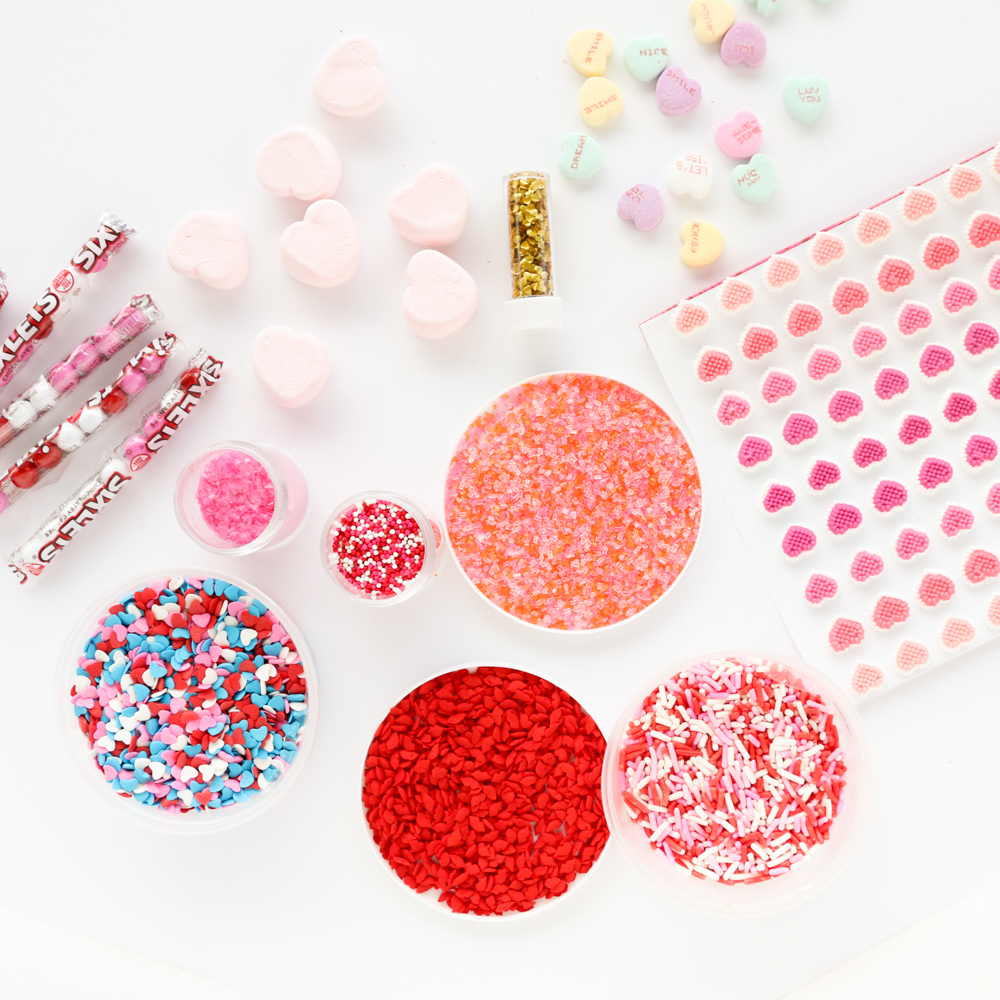
- Candy Melts in your choice of colors (I went with red, pink, and white for Valentine’s Day)
- Acetate Paper
- Toppings of your choice (I used sprinkles, conversation hearts, sixlets, and marshmallows)
- bowls, spoons, and maybe a pastry brush or paint brush for food use
To begin you will melt your coating chocolate in the microwave in a microwave safe bowl until it just begins to melt, but still has a few chunks in it. Stir the coating chocolate until the rest of the pieces melt. Once you have all your colors melted it is time to begin the marbling process.


Begin by using your spoon to spread dollops of the melted coating chocolate on the acetate sheet. Once you have good coverage, use your spoon or a paintbrush to swirl the colors into each other creating an abstract marbling look.

The coating chocolate will harden, but this is just the base layer for your chocolate bark. Take a peek under the acetate paper to make sure you like the marbled pattern you created. Once you are good with how it looks. Melt more of the white coating chocolate and pour it onto your marbled design. Then top will all your candy and sprinkles. Let dry fully for a few hours, or place it into the fridge for 10 -15 minutes to harden the chocolate.
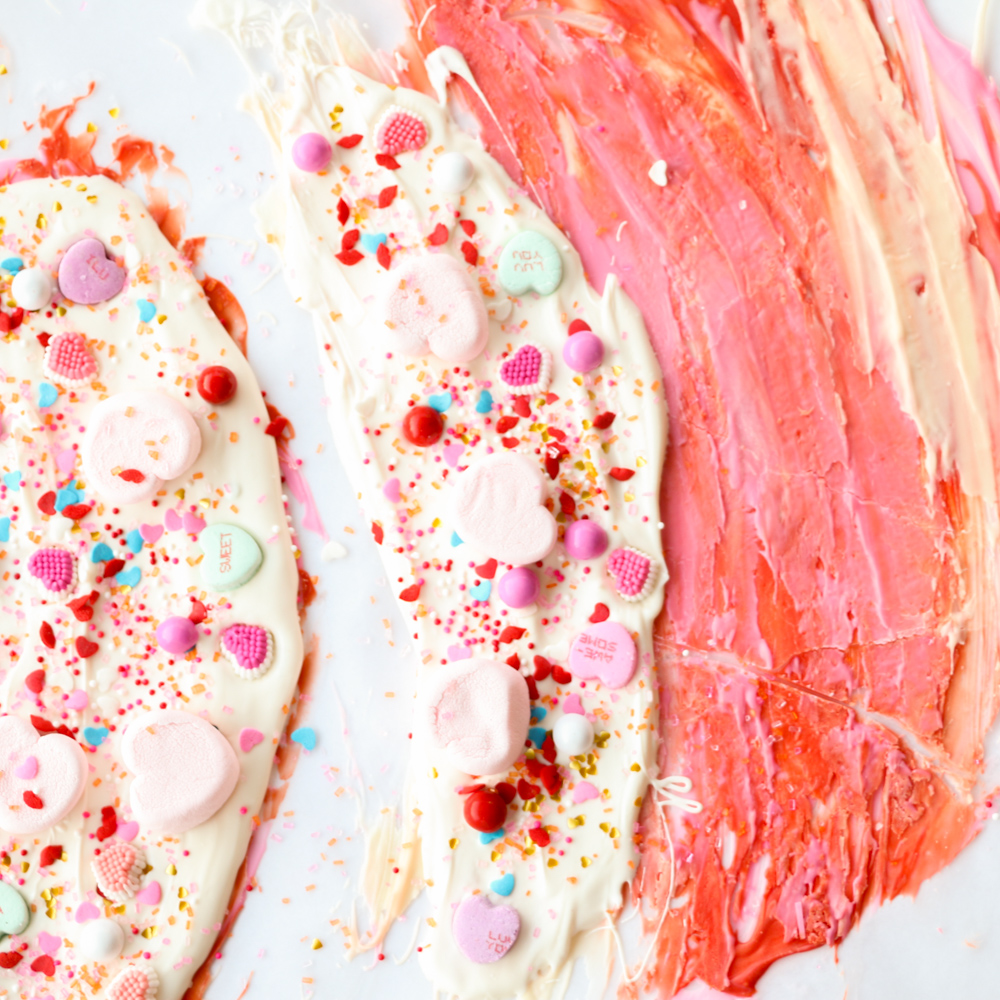
Then just break it into pieces and eat or package it up for a fun Valentine’s day gift! Yum!


January 22nd, 2016 at 2:11 am
It almost looks too pretty to eat. But I'm sure I could manage. 😉
June 5th, 2019 at 7:30 am
[…] fell in love with this marbled chocolate bark from A Kailo Chic Life when I came across the images on Pinterest and decided to adapt it for E’s birthday […]