


So this week I am again staying slightly in the line of a gallery/feature wall, but this time it is more of a feature ceiling. I was inspired by a number of awesome black and white tiles such as these awesome ones:
 |
| Photo: Capree Kimball |
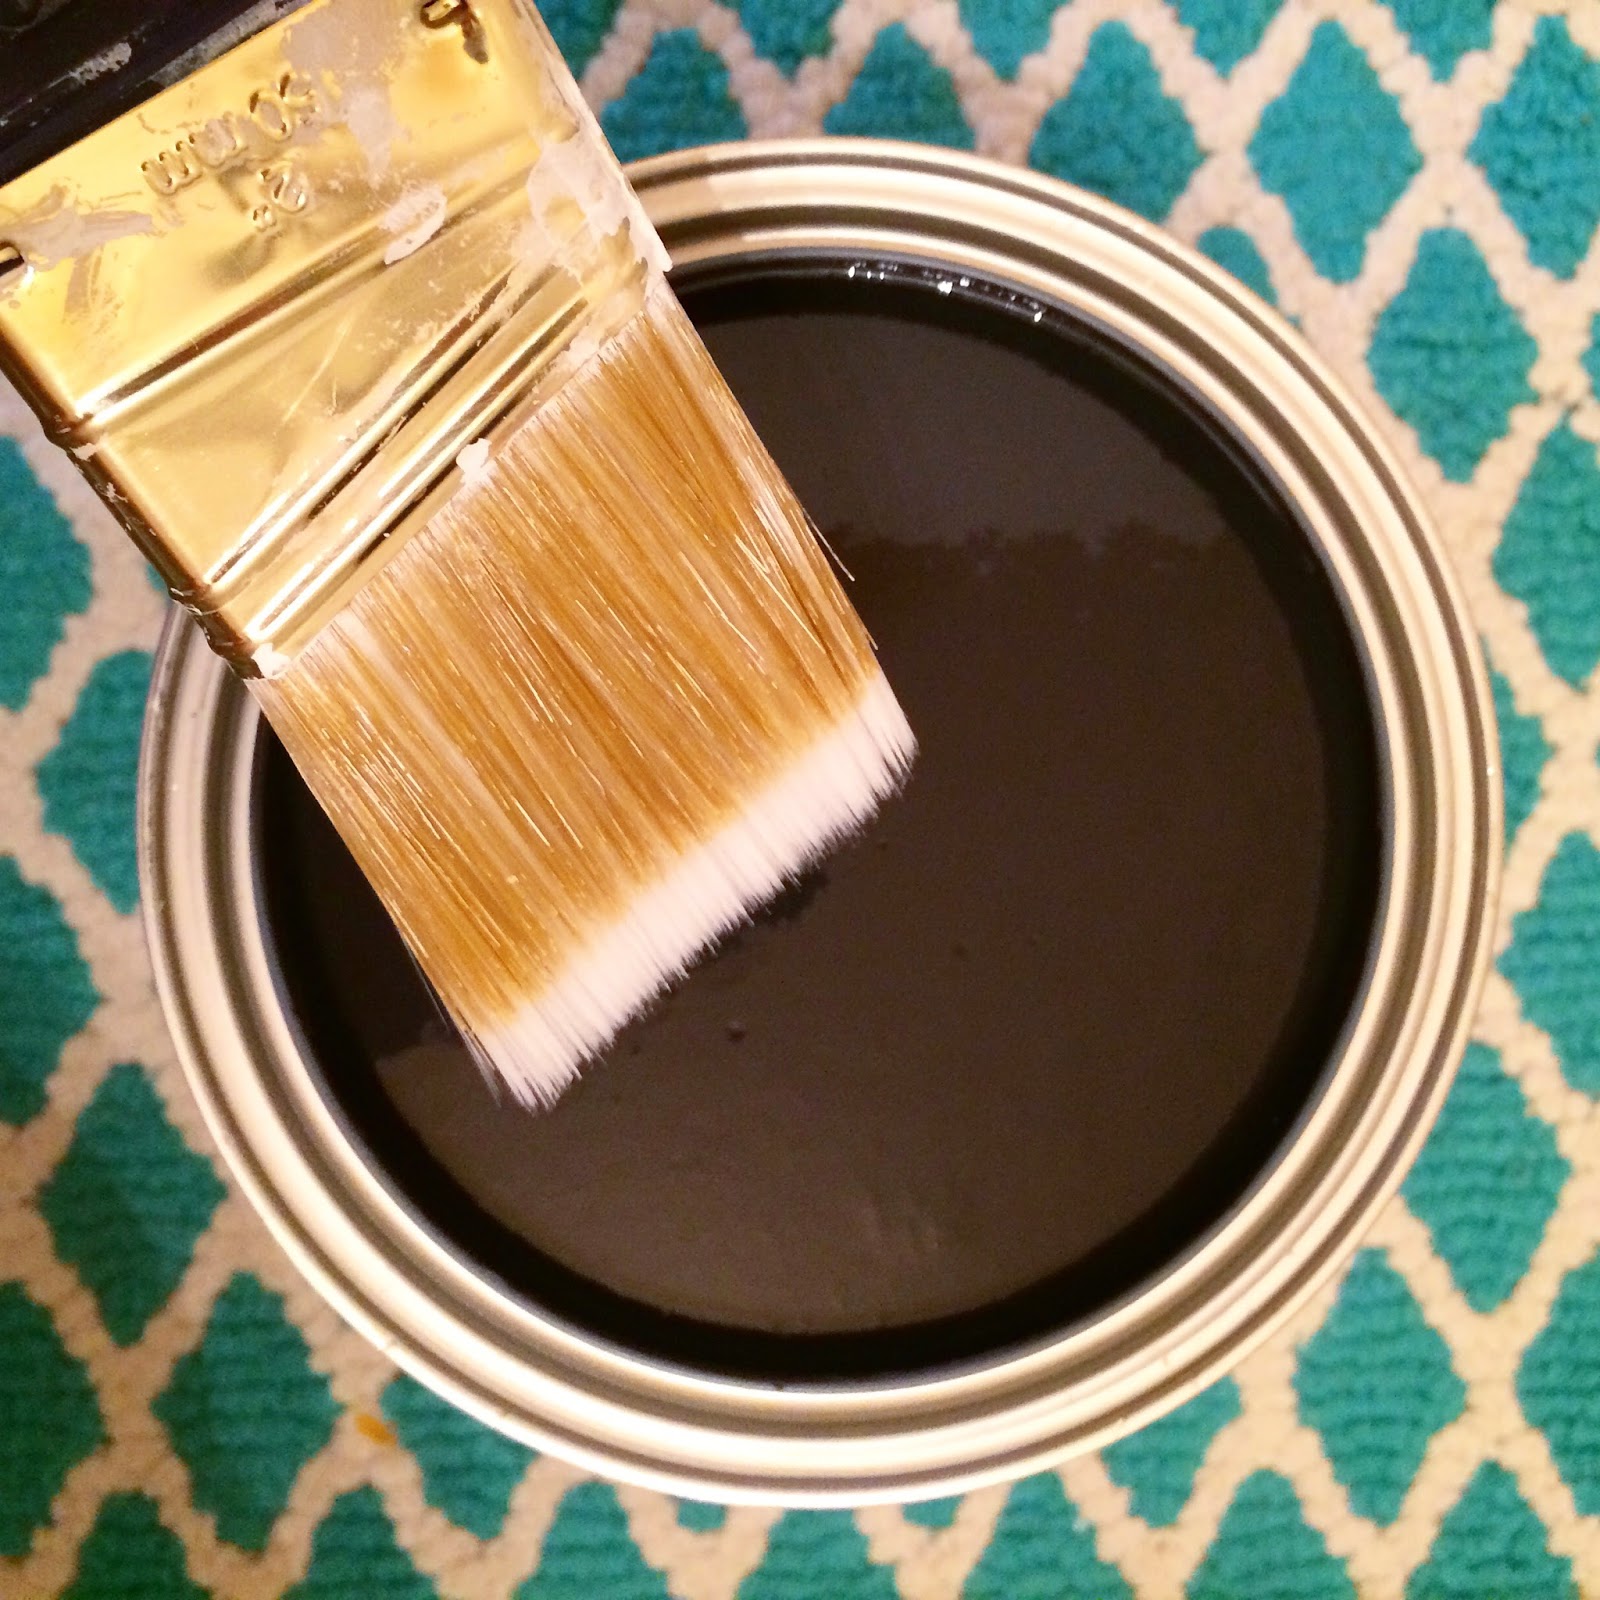
I knew that a full on bathroom makeover including tile was not in the near future for my guest bathroom, but I still couldn’t shake the idea of an awesome black and white look for the space. That is when I had the most awesome idea. Why not use cut inyl to create a similar look on my ceiling? I have seen vinyl decals used on a ceiling before, but they were just small images around a fan. Why has no one made a feature ceiling using vinyl like they would a feature wall?! That is when I sprung into action. The first thing I did was paint the ceiling and walls. The ceiling went black and the walls went white. Here are a few photos of the ceiling and walls in painting process.
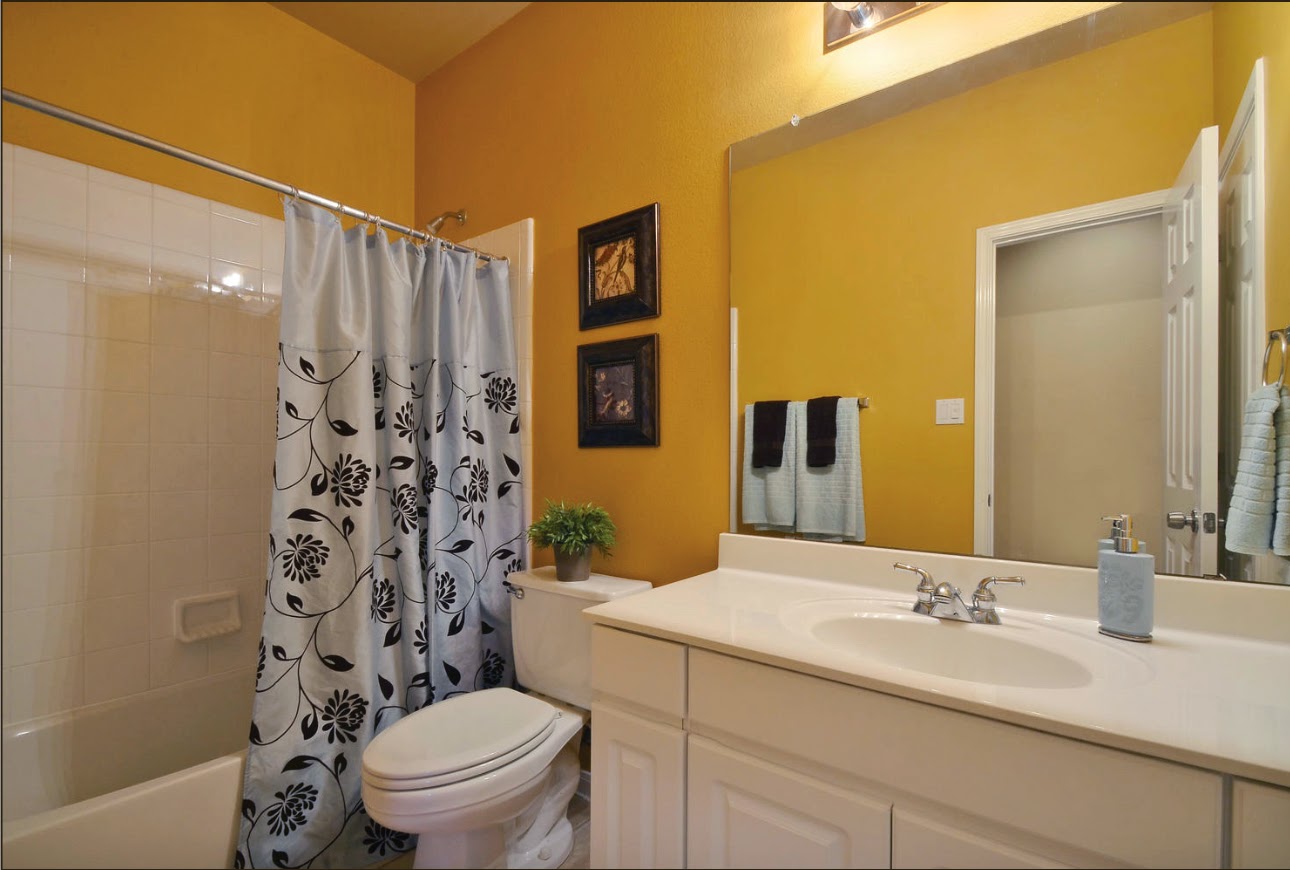 |
| Guest Bathroom Before from our houses MLS photos – Photo by Twisted Tours |
 |
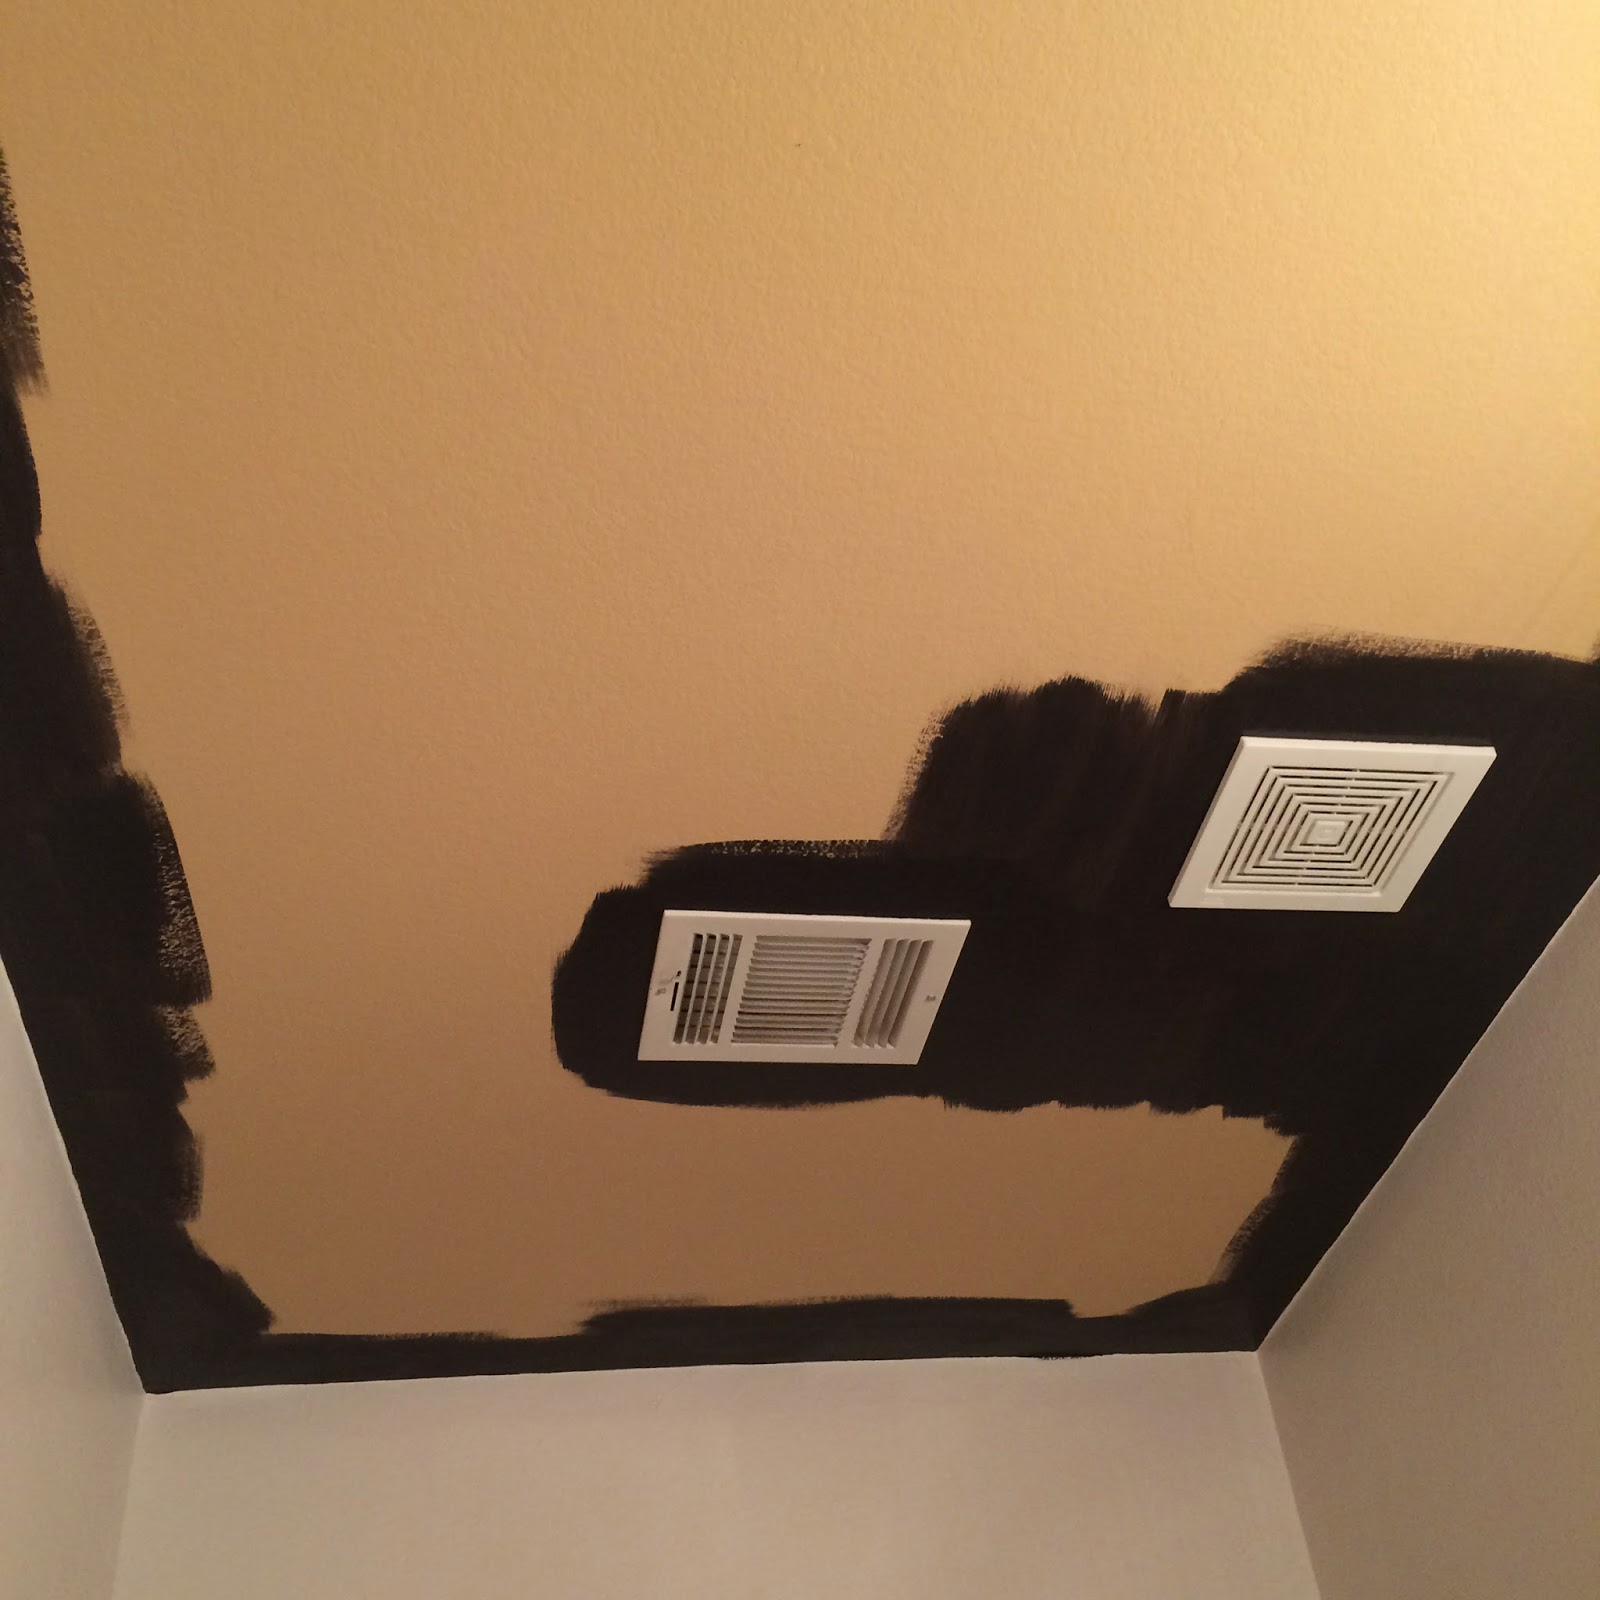
| Guest bathroom after painting |
I loved the look of the black ceiling and contemplated leaving that way. The white walls and black ceiling really opened up the space and made the room feel so much bigger, but I already had the vinyl so I decided to proceed with my plan.
The first thing was to decide on an image for the ceiling. I wanted something tribal yet easy to apply like a sticker. I didn’t want to have to fill the entire ceiling with vinyl, so the pattern image had to be one that looked good spread out. I decided on a fairly simple stacked rectangle design. Next I used my vinyl cutter and some matte white vinyl to cut out my image. Then all it took was peeling the designs off the vinyl sheet and applying them to the ceiling in a pattern.
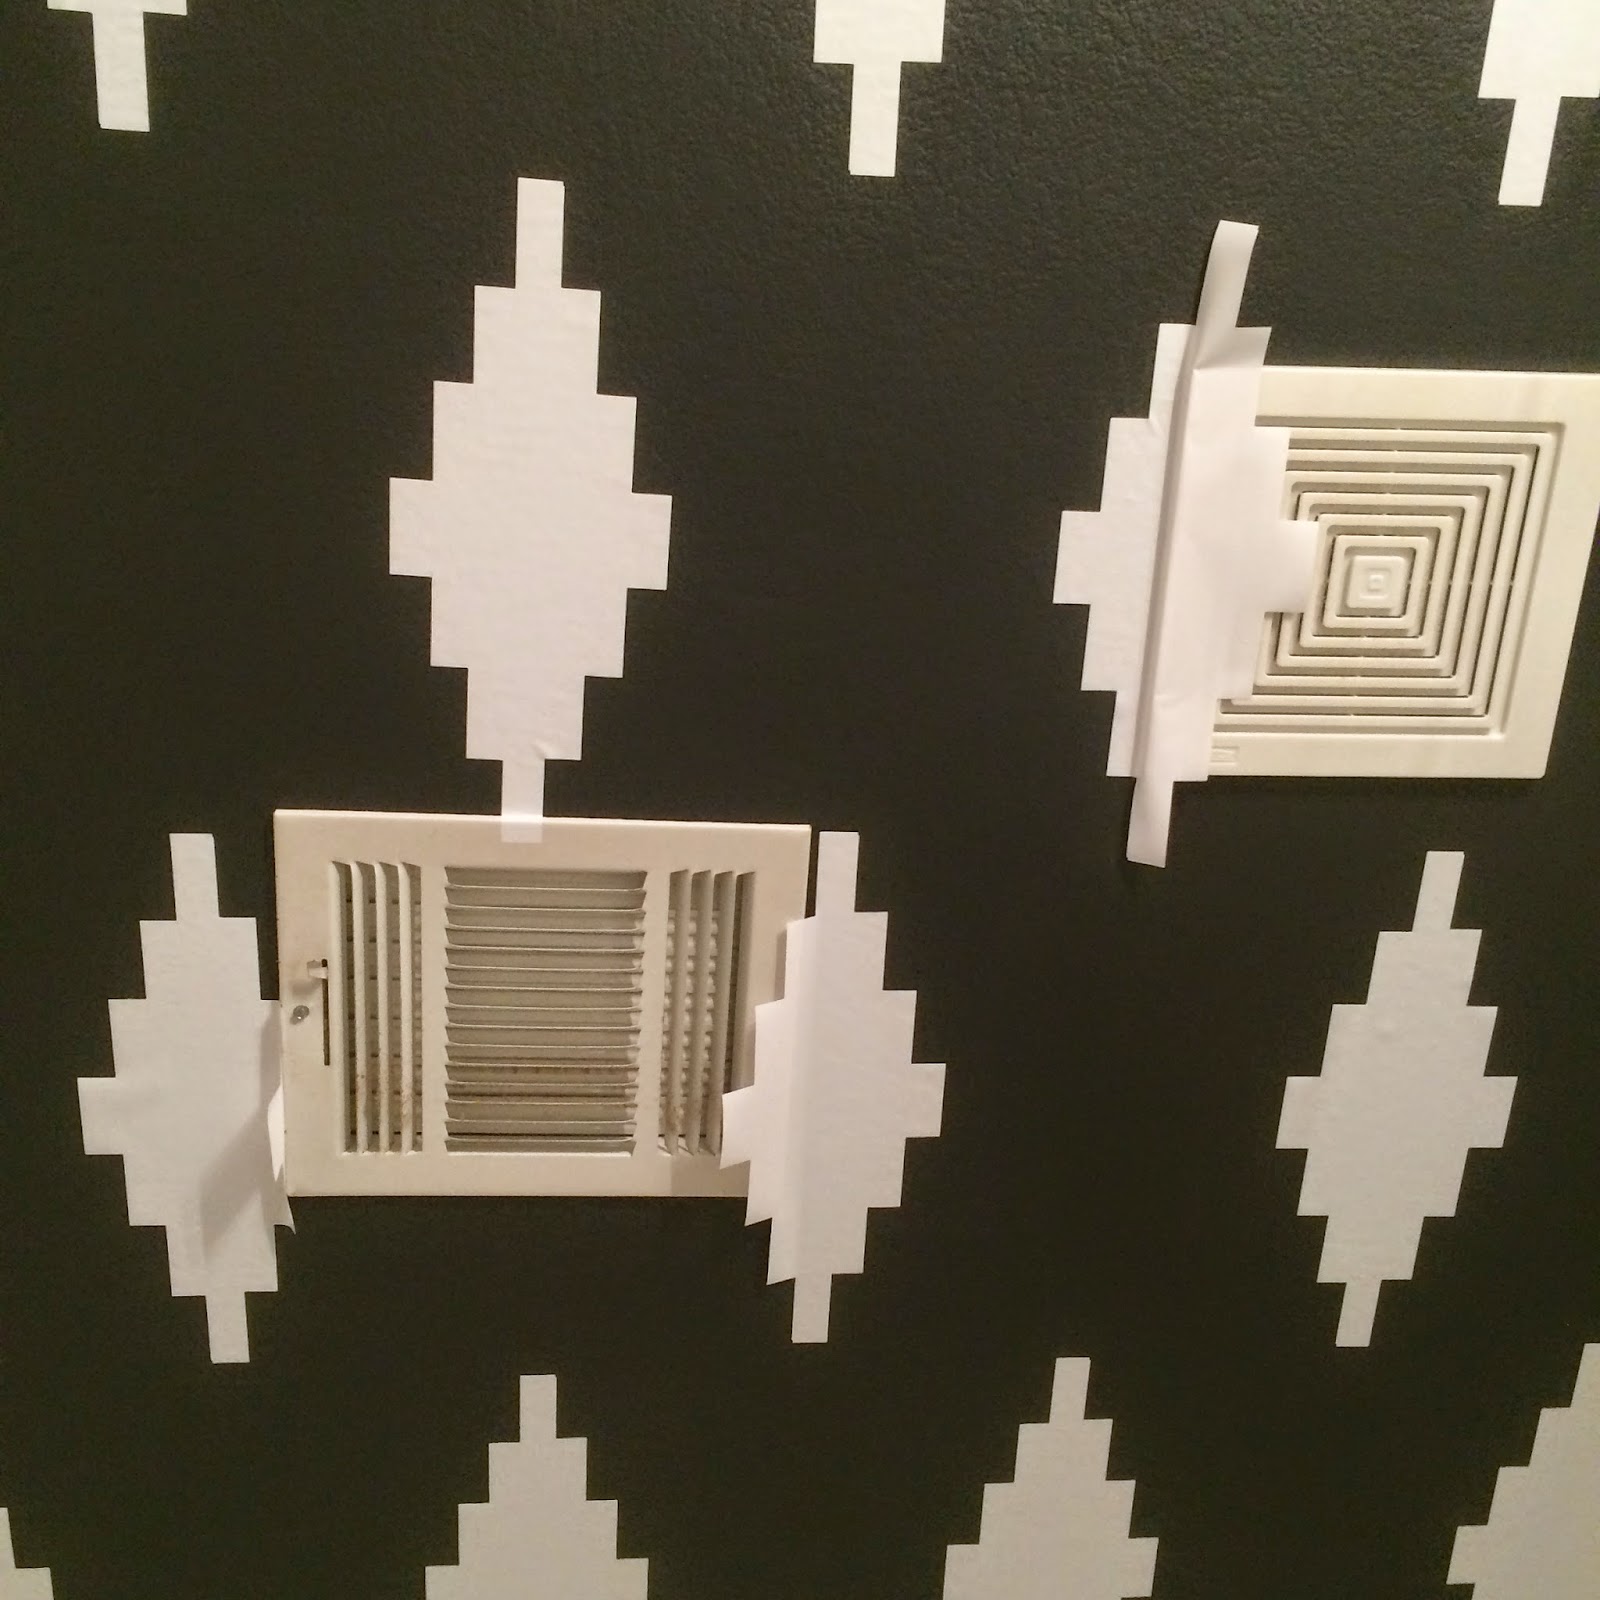
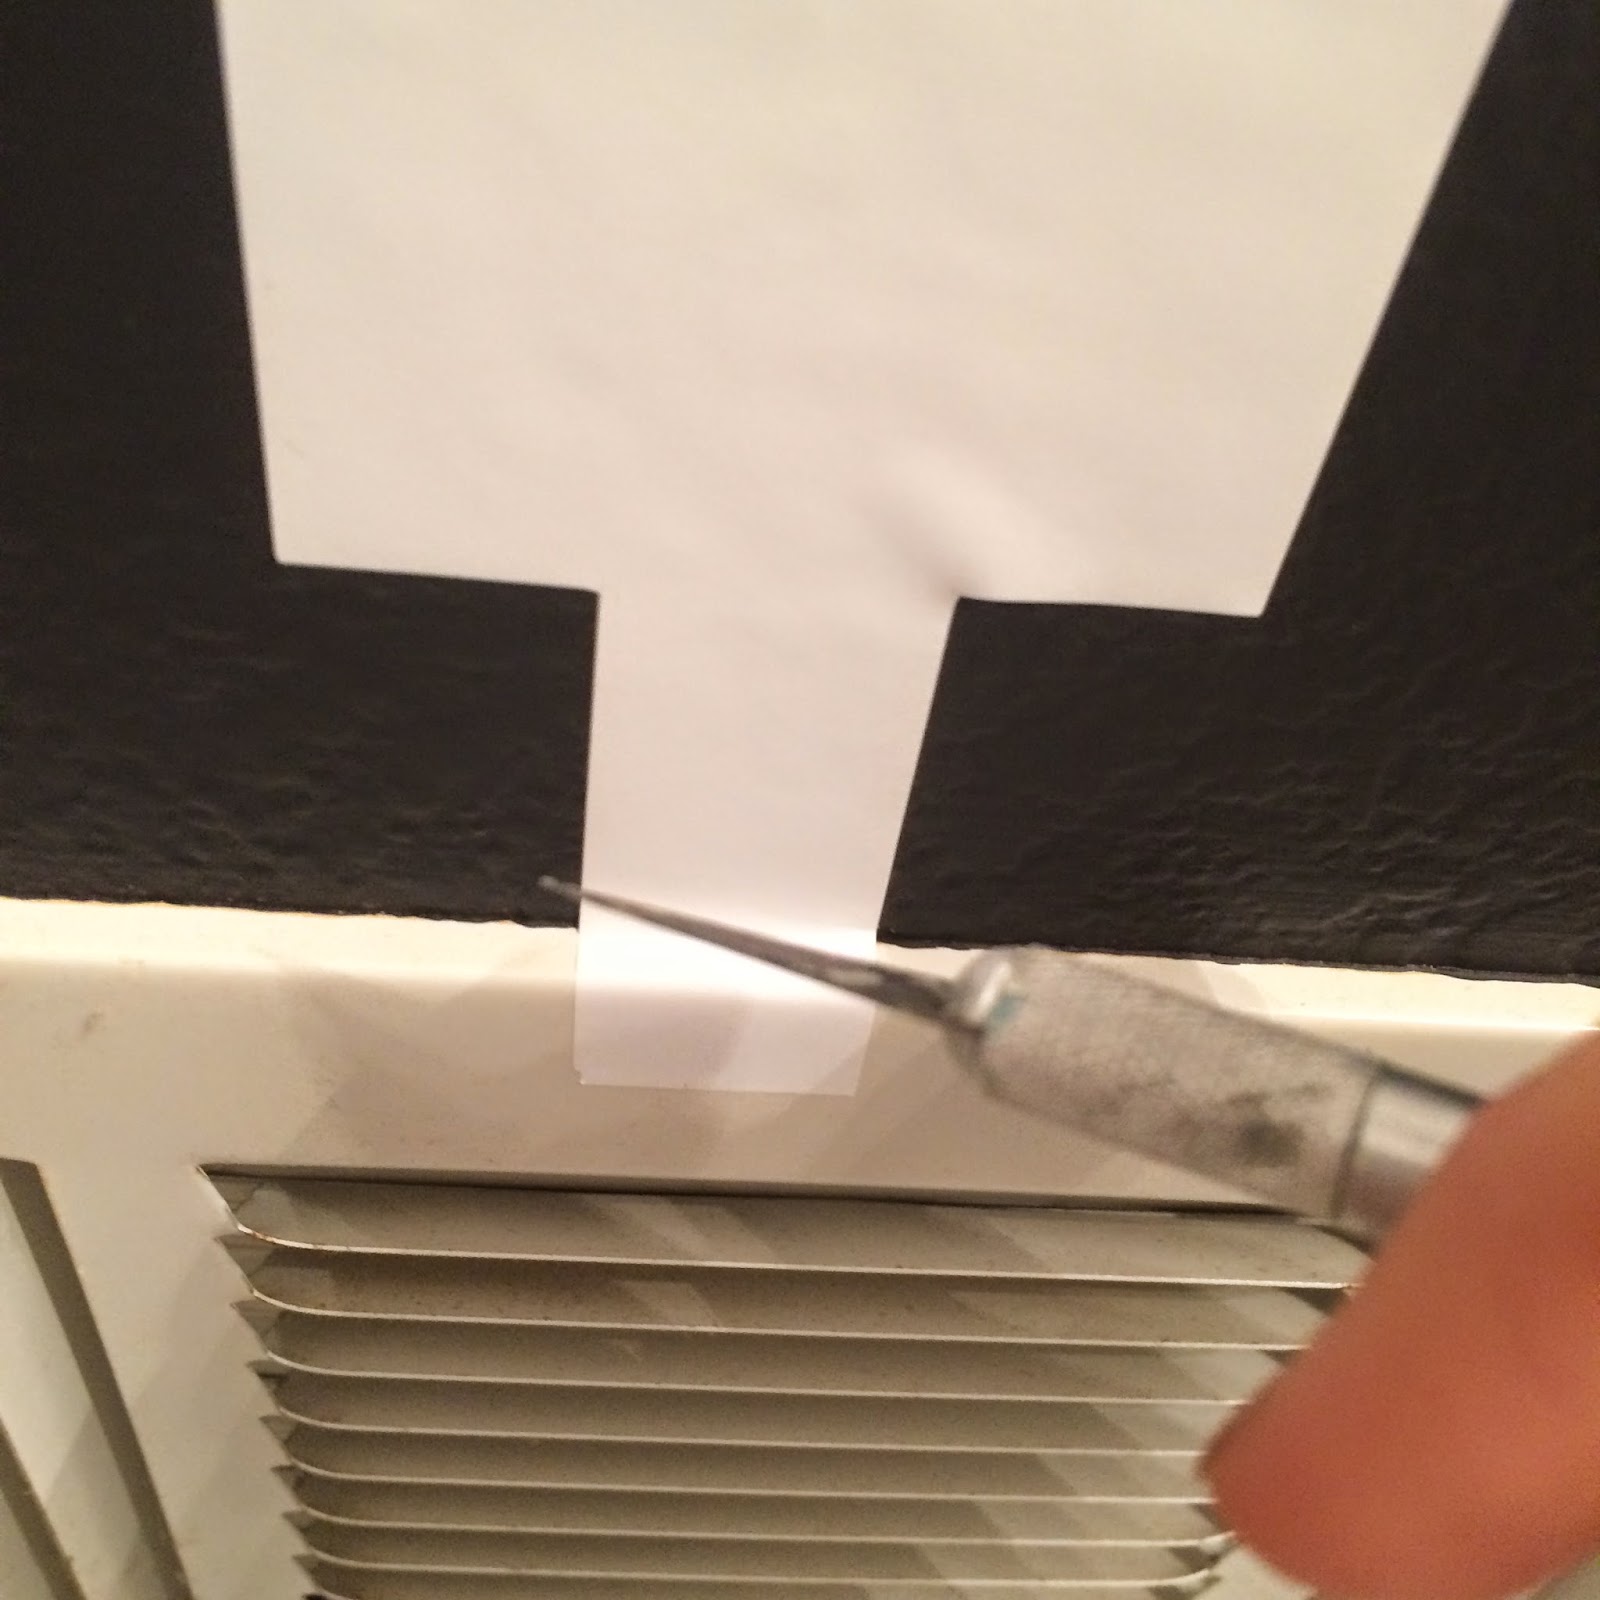
Where the vinyl overlapped the air vent and exhaust, I used an X-Acto knife to cut the vinyl around the plate to remove the overlapping vinyl. I also did this on the sides where the ceiling met the walls.
Cutting and applying the vinyl took about an hour, and the cost was nothing since I already had the vinyl and cutter. But if you were going to replicate this with a purchased pre-cut vinyl design (depending on the size of your ceiling), it shouldn’t be more than $100. And if you have a vinyl cutter like a Silhouette Cameo or Cricut, you could spend much less for just the vinyl (about $25). But seriously it is a deal either way, and just look how awesome it turned out!

In this above photo you can see a sneak peek of the DIY industrial bathroom light fixture that I will show you in tomorrows post along with another view of this space. But for now, here is the final before and after of this part of my guest bathroom transformation. What a difference a bit of paint and vinyl can make!


September 25th, 2018 at 4:32 pm
[…] How to Create a Ceiling Stencil using a Silhouette Cameo, via Kailo Chic. […]