I hope you all had an amazing and delicious Thanksgiving day! I hosted my husband and my families this year and while it was a squeeze at the table, it was well worth it. And now that Thanksgiving is over I am continuing with ornament week and my last ornament DIY (well, maybe). I am so excited about this ornament. It is definitely the most out there and different ornament I have made (even more so that the swan and flamingo ones), but it is just so cool. So if you are a fan of different, keep on reading my friends.
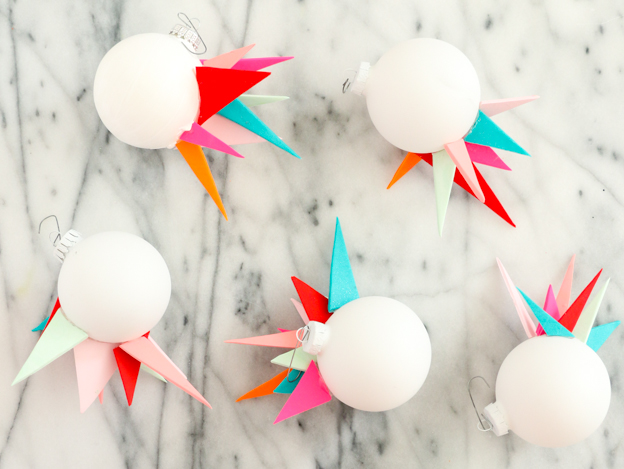
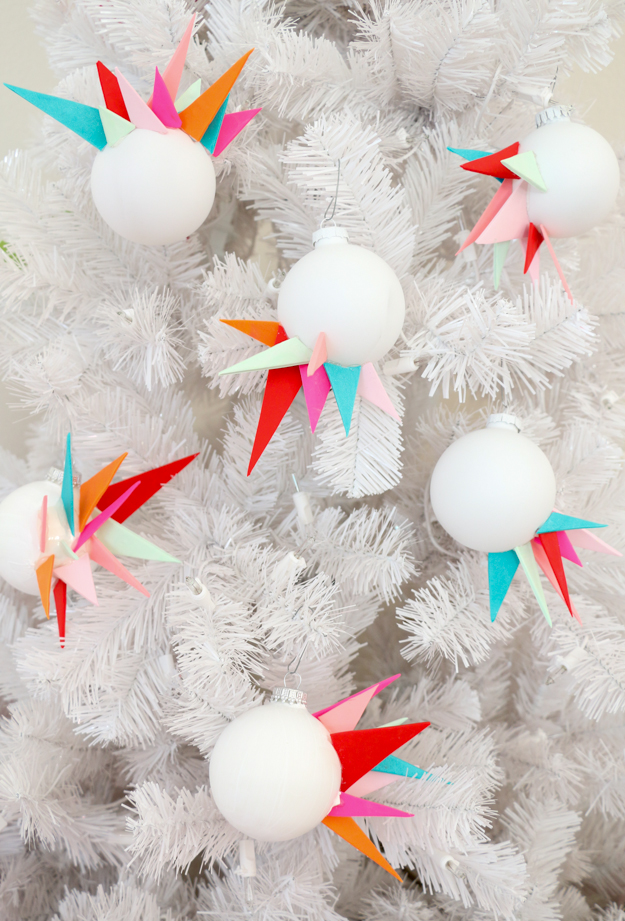
Now tell me these aren’t just the most awesome ornaments! My inspiration for these came from thinking about ice and snow and shards of ice or glass. I originally was thinking to make these pure white, but you know how I can’t stay away from color. So I used a few of my favorite colors of clay and created these asymmetric clay shard ornaments. Follow along to find out how easy it is to make your own.
The Supplies:
- Polymer Clay
 in several of your favorite colors or use just white for an icy effect
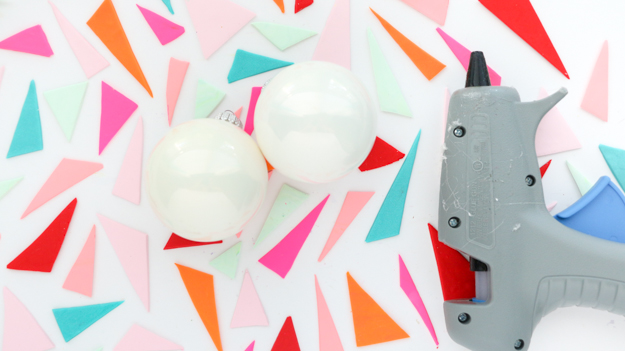
- Glass Ornaments

- White Matte Spray paint
- Hot Glue
- X-Acto knife or cheap pizza cutter for clay use only
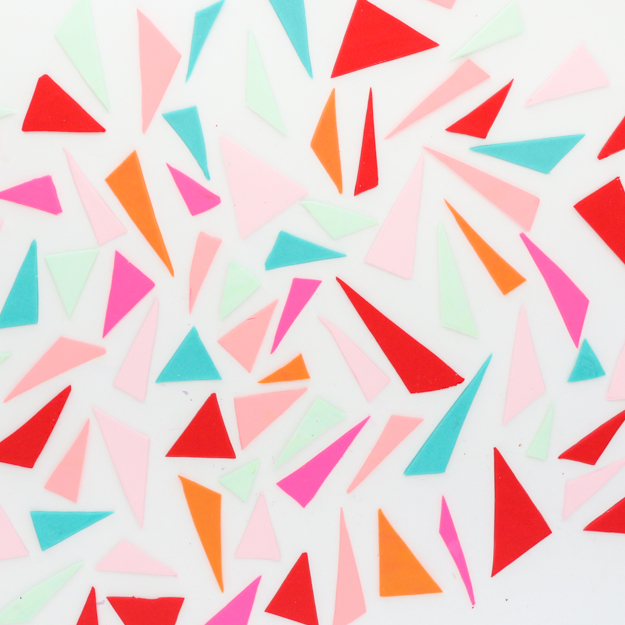
Begin by rolling out your clay to appx. 1/4″ thick. Then use the pizza cutter to cut thin triangle like shards. You will want a variety of sizes of triangles in each color. Keep cutting and rolling until you have all your clay cut. I used the bottom of a cookie tray to lay out all my pieces. A full cookie sheet of pieces will yield about 8-10 ornaments. So you can use that as a guide when cutting your clay.
Now that all your shapes are cut, bake them in the oven at 275°F for 15 minutes. Remove from the oven and let cool. While the shapes are baking and cooling, use the spray paint to paint your ornaments a matte white. You can always use regular ornaments as is, but I like the matte look as it matches the clay and most ornaments are shiny.
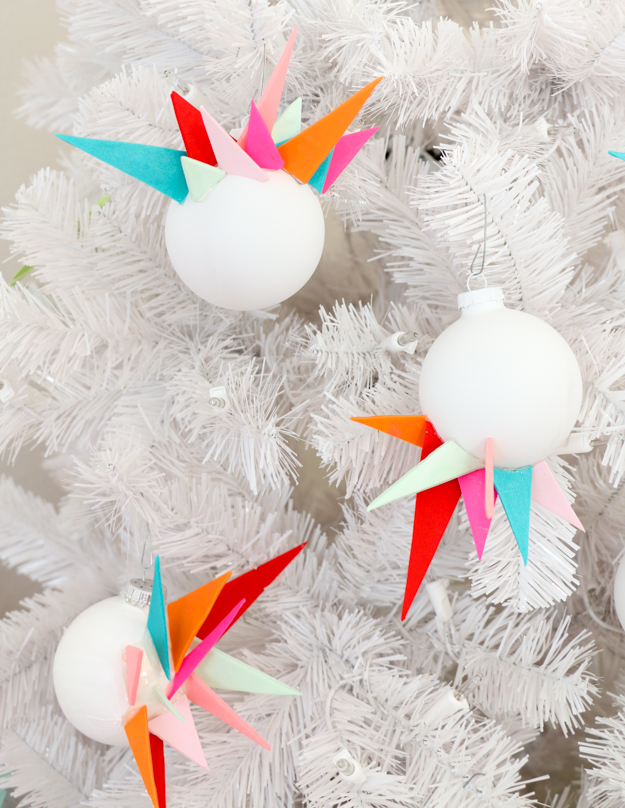
Once your ornaments are completely coated and dry, it’s time to assemble your ornaments. Begin by adding a small line of hot glue to one section of the ornament and placing a triangle shard on the glue. Hold it in place until the glue hardens, then move on to the next piece. Repeat several times until you have a small cluster of shards poking out of one section of the ornament.
If you find that you cut your pieces to wide at the bottom like me. You can use an X-Acto knife to shave them down a bit and create a curve that will fit more closely to the ornament.
Repeat this process for all the ornaments but change the location of the shards for variety (some from the top, some from the sides, some from the bottom, etc..).
As I said, I love these ornaments and may have bugged my husband by declaring this fact to him several times while making them! But, what can I say? I think they are so stinking awesome and I hope you do too!
Next week I will be back here on the blog sharing a few gift guides and DIY gift ideas, so be sure to check back in on Monday when gift week begins! Until then, you can find me eating all the leftovers!


December 29th, 2016 at 4:43 pm
GURL! I have never seen any ornaments soooo creatively done! WOW! These are SUPER Unique!!! I so have to copy these! Pinning, tweeting, sharing everywhere & keeping for next year! Thank you so much for sharing these. By the way your DIYS & blog are very inspiring. Great work!
December 30th, 2016 at 2:20 pm
Thank you so much! I had so much fun making these and they are definitely unique! Can't wait to see yours next year!