


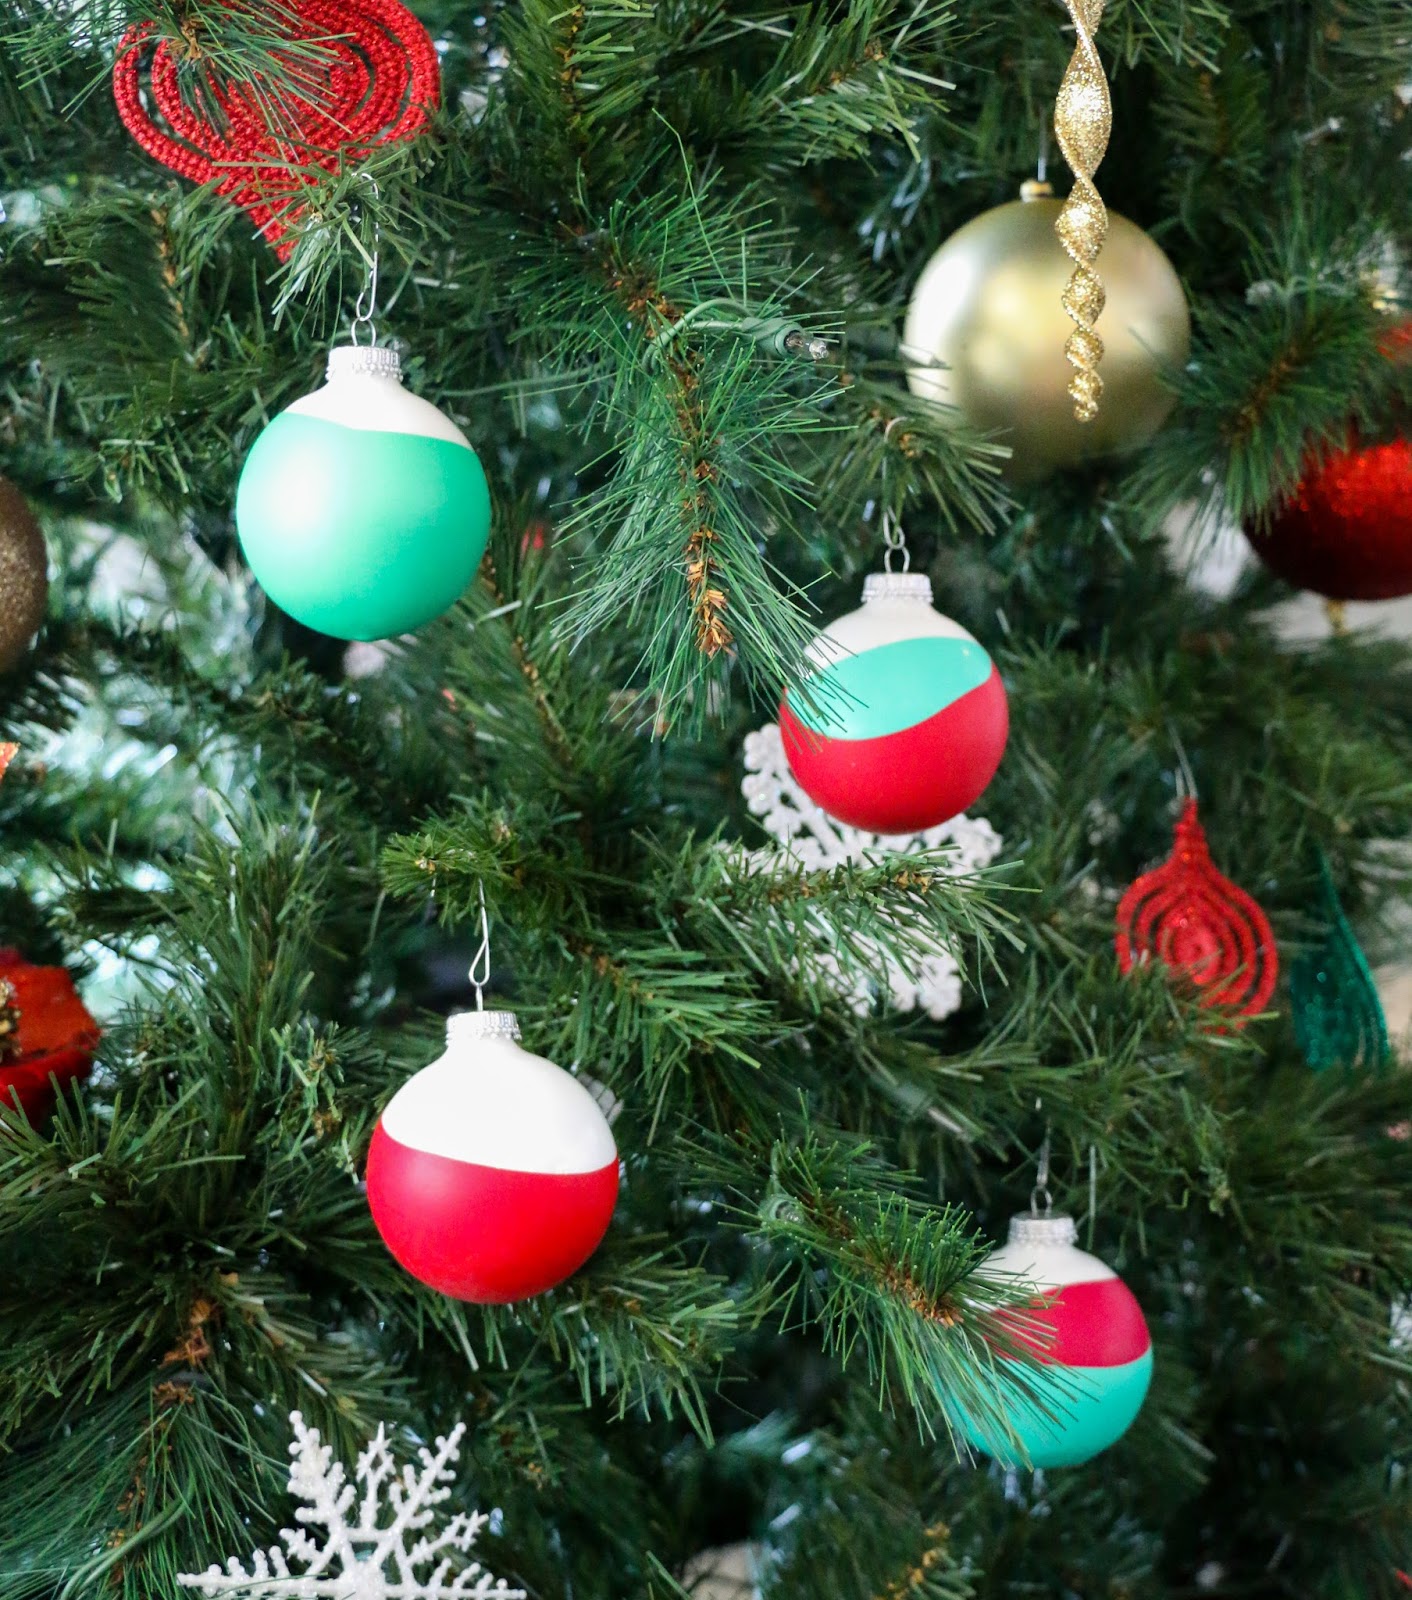
Speaking of ornament making this weekend, today I will wrap up the week of DIY ornaments (although I have another one to share with you on Monday) with an easy “dip dyed” ornament. Okay, well the ornament isn’t really dip dyed, it just looks that way thanks to the use of cut balloons! So simple right?!

Materials:
- Balloons in your choice of colors (I went with red and green obviously)
- Plain ornaments (I liked having the plain white base)
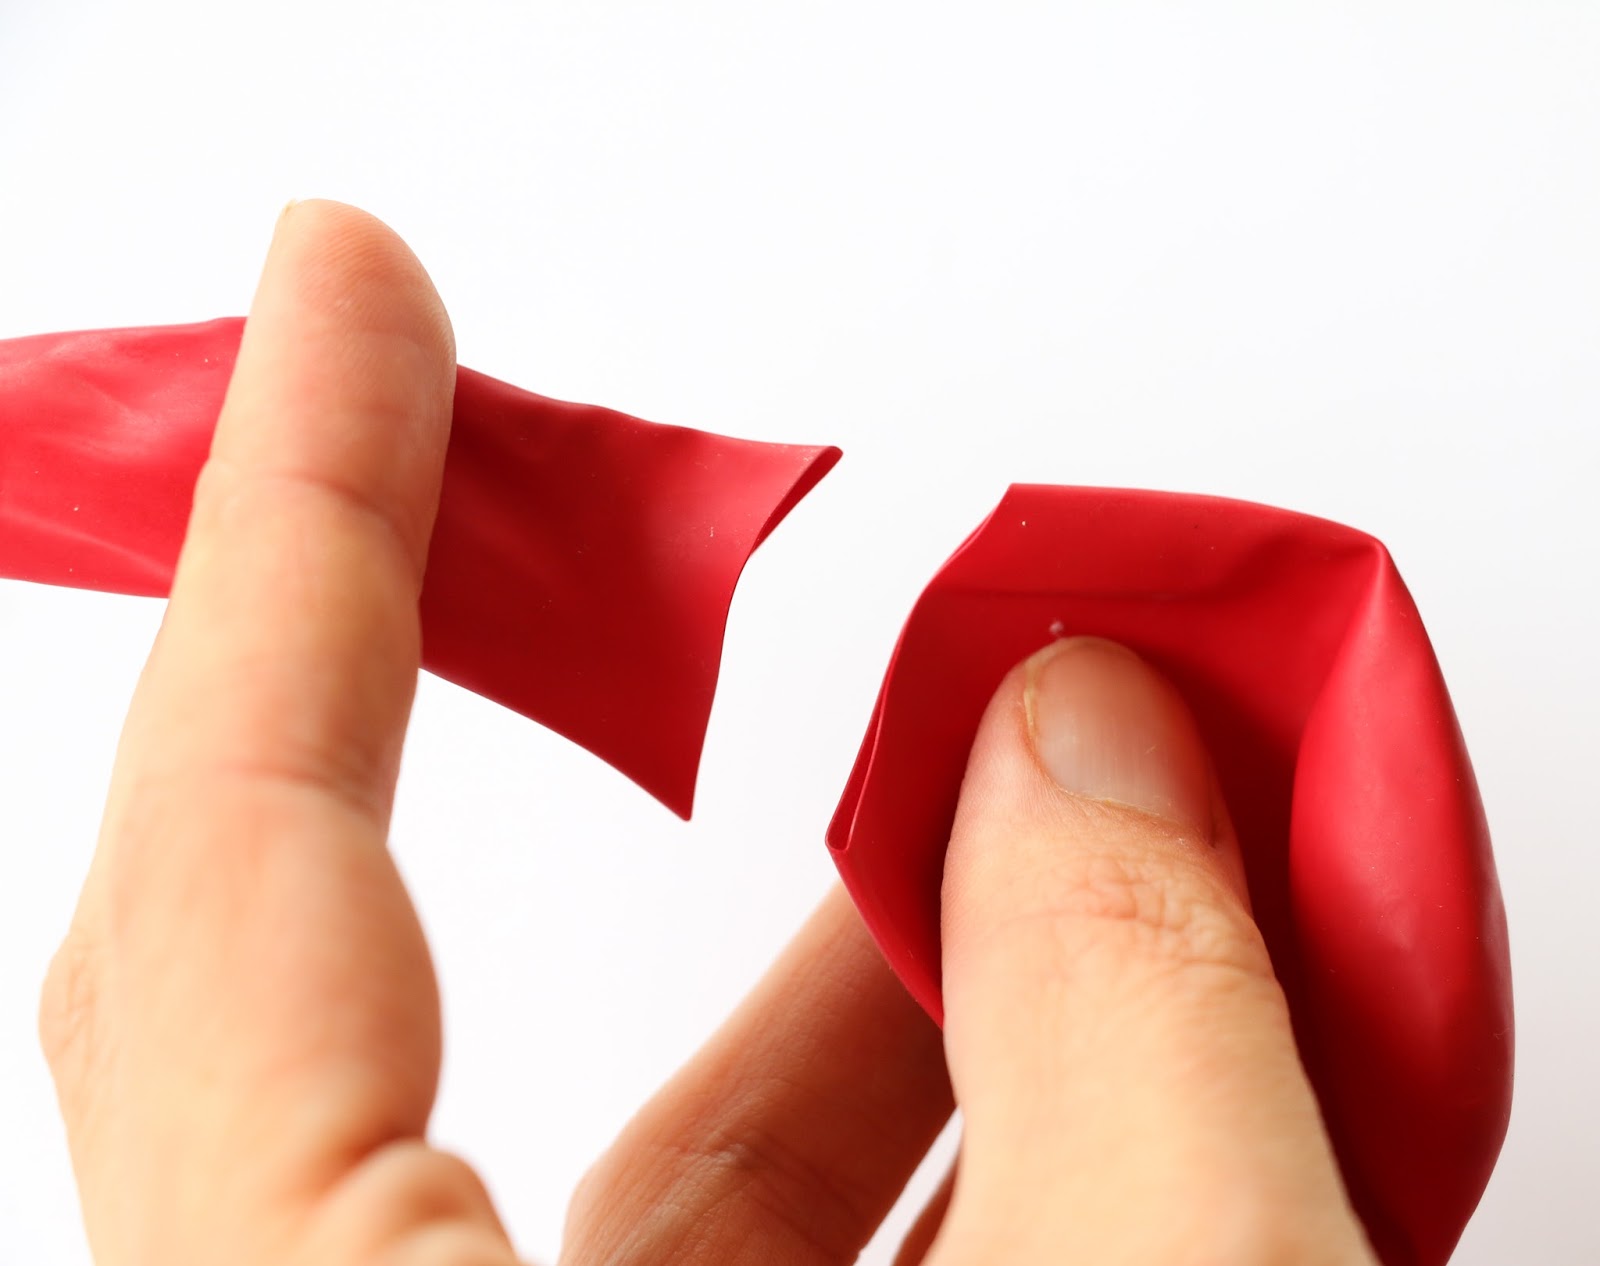
- Scissors
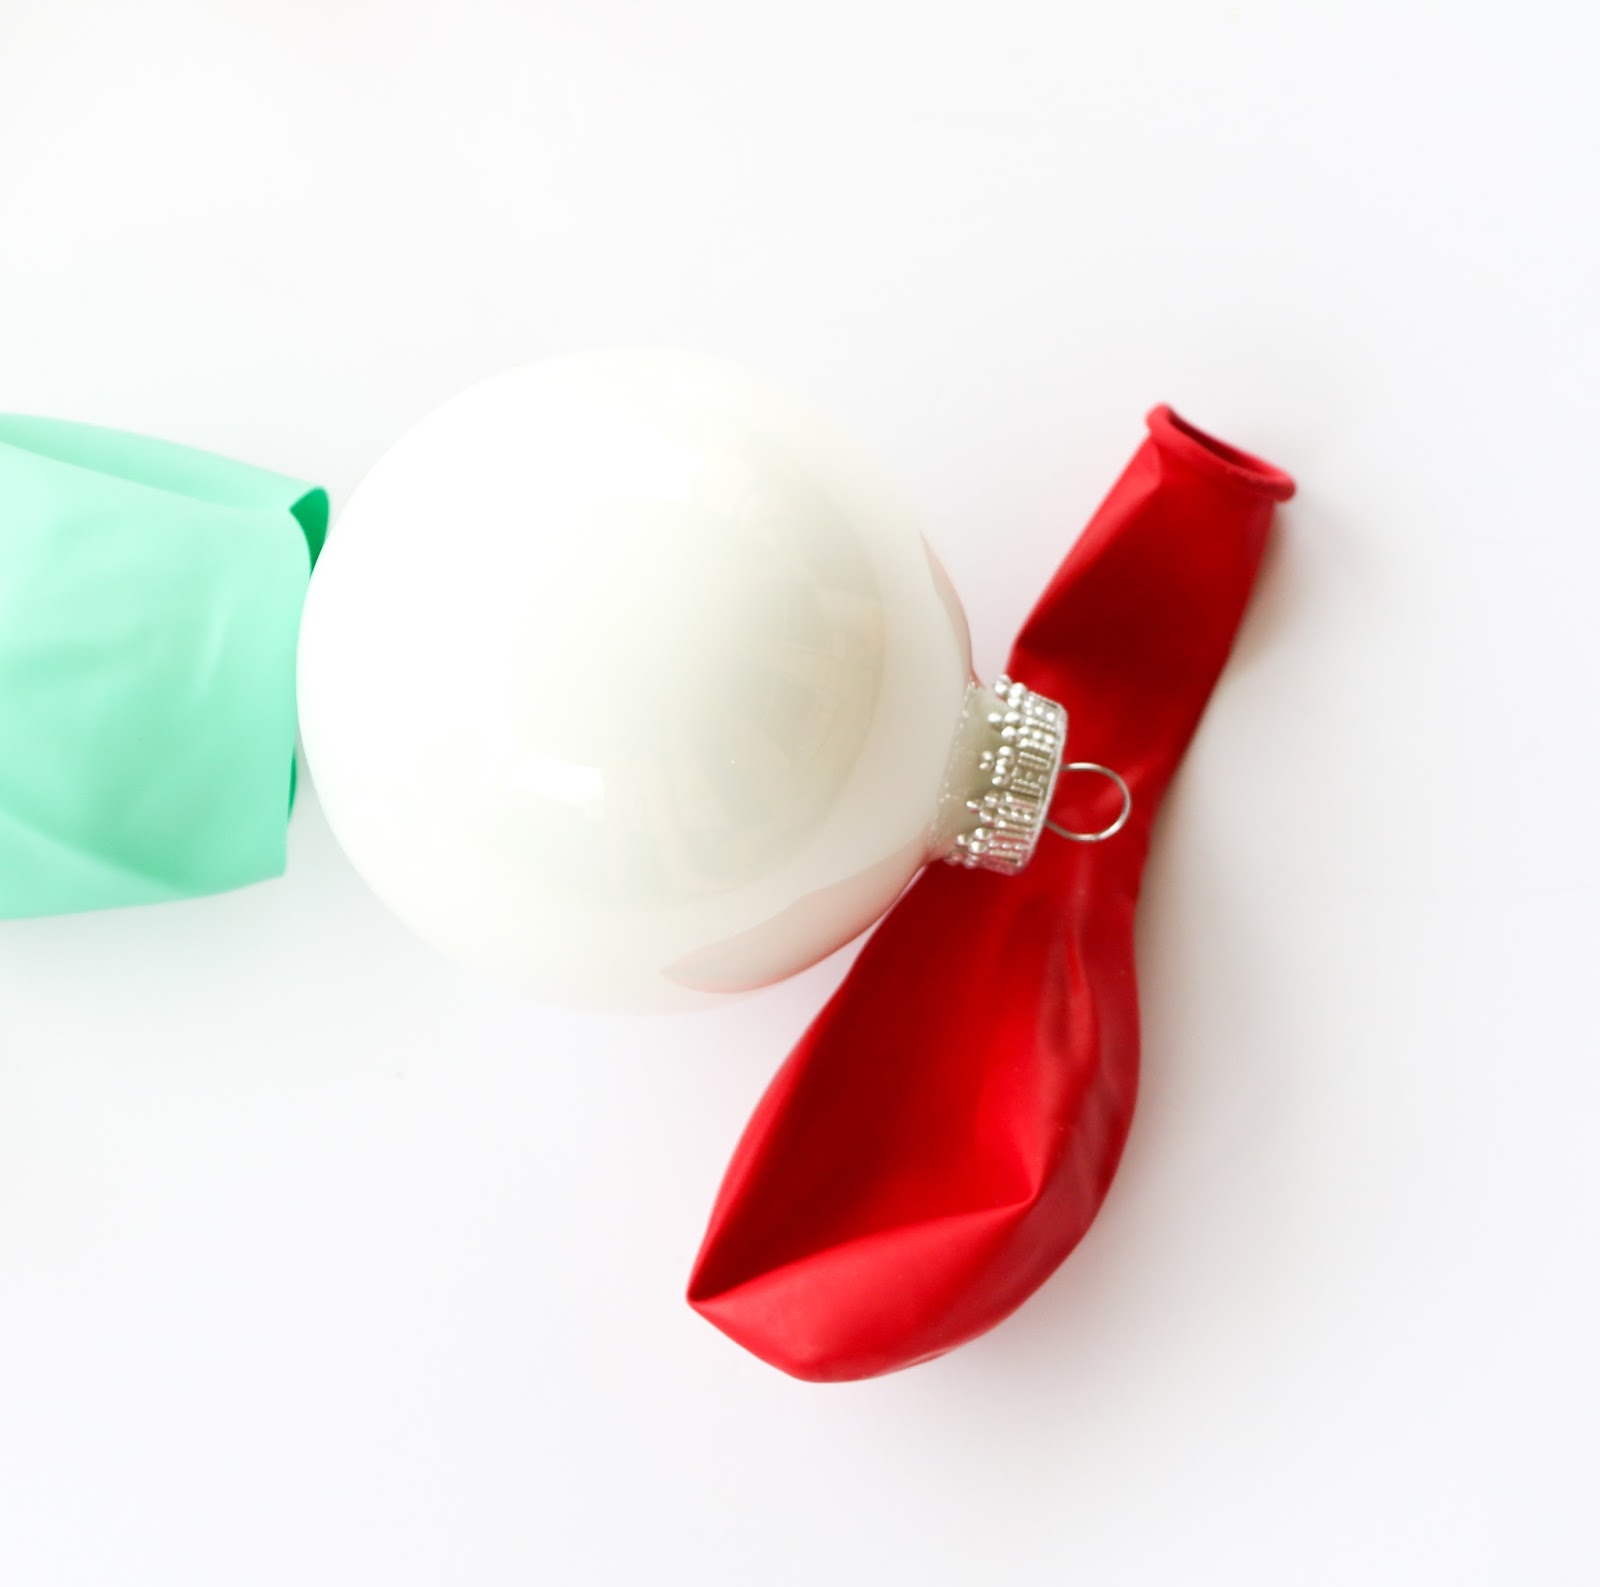
Simply cut the top portion off of the balloons and stretch the bottom portion around the ornament. There is no need to be precise here and have a straight line all around the ornament. We are going for a dip dyed look after all. And if a little bubble occurs on the bottom of the balloon after stretching, you can simple poke a couple tiny holes with a pin to allow the air to escape and then stretch the balloon a bit tighter around the ornament.
I made several with just red or green, and then several where I layered the two colors for a more colorblocked look.
What is great is that they are simple, pretty, and temporary. The balloons can be switched out from year to year to change up your holiday color scheme, or removed altogether to get the ornament back in its original form. I love the look and love that I didn’t have to get messy with a bowl of paint to make these stunners!


