


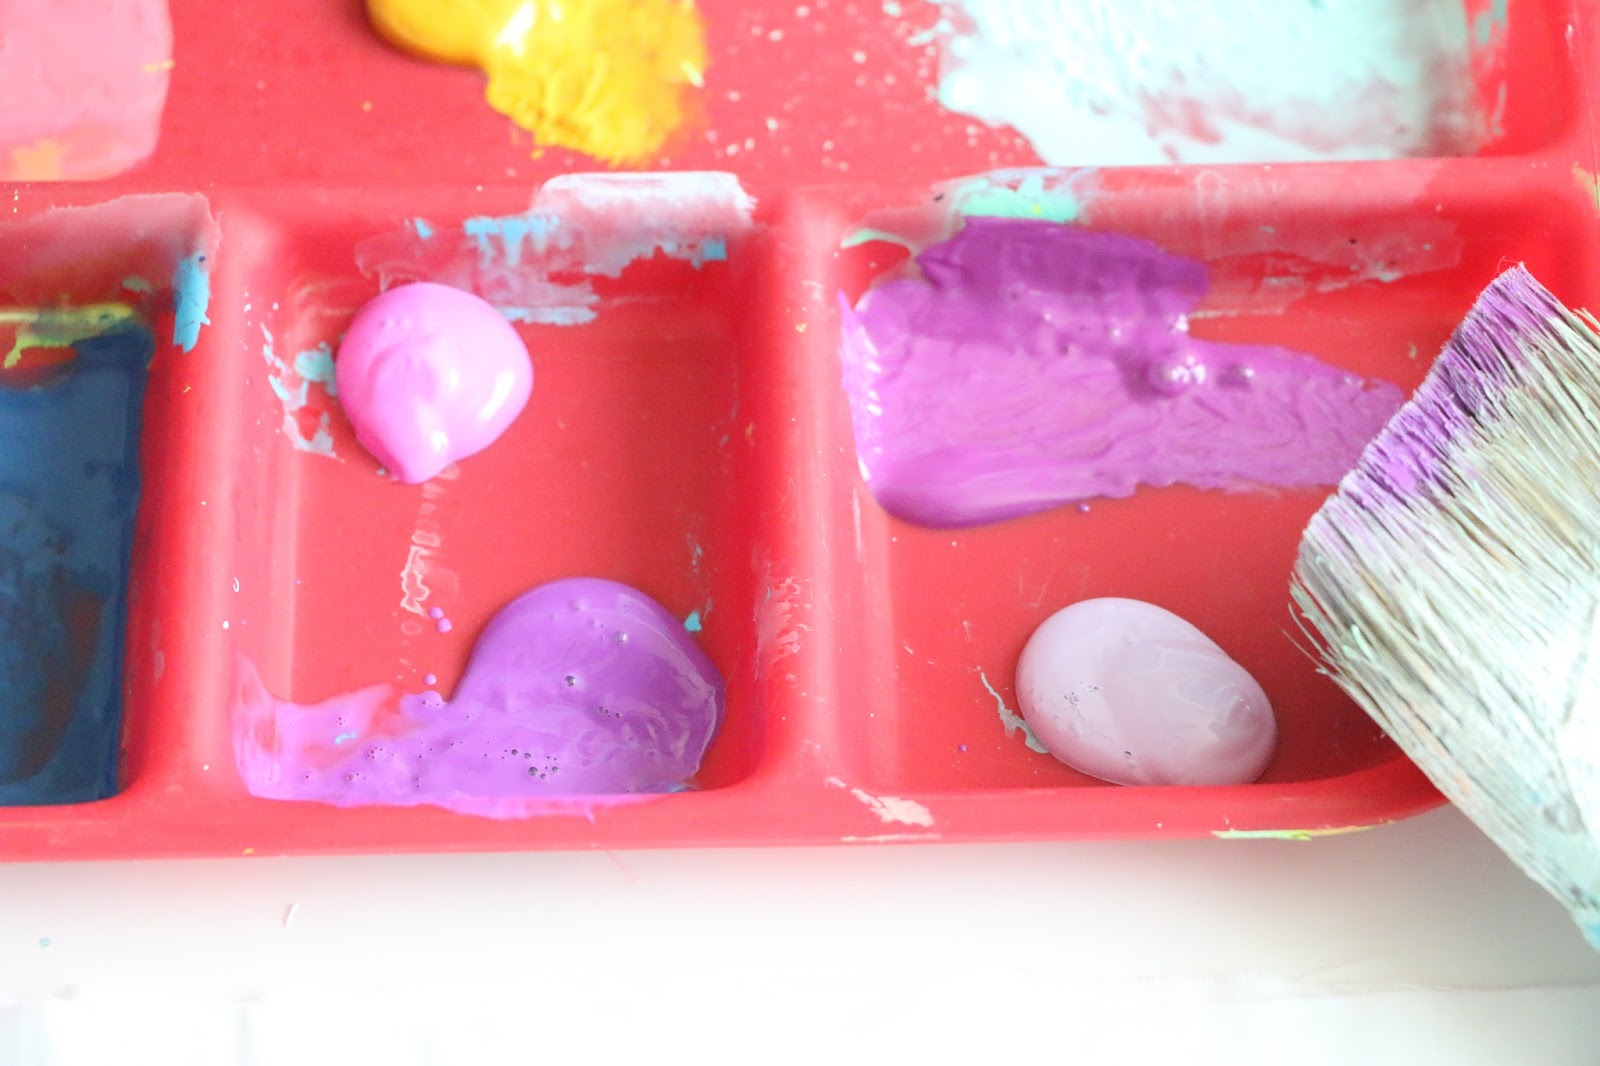
To start you will want to choose your paint colors.
I went with a bright vibrant selection with a few pastels thrown in.

You will also need a large paint brush (I just used my rubber handled Wooster angle brush that I use for painting the house so don’t mind its ugliness!), a bowl of water, some paper towels, fabric (I used both a white canvas duck which I recommend, and a white sateen which got a little wrinkly), and a tray for your paints.


I started by laying out my fabric on my work surface. Note that the paint will bleed through to the surface below, so make sure you are on a surface that you can wipe clean easily or don’t mind if it gets dirty. Now, you will lightly dip your paint brush in the water and then into your paint to get it all nice and watery.
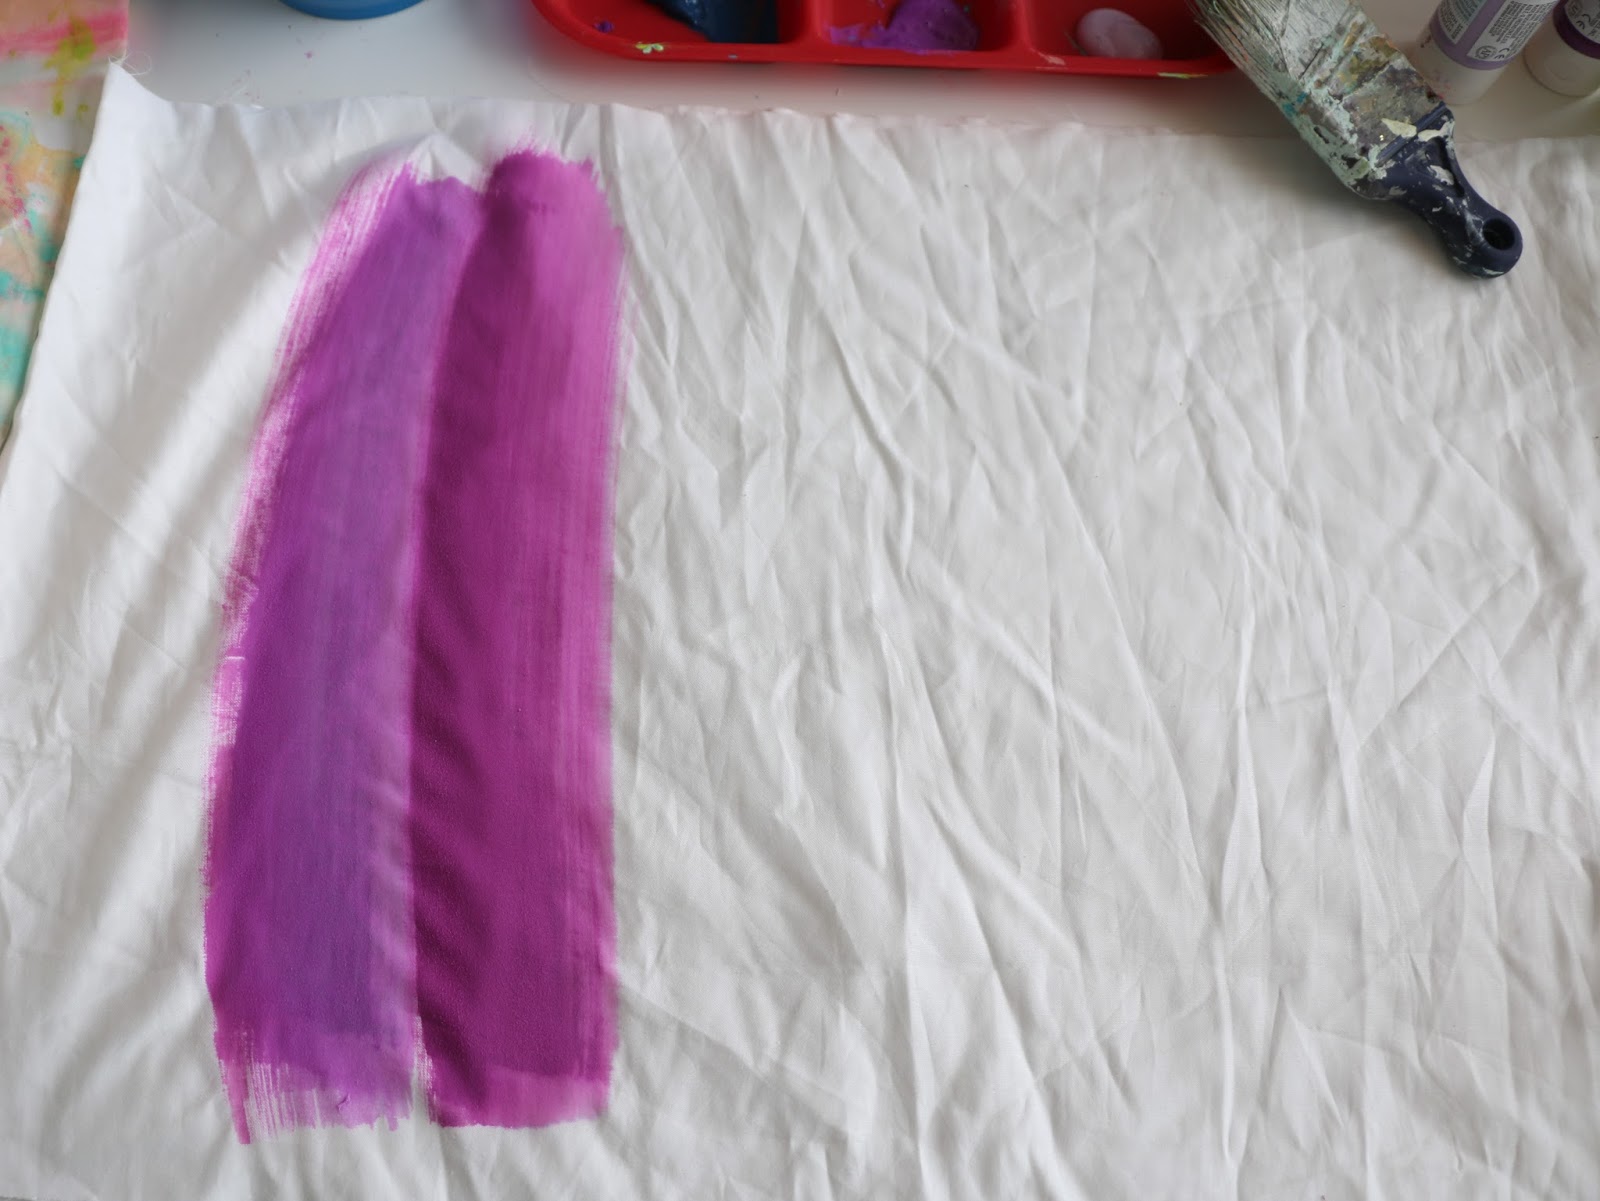

I made sure to wipe my brush off after each stripe and then dip in the water again and into the next paint color. If your stripe is too opaque, you can dip your brush in the water and go over the paint stroke to thin it out before the paint dries. I ended up adding a green stripe and some gold dots to the fabric in the end to give the piece a little more dimension.

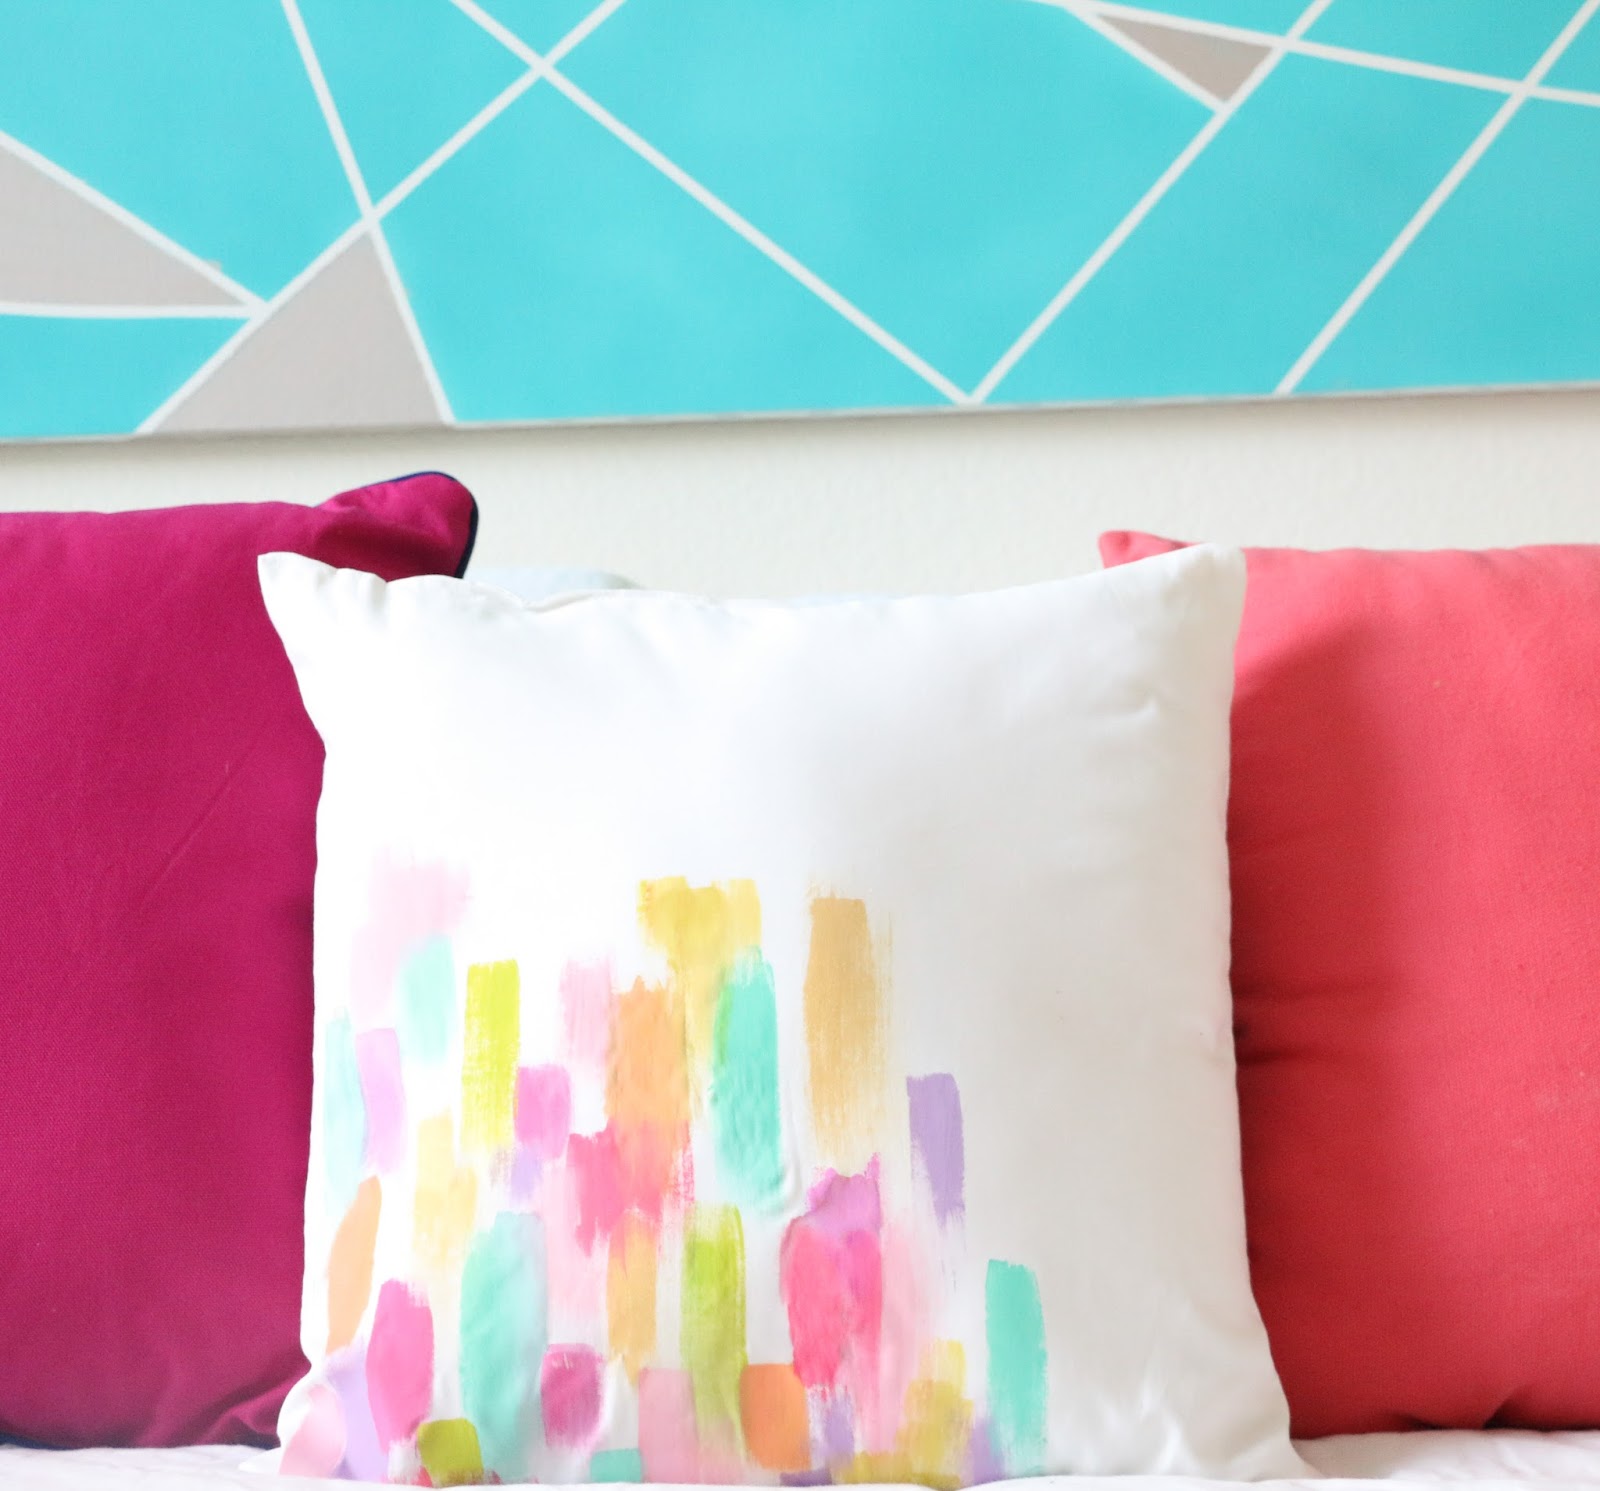
What I like about the watercolor effect is that it is just a wash of color, so there is no need for perfect crisp lines. Great for beginning painters like myself. I painted this particular piece of fabric with the intention of sewing it into a pillow.
The next technique I used was the paint small brushstrokes in one section of the fabric (also for the end use of a throw pillow).

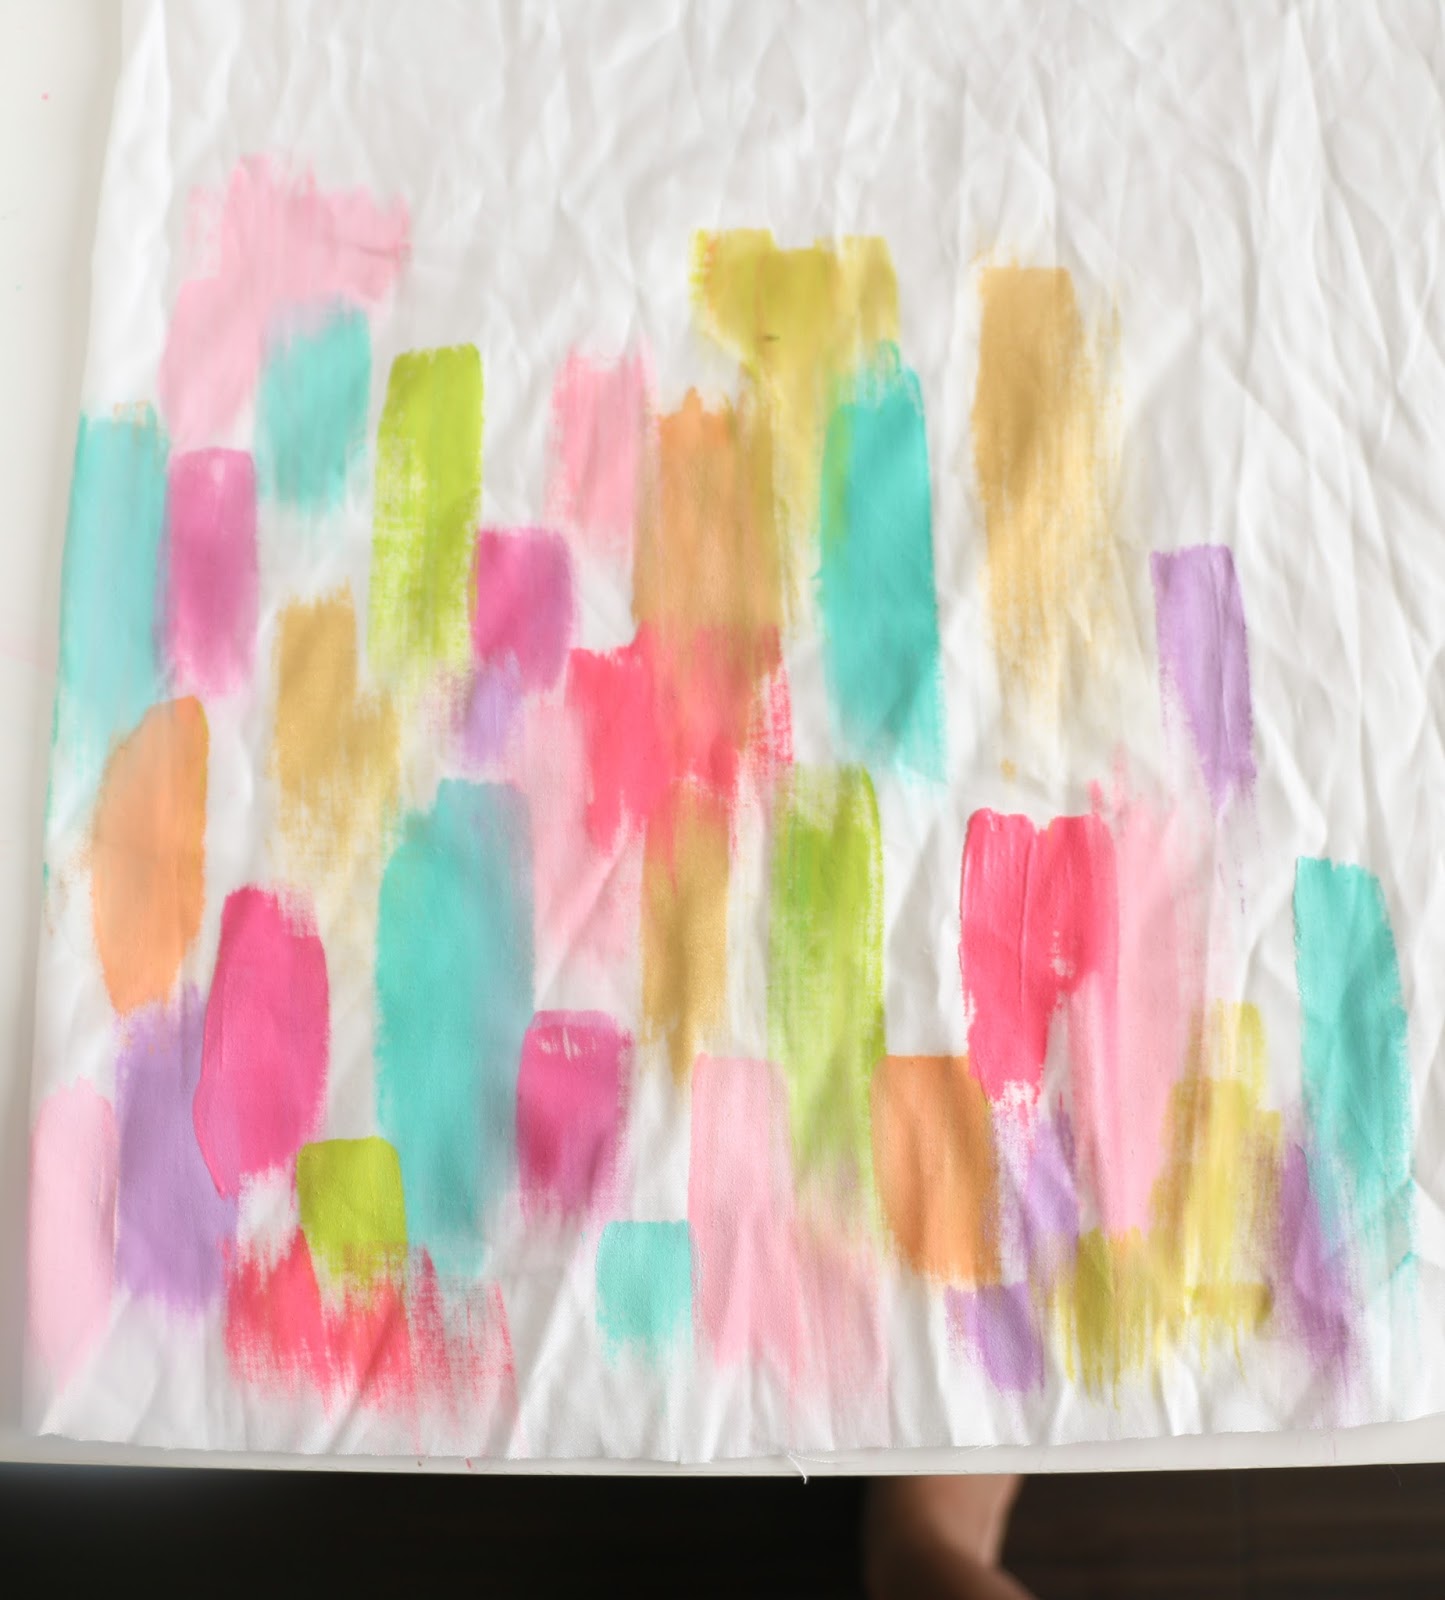

As you can see above, the beginning fabric that I used was very wrinkly, but after the paint dried I was able to spray it with water and iron directly over the paint to smooth it out. I actually did sew this fabric into a pillow so that you can see a finished product using this technique. I love how the painting is off center and just kind of grows up from the bottom of the pillow.


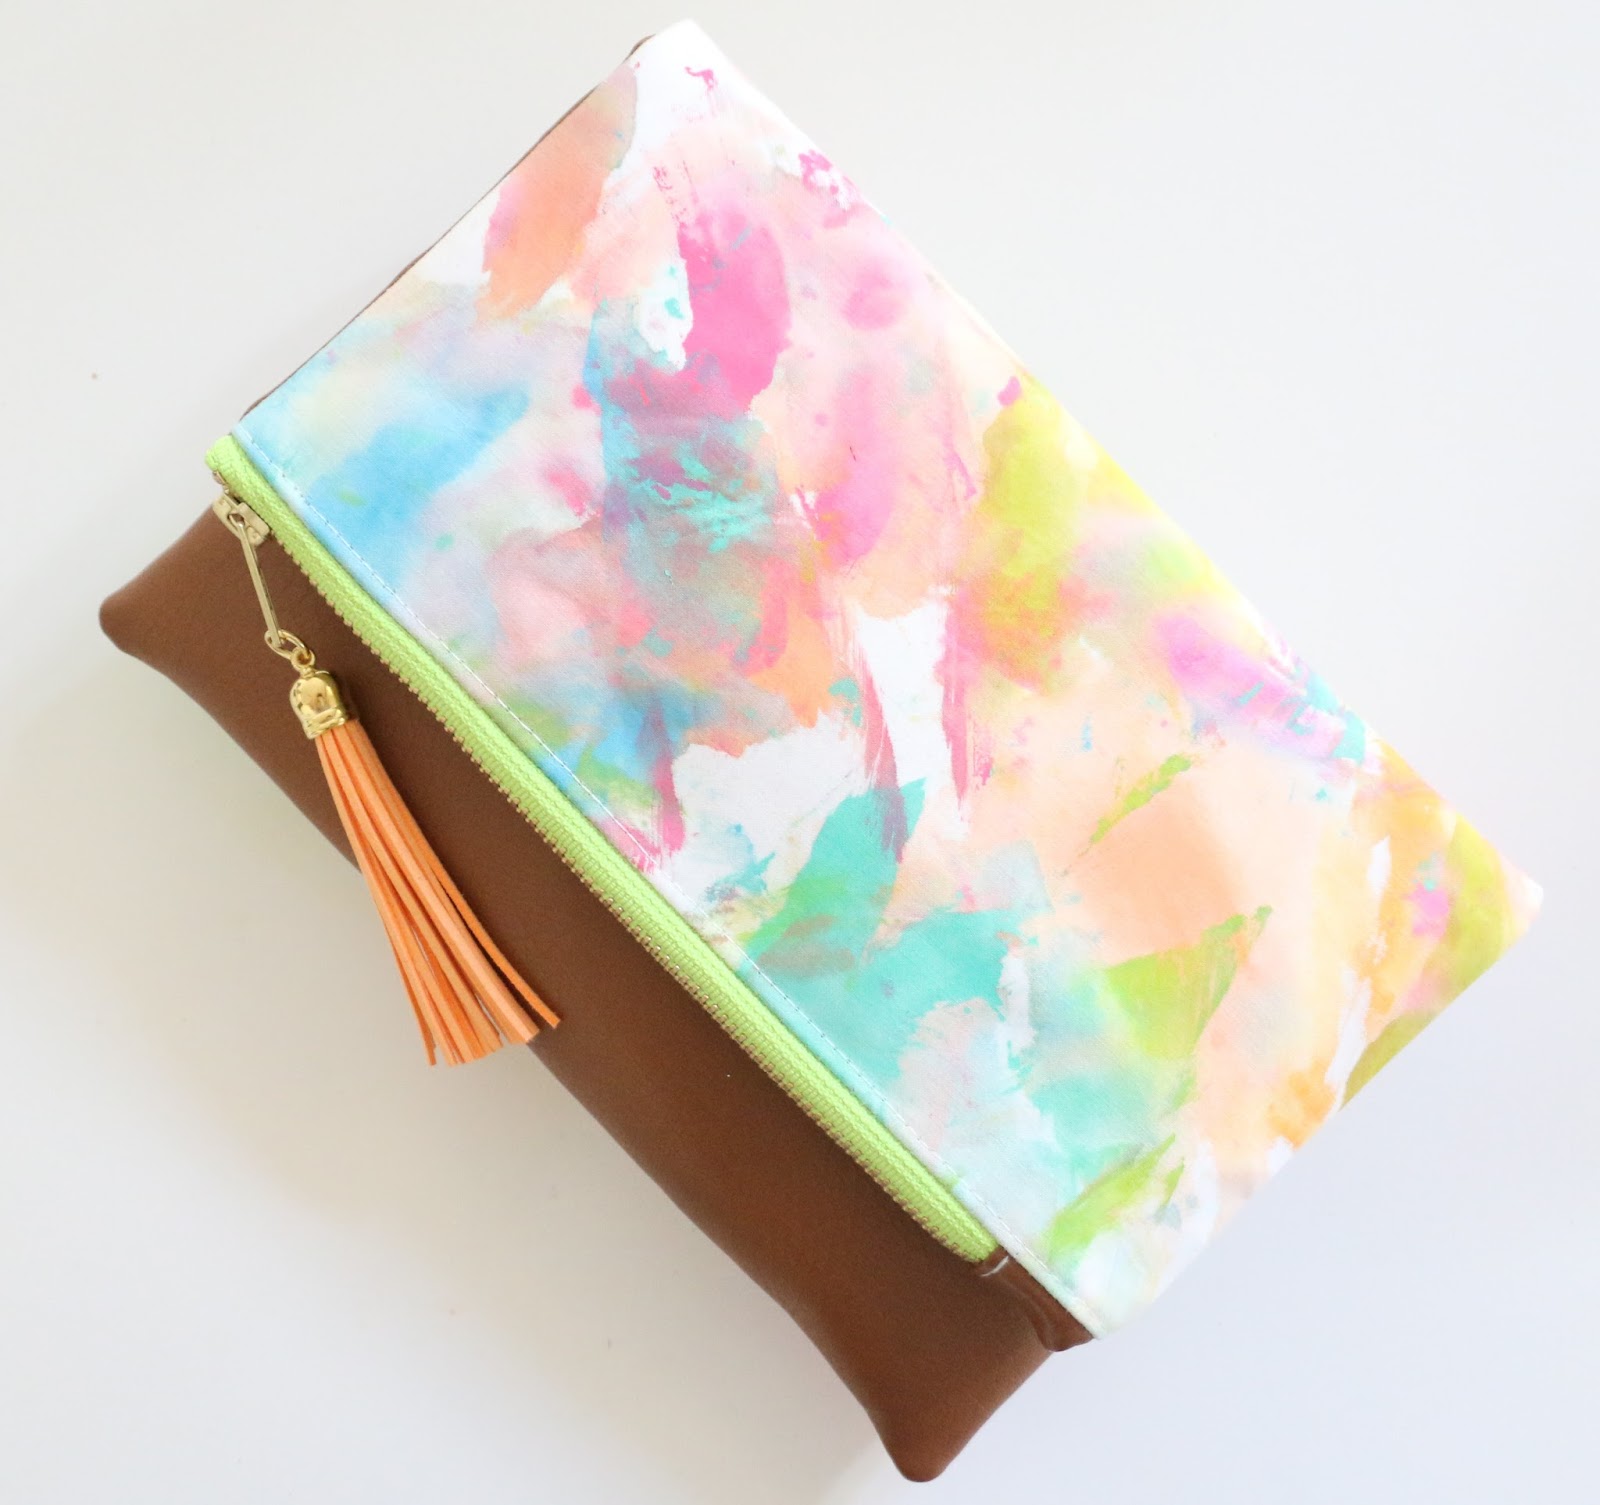
The last technique I used was by far the easiest, but also yielded crazy results. About halfway through my painting, I took a look at the paper towel I was using to clean my paint brush between colors and liked the way it looked with all the colors kind of mixed up and half hazard. So, I swapped my paper towel for a chunk of fabric and used that instead. The results were kind of awesome and very abstract.

Above I am showing how I “cleaned” my brush. Just basically grabbed the fabric and paint brush and used it to wipe the paint off. I would then move to another chunk of fabric to help spread the color around. Below, I cut out a piece of this fabric that had the best patterning on it and made it into one of my fold over clutches. When you look at the large scale piece of fabric, it looks like a mess, but once a small piece is cut out, it really does look like art!

Those are the three techniques I used to paint my fabric. It really was as simple as dipping the brush in paint and water and wiping it on the fabric. Again, since it is abstract, there really is no messing it up. Just go with the flow and see where it takes you!


July 23rd, 2015 at 2:31 pm
This is so beautiful!! I absolutely LOVE how the pillow turned out!
July 23rd, 2015 at 5:36 pm
Oh thank you so much!