


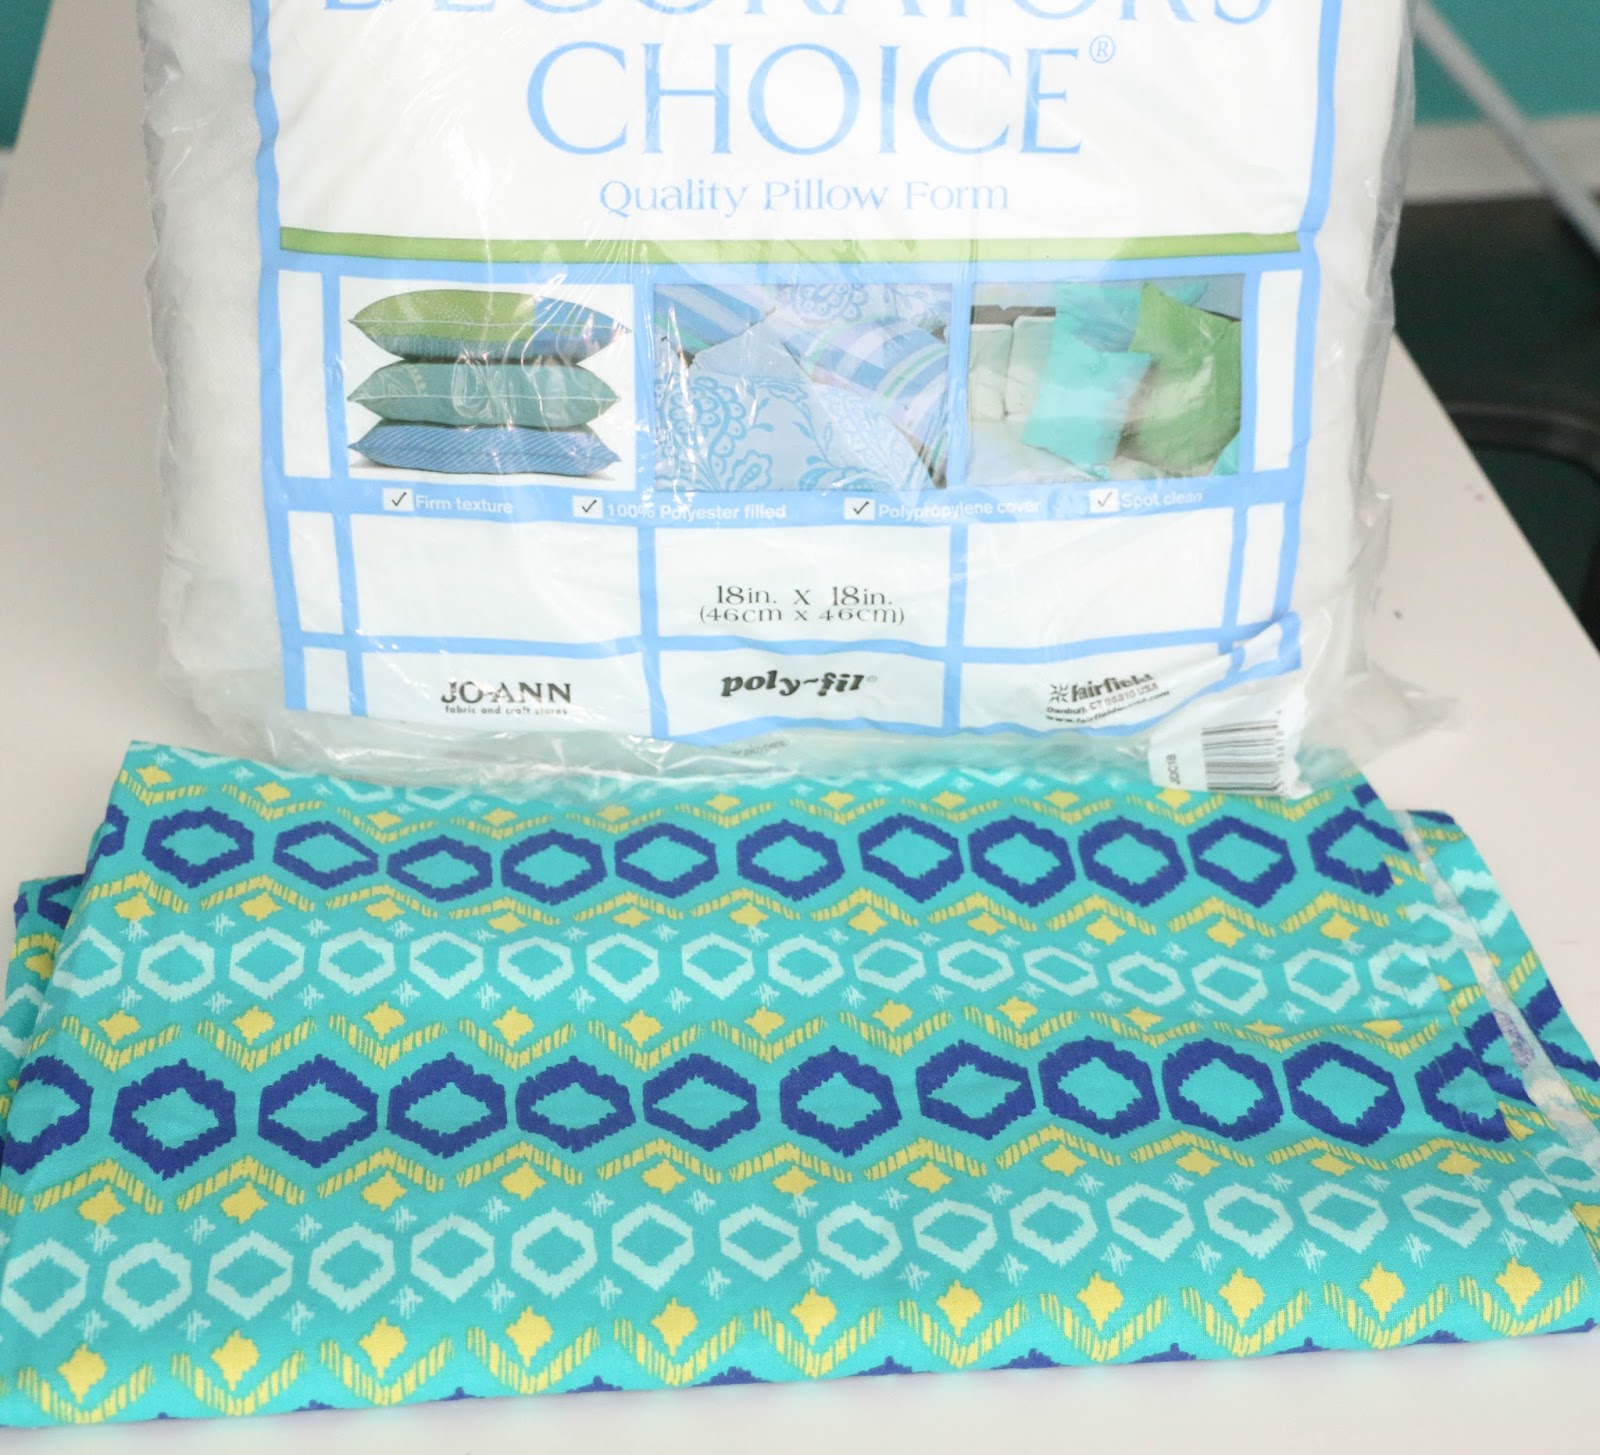
To make your own fun no sew pineapple pillow you will need:
- Fabric ( I re-purposed this table cloth from Target for my fabric)
- An iron on pineapple decal (I used my vinyl cutter (like the Silhouette Cameo) and white vinyl like this to create my design, but you can buy a pre-made decal or hand cut your own if you don’t own and vinyl cutter)
- Heat and Bond ultra hold seam tape (I picked up mine at Joann Fabrics)
- An Iron and a scrap piece of fabric
- A pillow insert of your choice


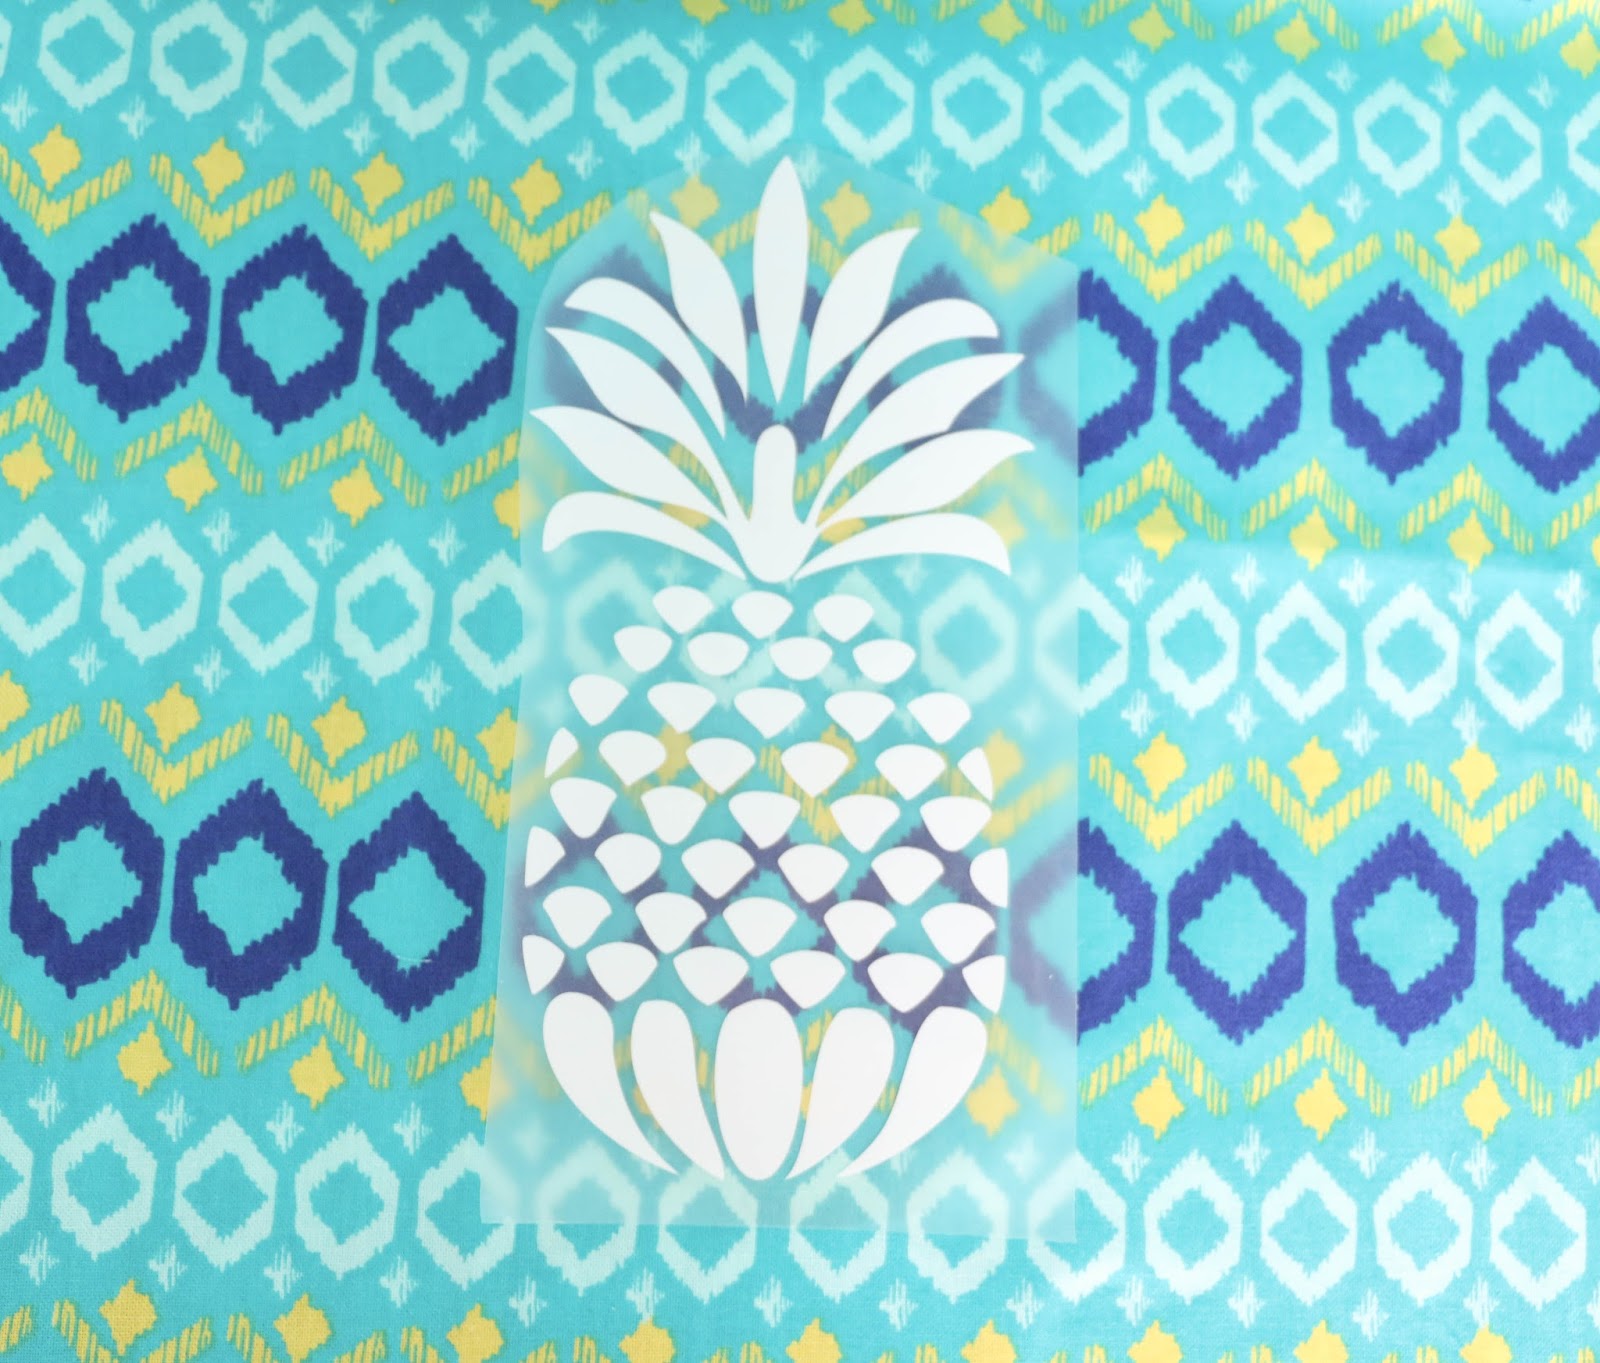
To iron on the image, I first placed my piece of scrap fabric over the decal and then used the highest setting on my iron. You will need to push hard on the fabric and iron for 30 seconds on each section of the decal.

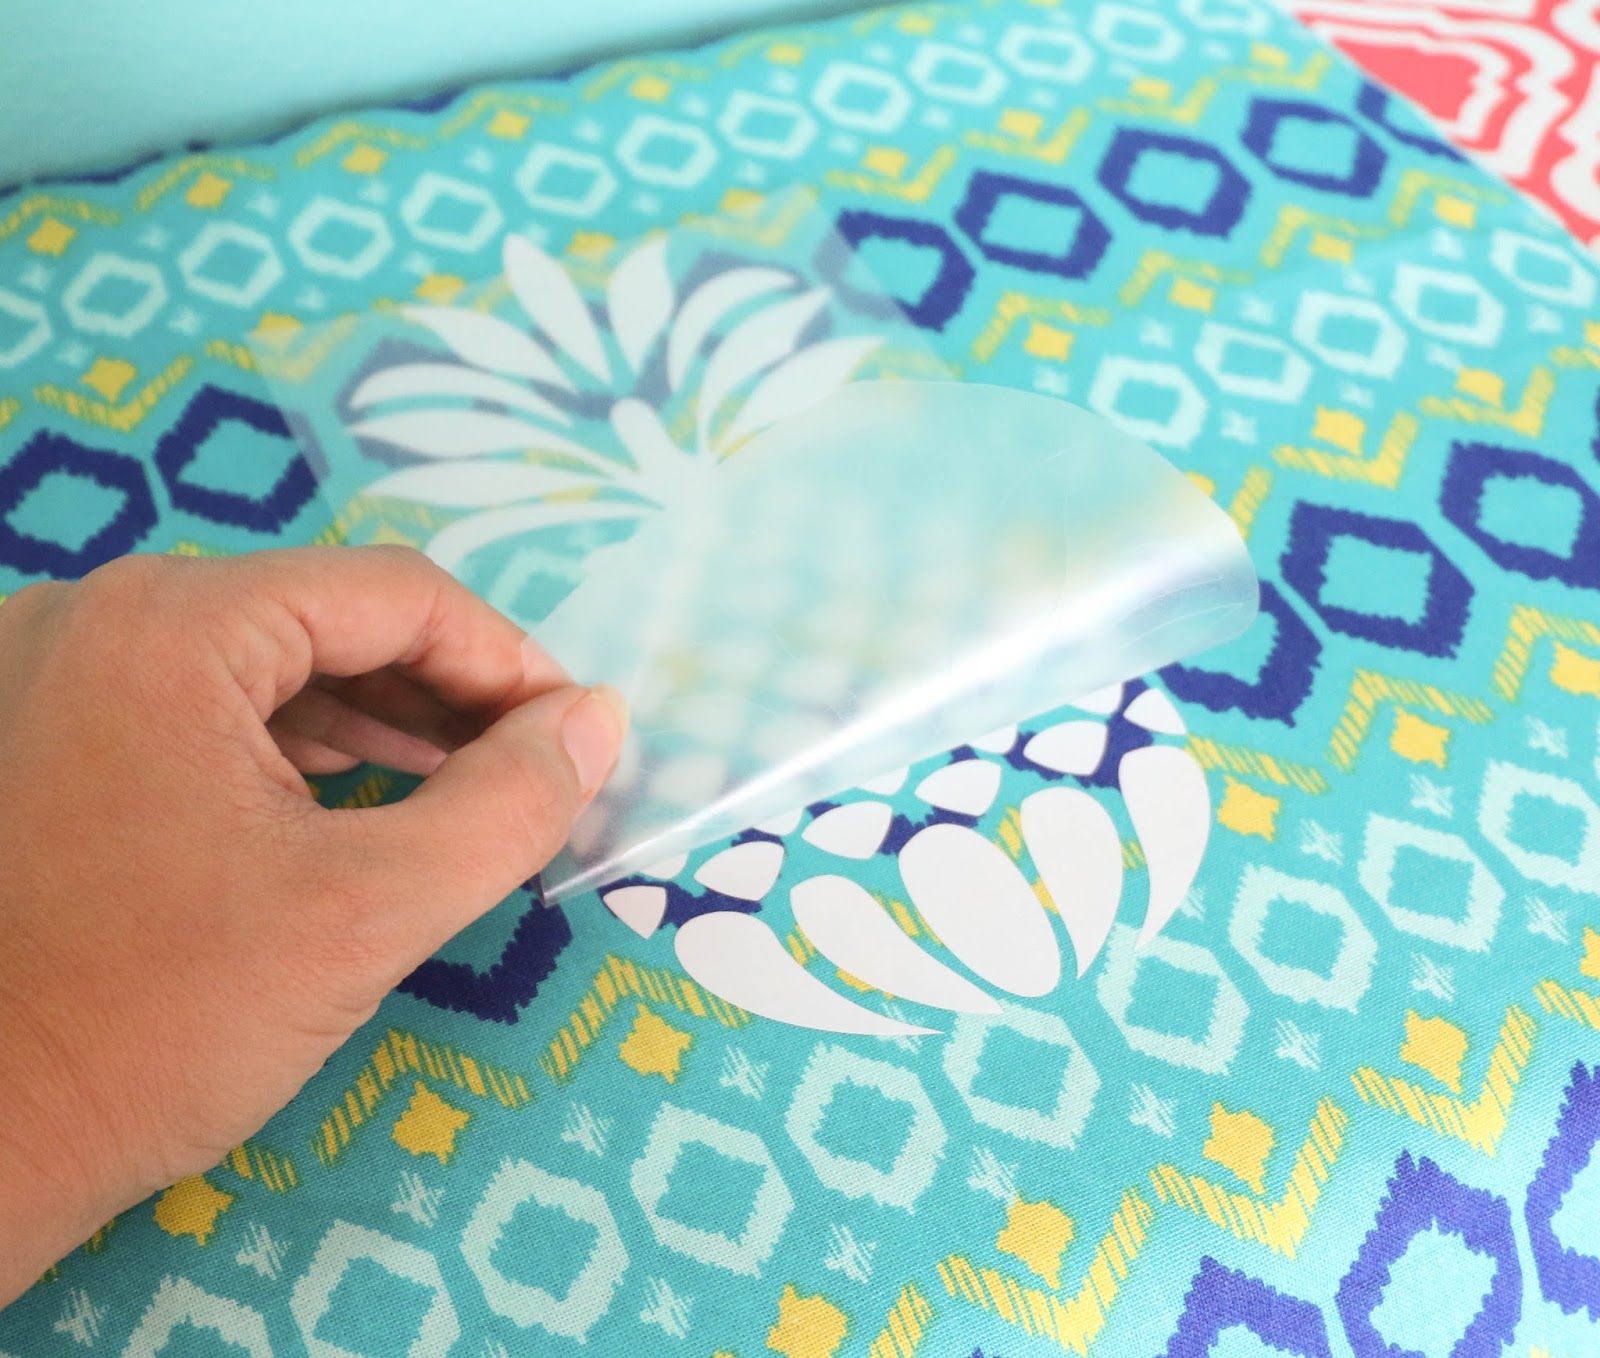
Once the fabric is cool, try to slowly peel the side of the plastic backing away from the pillow. The vinyl should remain on the fabric. If it doesn’t, you will need to put the plastic back down and iron again. Repeat this process until the vinyl stays on the fabric. Just remember to let the fabric cool before peeling the backing away.
Now that your image is on the pillow, is it time to seal the edges. Iron the Heat and Bond tape around the edges of the fabric (on the outside of the fabric) according to the package directions. You will not need to have the iron on the tape for more than a couple seconds.

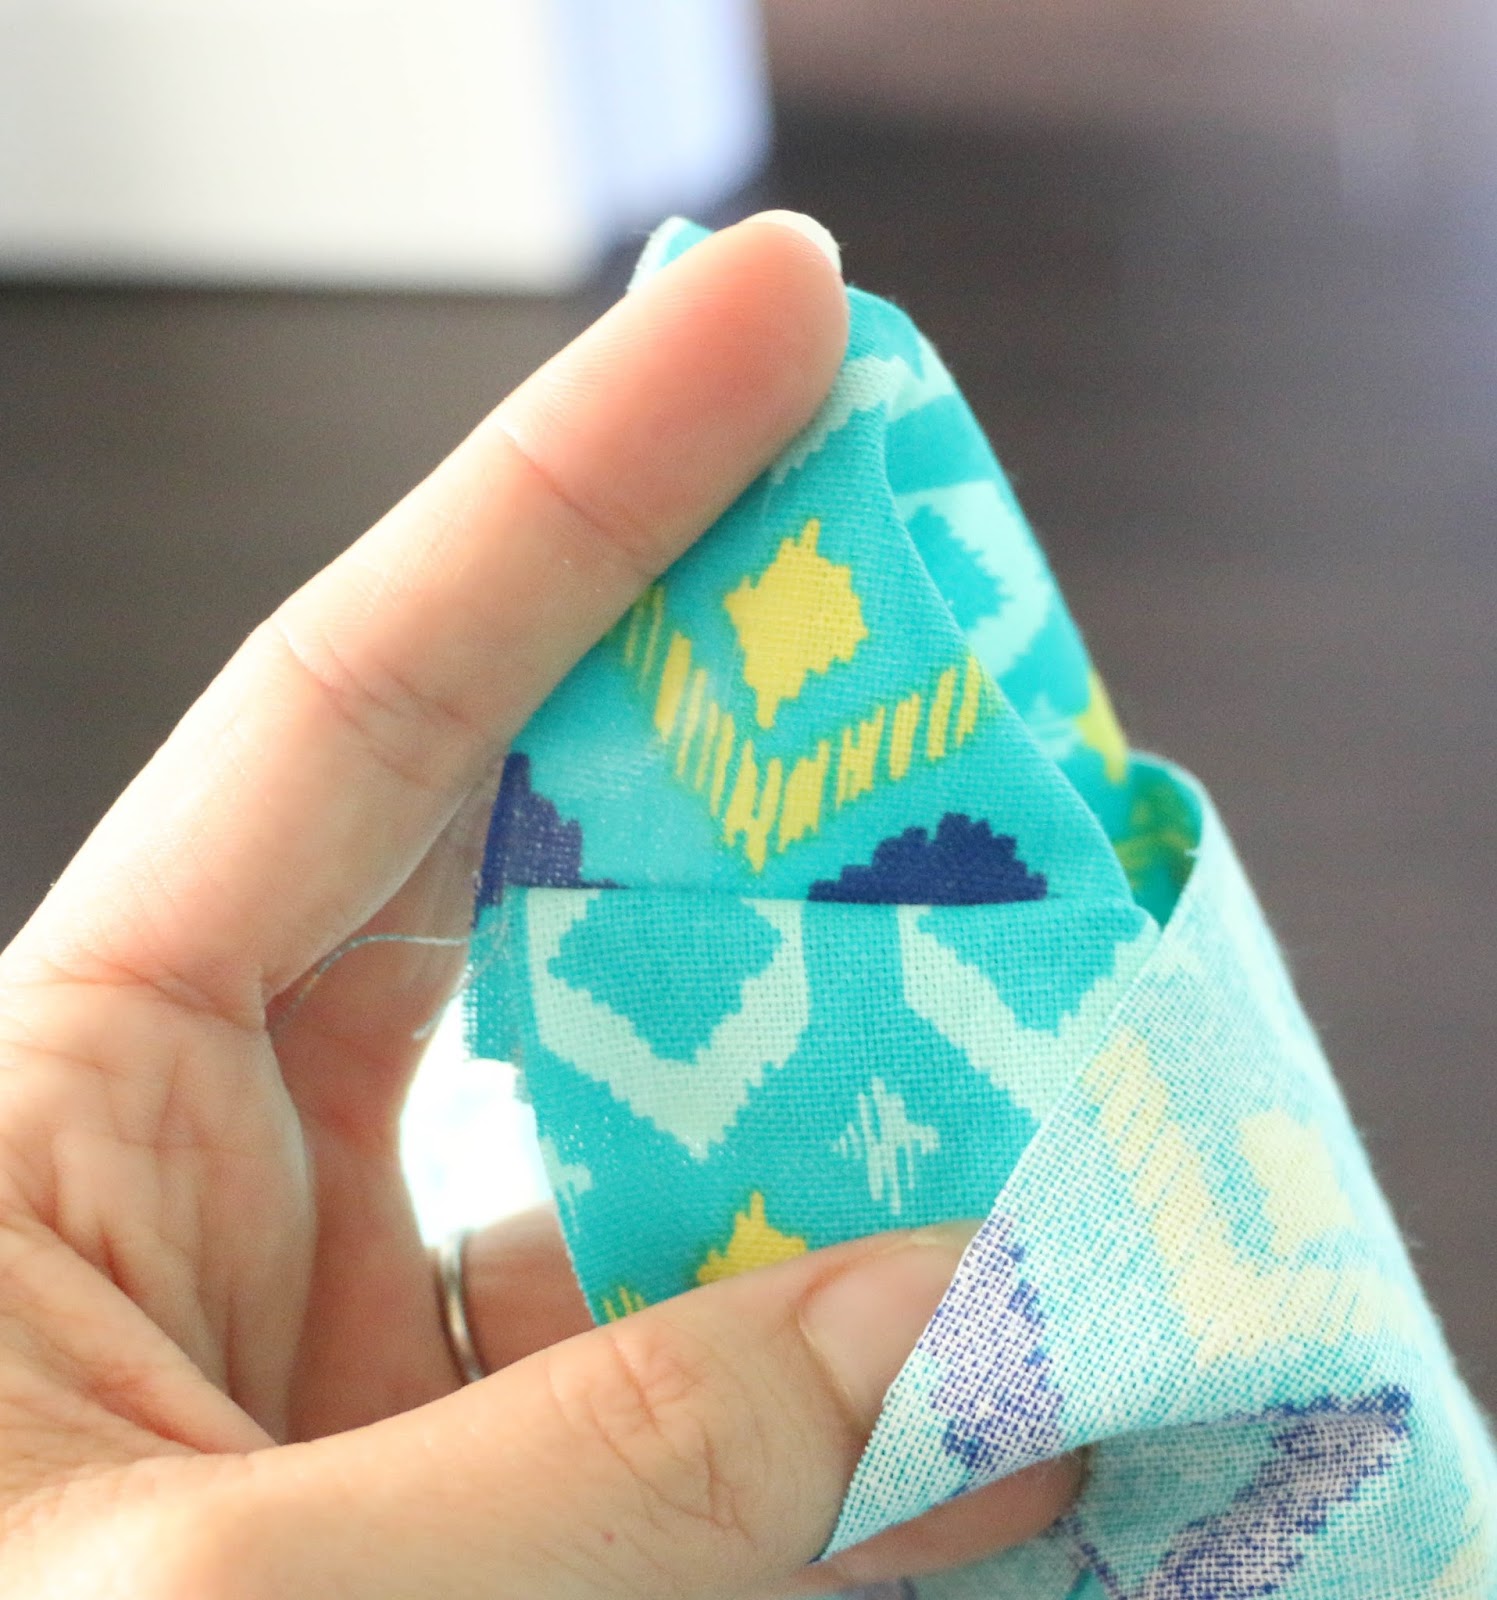
Once the tape is ironed on and cooled, gently peel the paper backing away and place the other piece of your fabric on the pineapple piece. Making sure the outside of fabrics are facing each other. Now your will need to iron the edges of the fabric together to seal them. Make sure to leave one side of the case open so that you can insert the pillow.

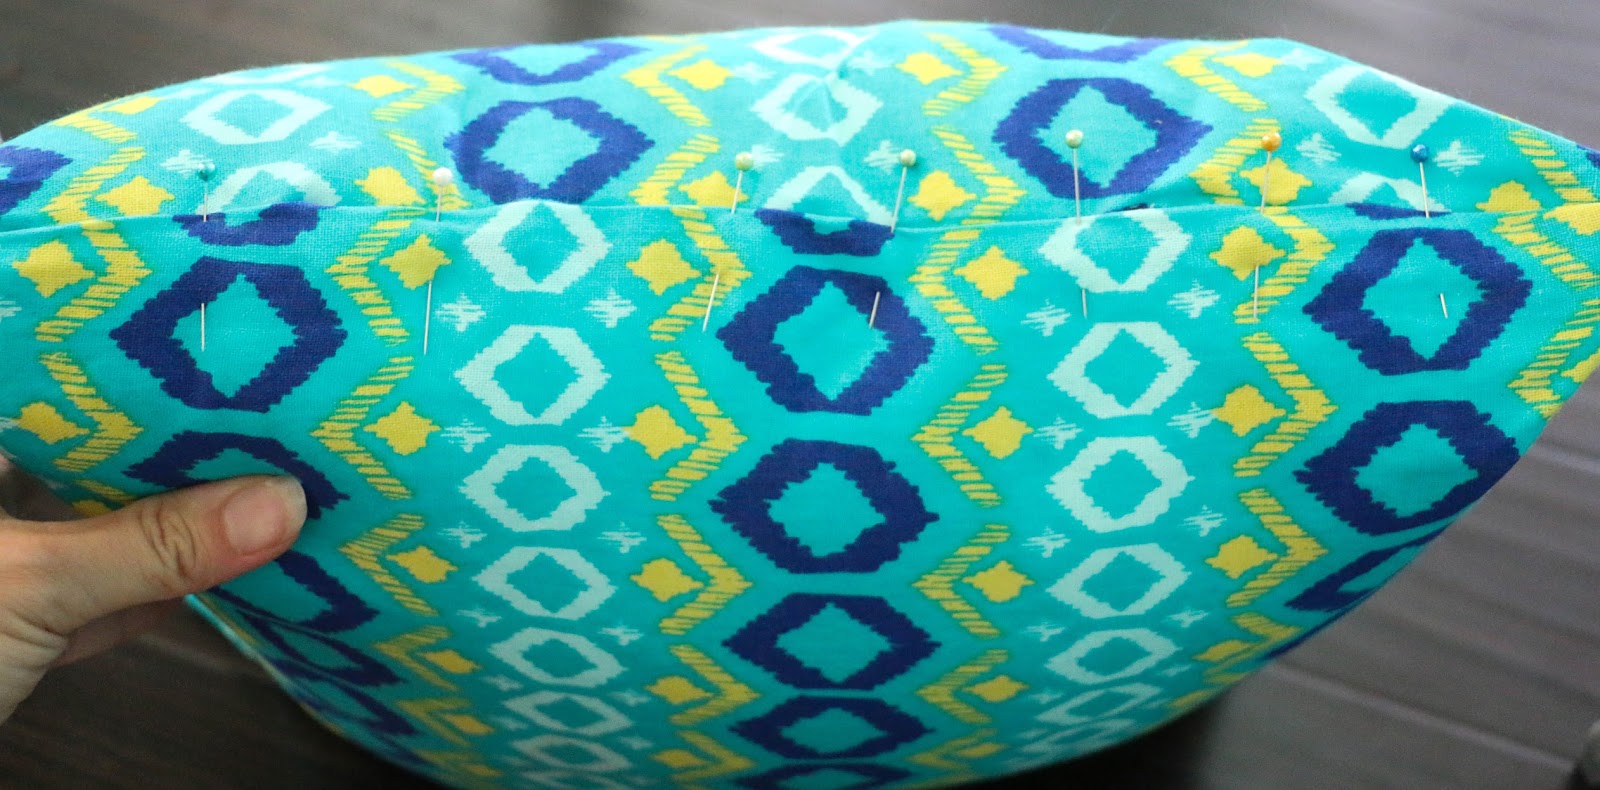
Once your sides are sealed and the fabric has cooled, you can turn your case inside out and insert the pillow. Then pin the last side seam together and gently iron it to seal the pillow closed. While the Heat and Bond is hot, it will not hold the seam closed (that is why you need the pins), so be sure to wait until it is cooled to remove the pins from your pillow.
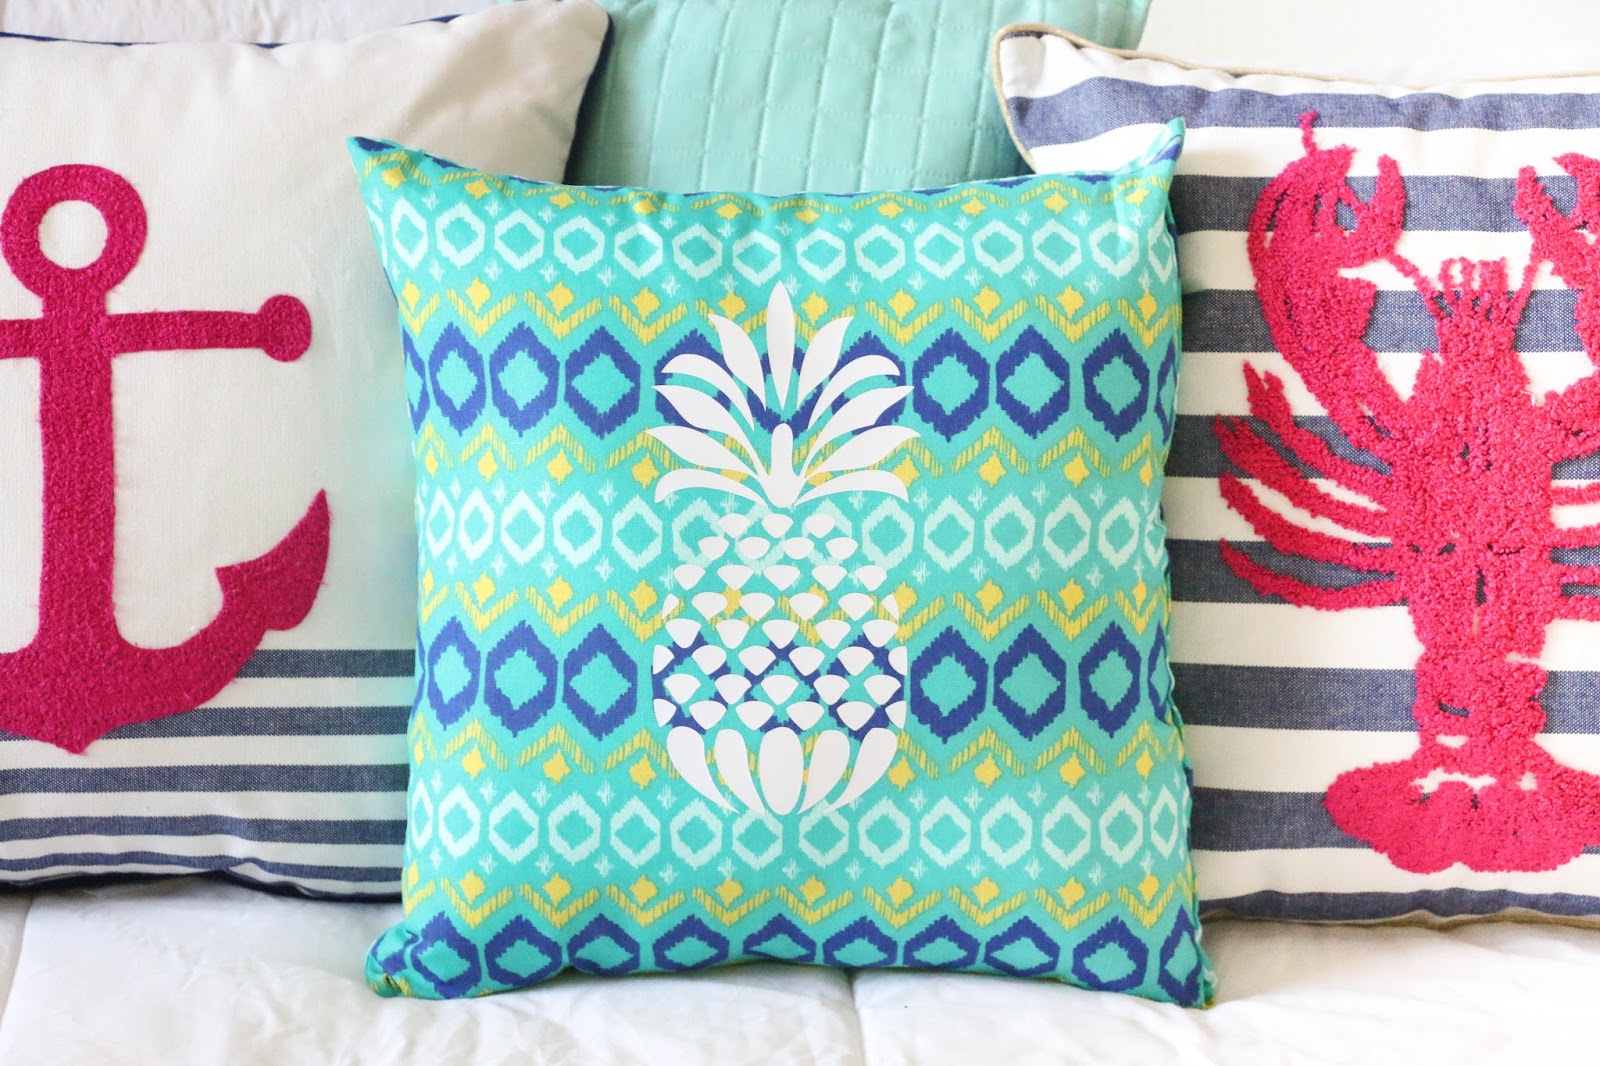
And that is it. You now have a fun summer pillow to add to your bed or couch.
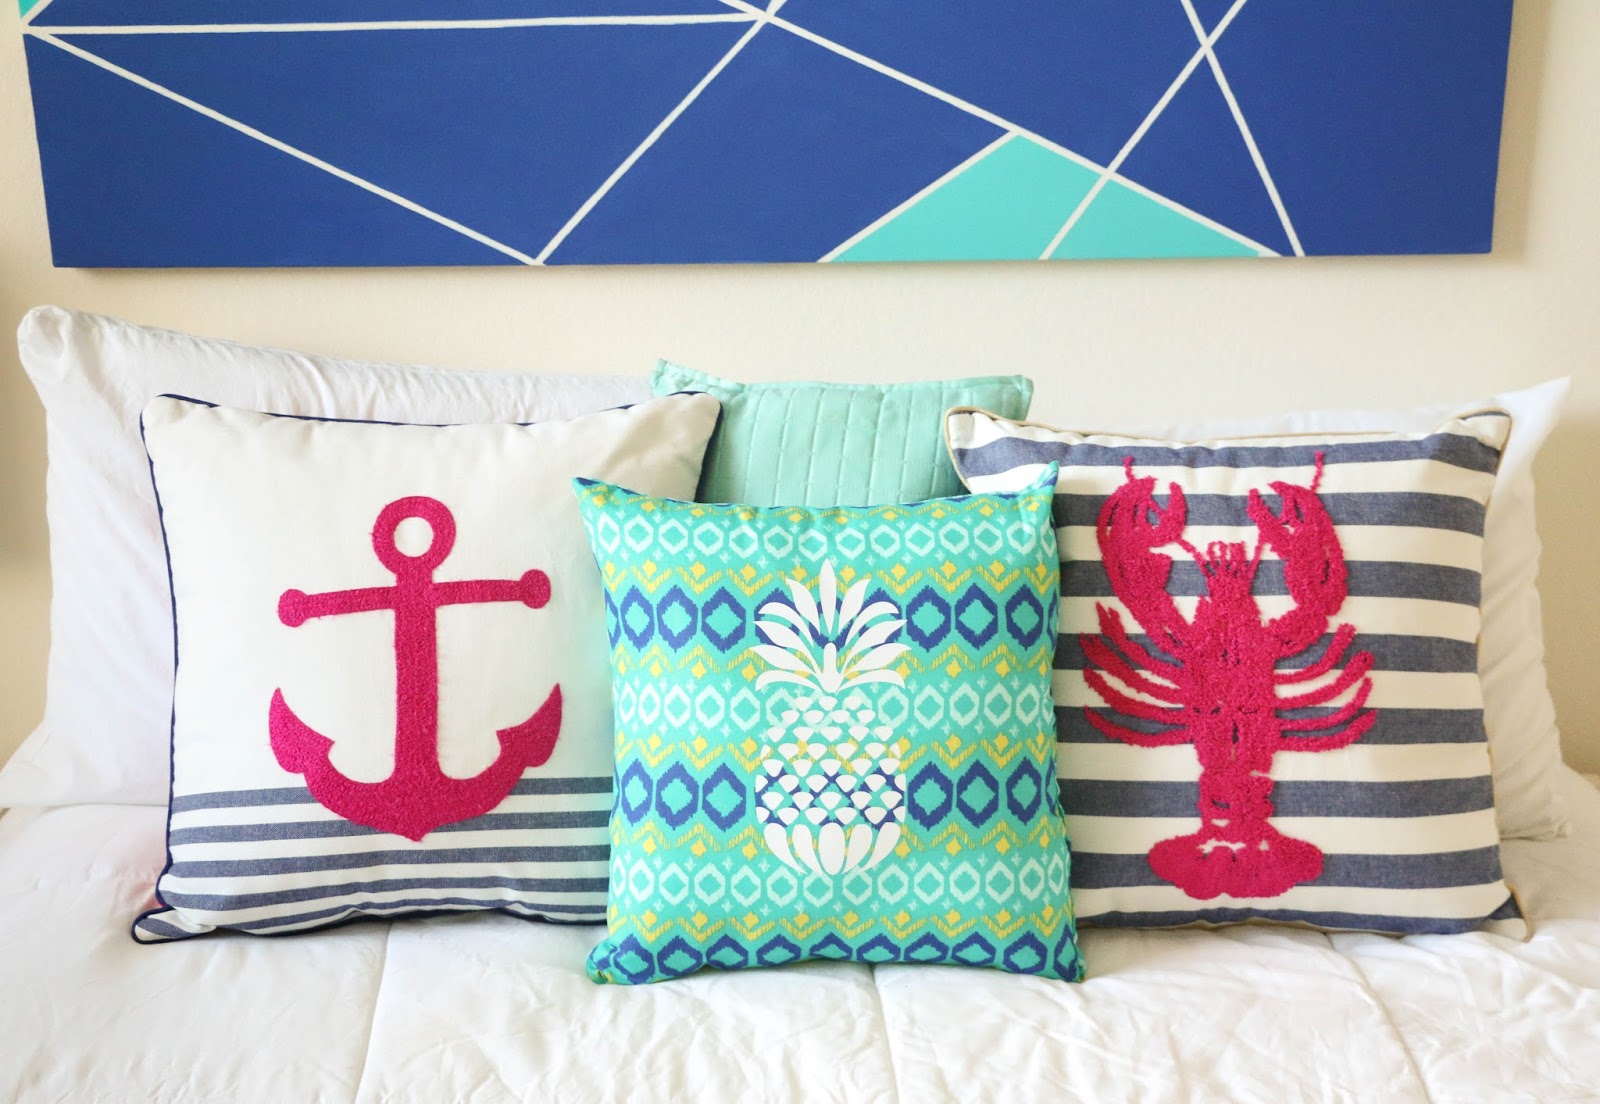
If you have a sewing machine, you could easily sew the pillow instead, but even if you don’t you can still make fun custom pillows for your home! This project was so fun and quick, that I think some fun holiday themed pillows might be in my future.


