Then I had a brilliant, yet not really recommended, idea for using the existing foyer light canopy and chain and just cutting the hardwired cord and splicing it with the new light fixture cord. Now, as a warning, I am not an electrician and don’t want to give you the go ahead to do this in your own home, I am just sharing what we did for informational purposes. That being said, here is what we did to install our new light.
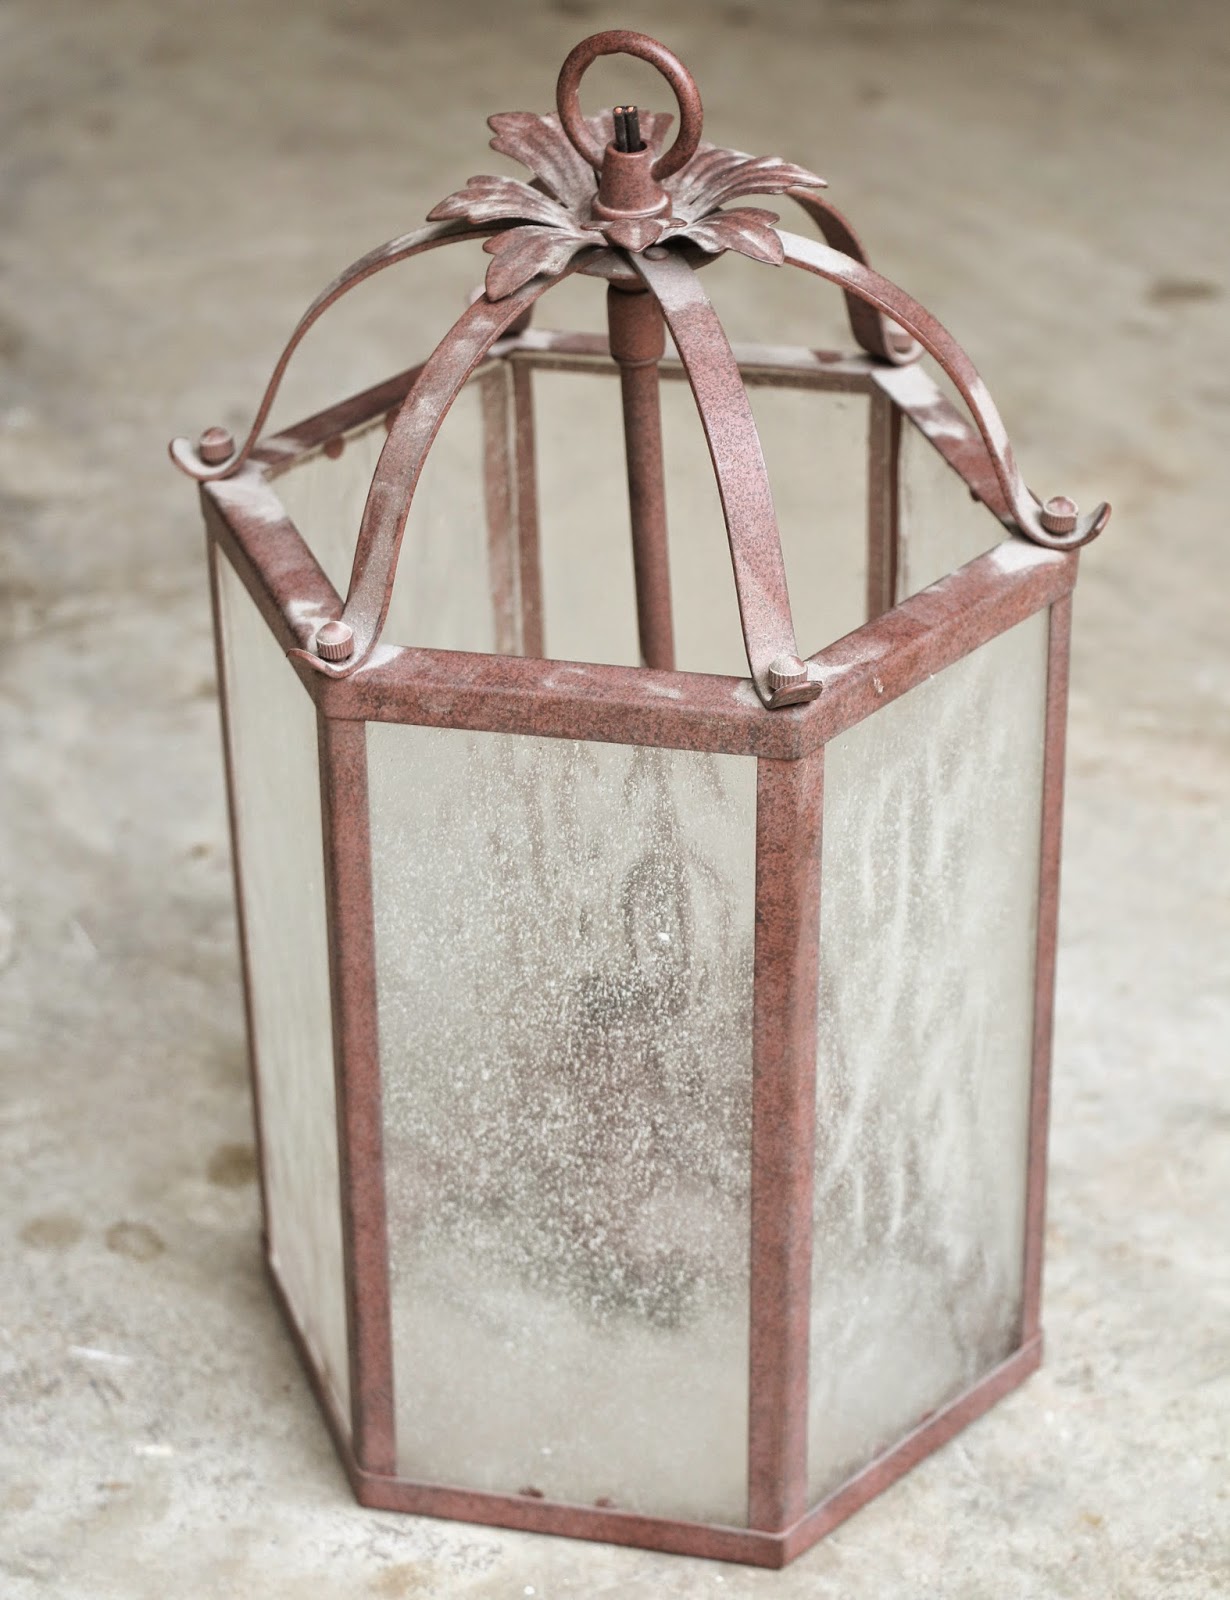
Here is the existing pendant fixture. Yeah, that guy is gross and tiny and didn’t work well to light up the foyer at all.
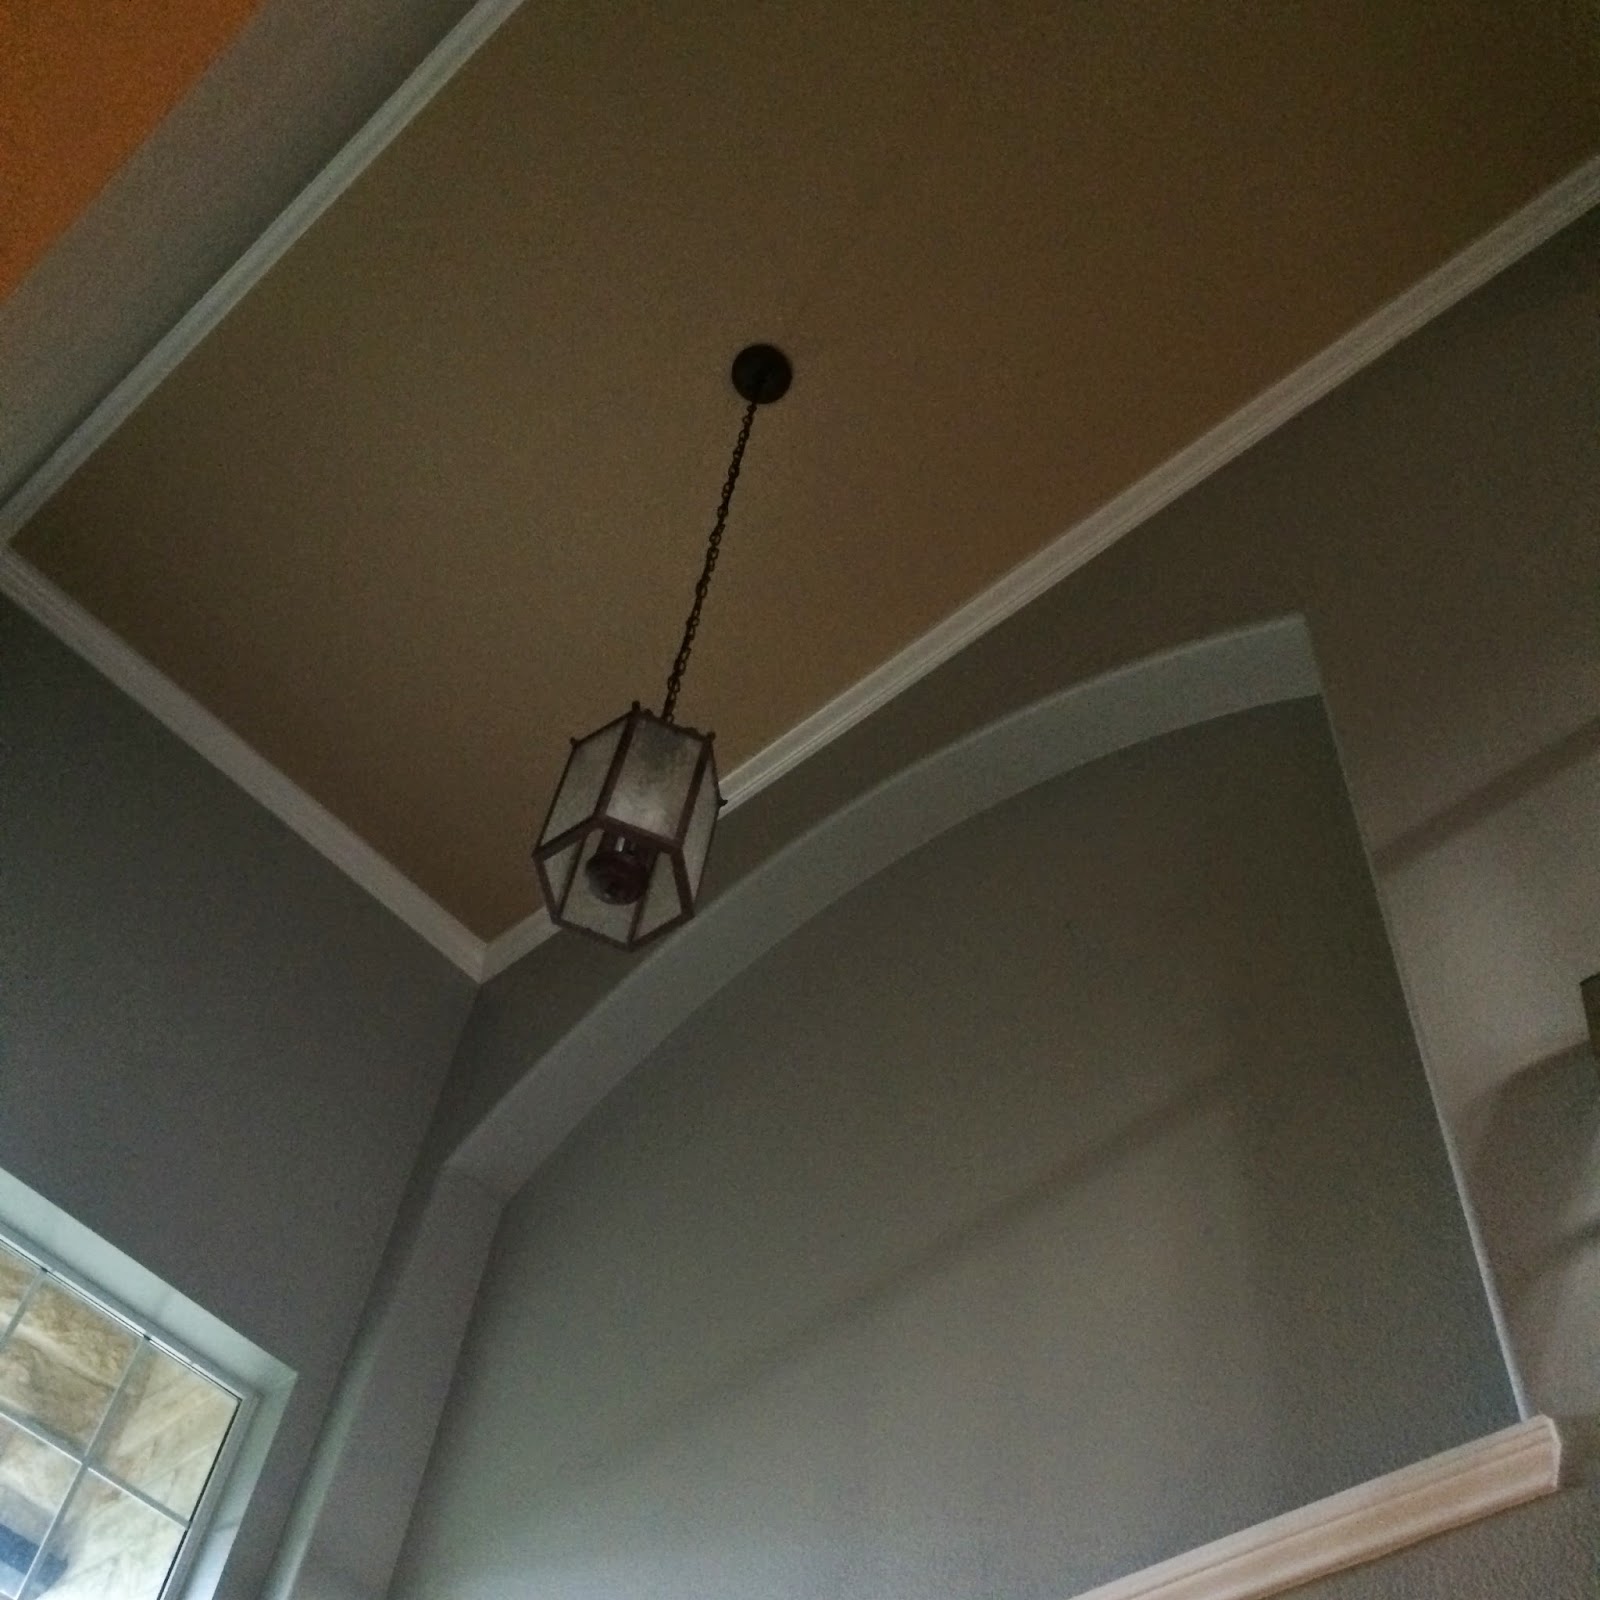
The first thing we did was cut the power on the breaker for this light, then we put the extension ladder up on the wall between the light and the balcony overlook. As my husband stood on the balcony and I was on the ladder, we used a hanger to hook the light and bring it over to us. We unscrewed the ring attachment on the old light fixture that attached the pendant to the chain. When this ring was off, I was able to slip off the nut and ground wire that was attached between the ring and the pendant. I then used wire cutters to cut the hardwire and free the pendant. I separated the hot and neutral wires in the hardwired cord and stripped about 1/3″ off the ends of each.
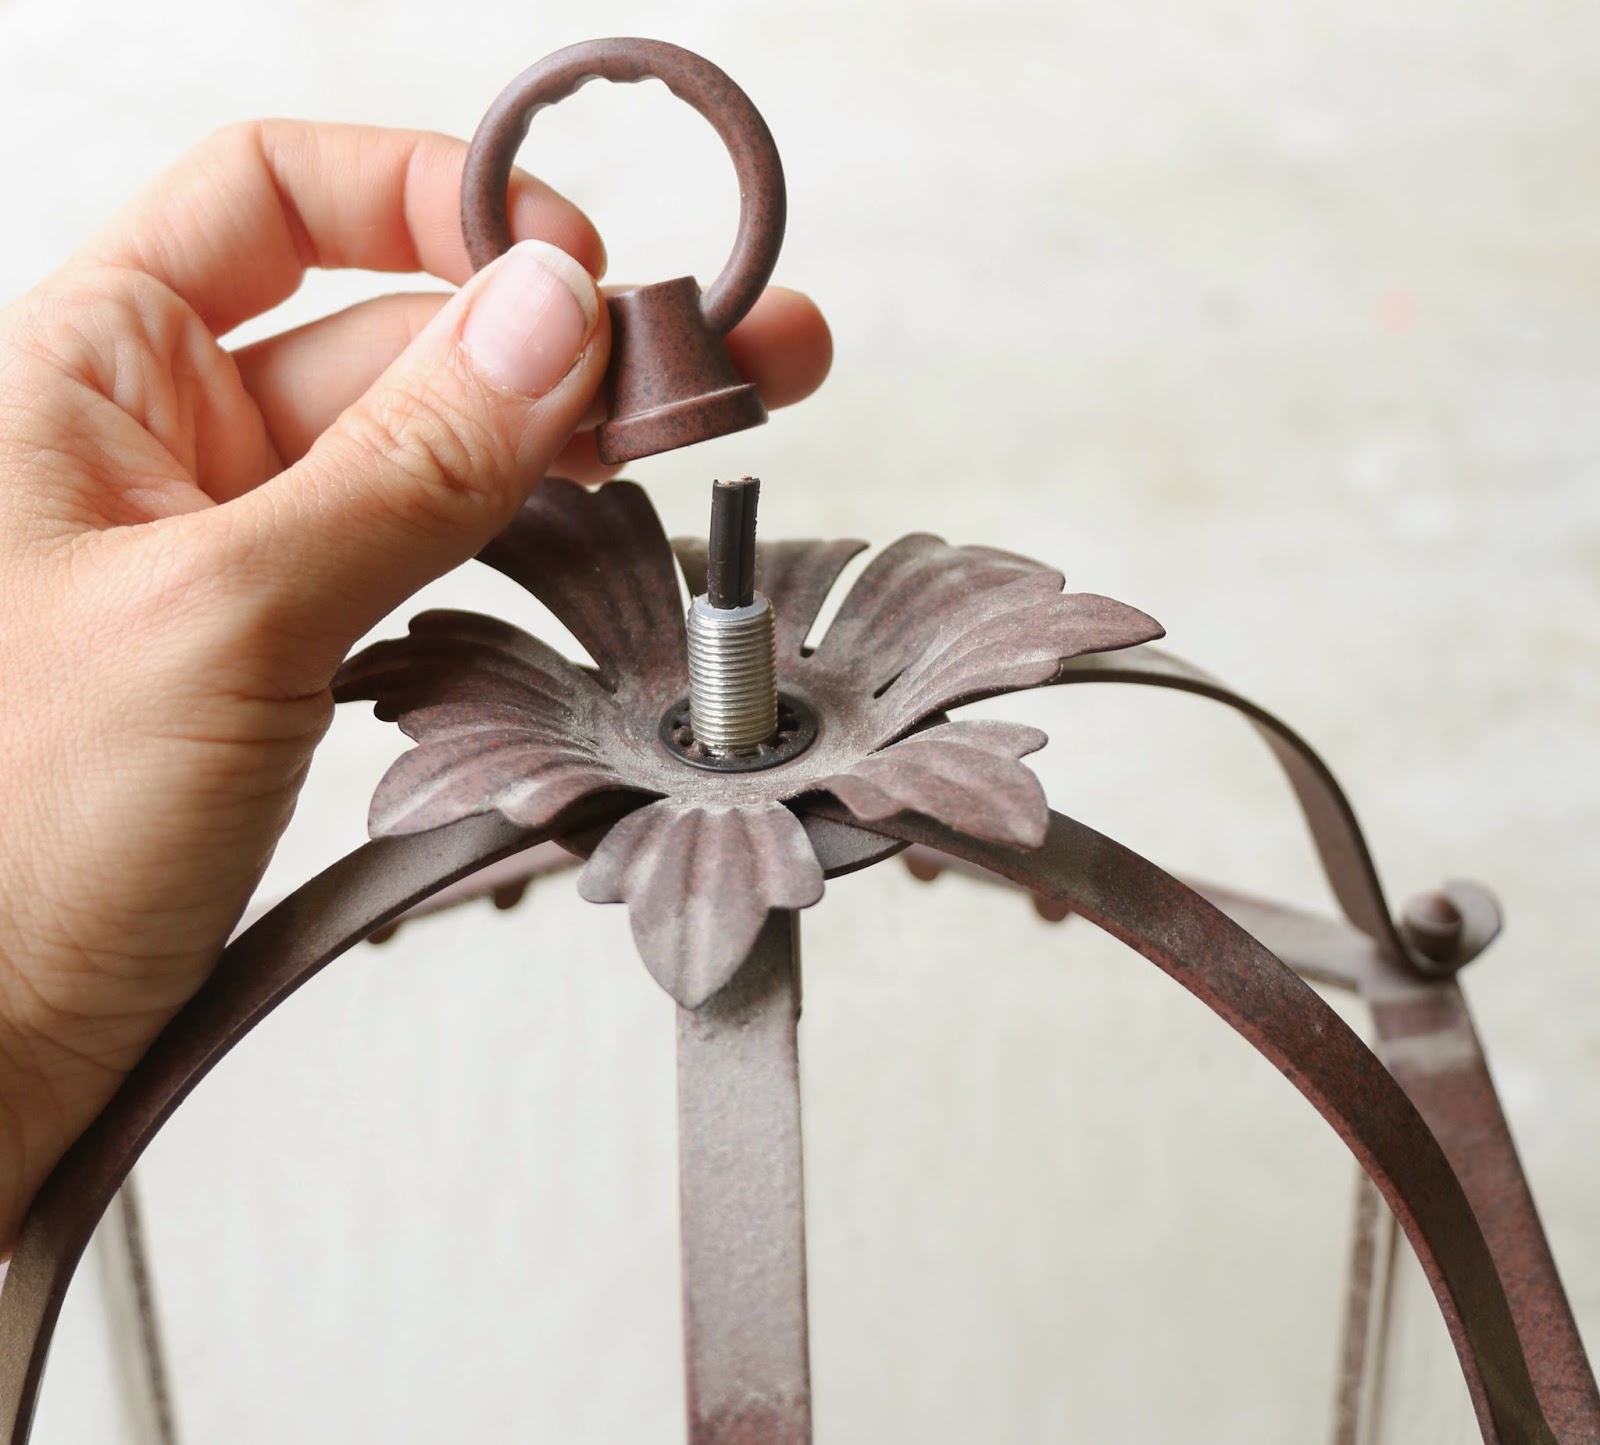

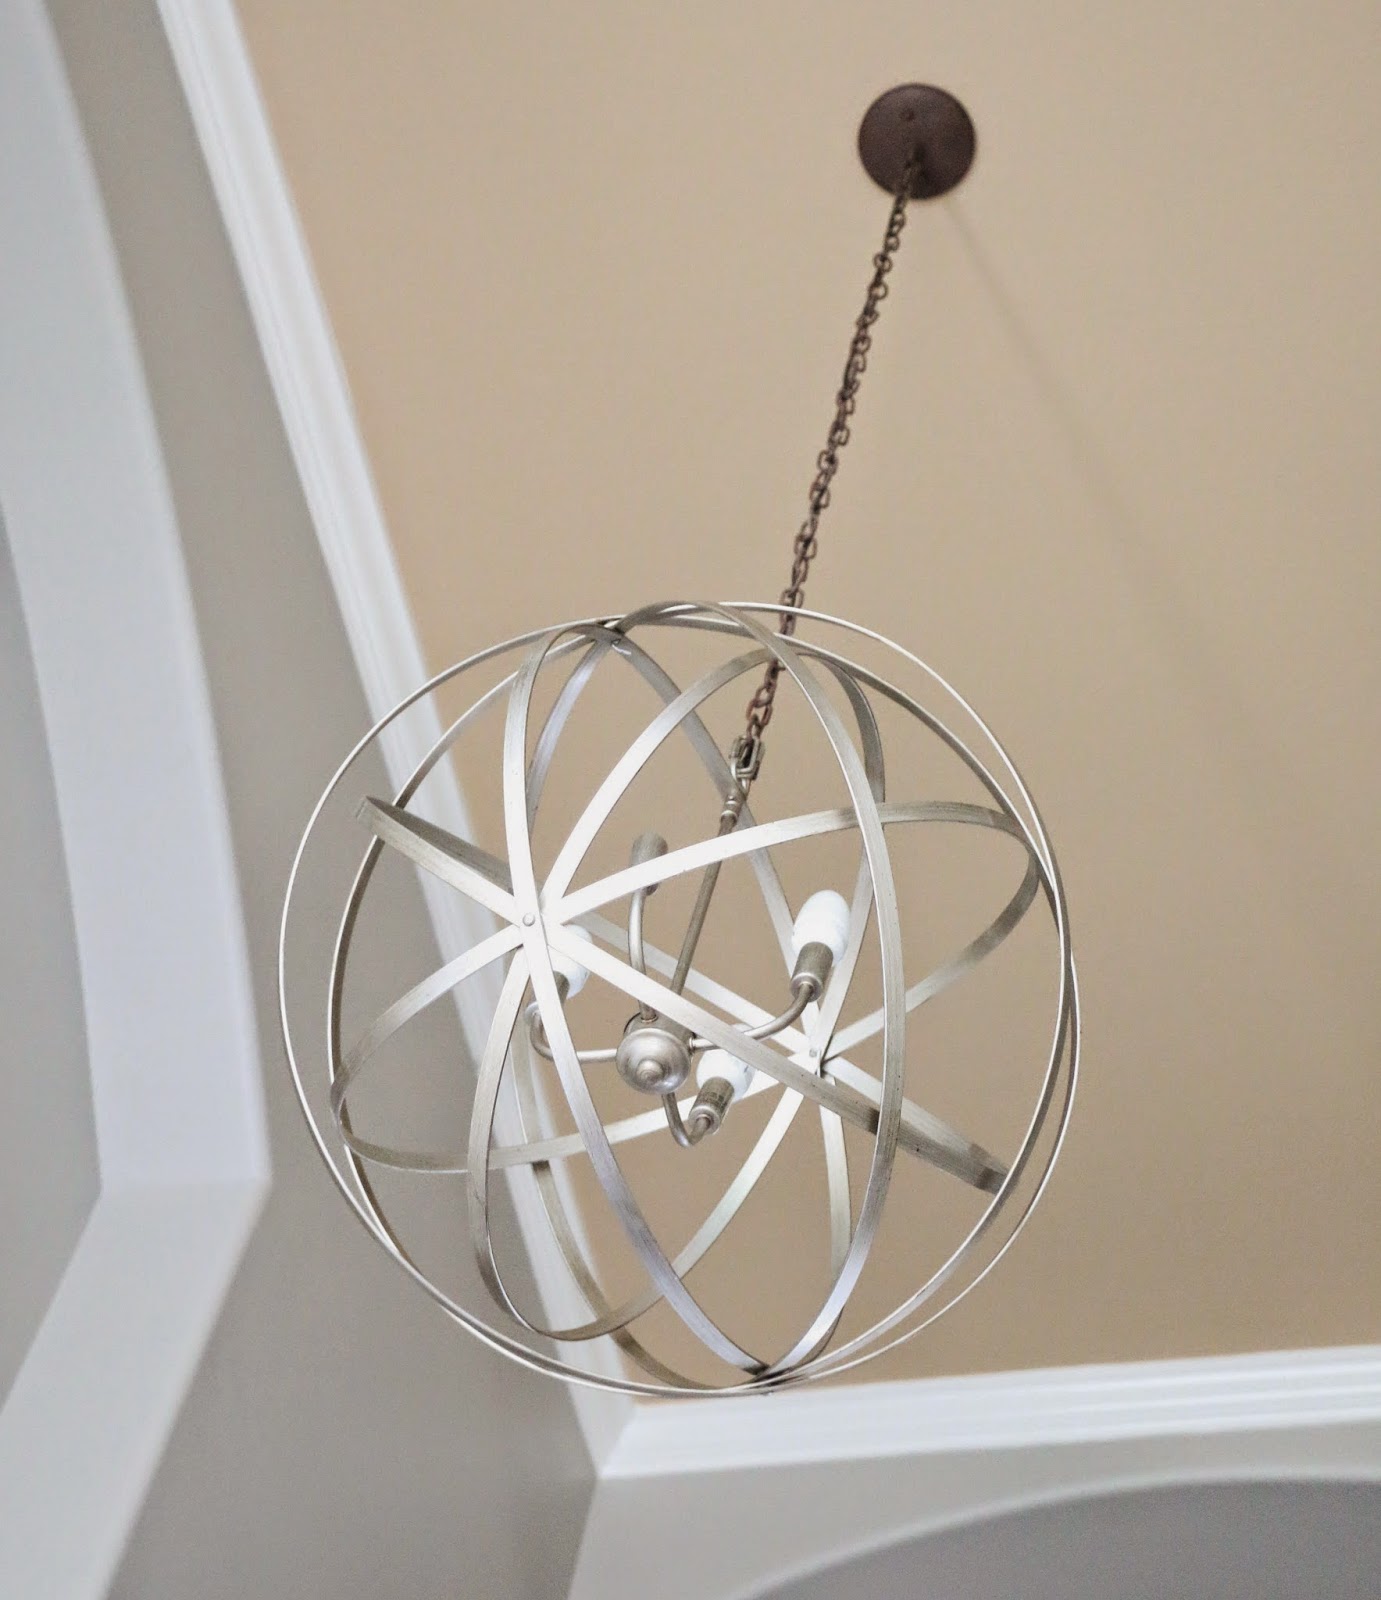
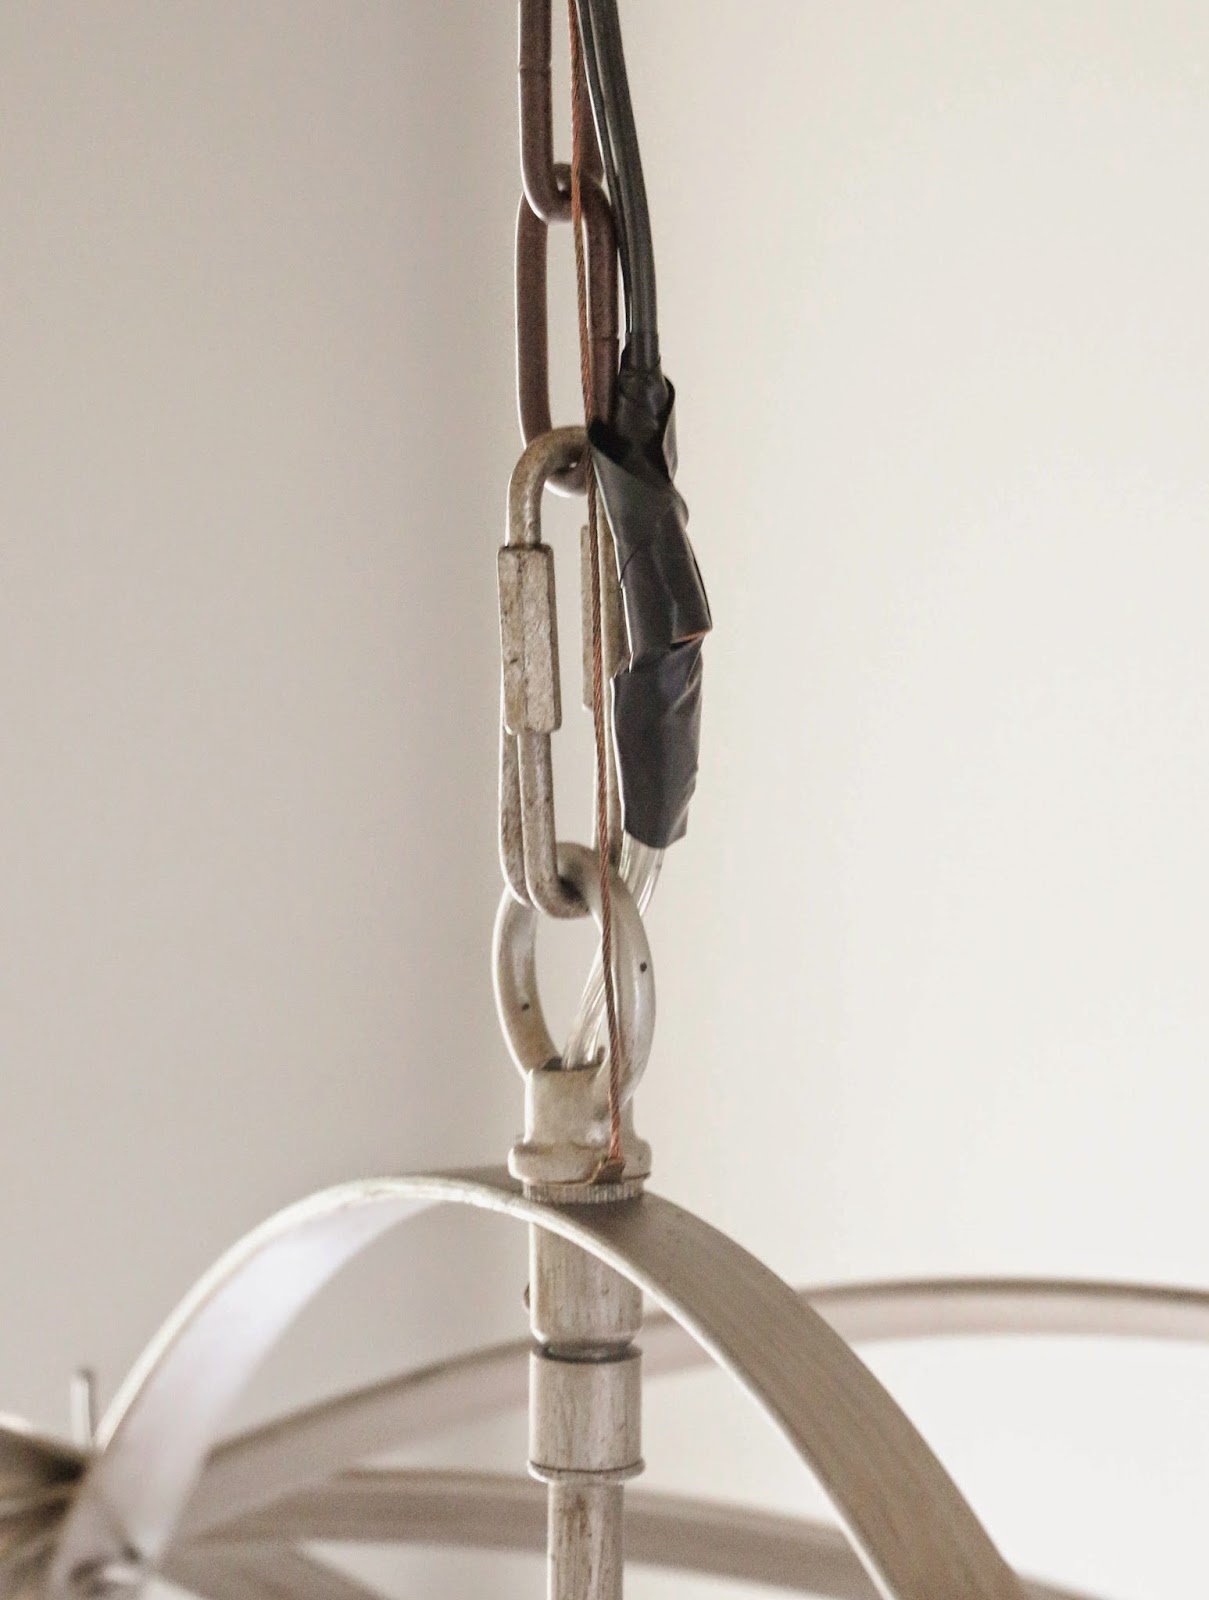
Now came time to install the new fixture. I cut the wire cord on the new fixture (making sure to give myself some slack in case I needed it when connecting it to the existing canopy wires), split and stripped each wire in the new fixture hardwire line, and removed the ring and ground wire. I then slipped the ground wire washer from the old light fixture over the bolt on the new light and reconnected the ring. Next I used a carabiner that came with the new light fixture to attach the ring portion of the new light to the existing chain attached to the ceiling canopy. This made the new fixture attached to the ceiling, so all that was left was to attached the live wires to each other and the neutral wires to each other. Usually they are marked back and white, but since I was cutting the hardwire cords and splicing them, I had to guess at which was which. One wire from each hardwire line had voltage and other electrical info written on them, so I guessed that these were the black live wires and the others were the neutral white wires which turned out to be correct. I used the small wire nuts included in the new light fixture parts to attach the two live wires to each other and the two neutral wires to each other. Then I used black electrical tape to wrap each wire nut and attach it to the hardwire line. This helped to conceal my hardwire hack.
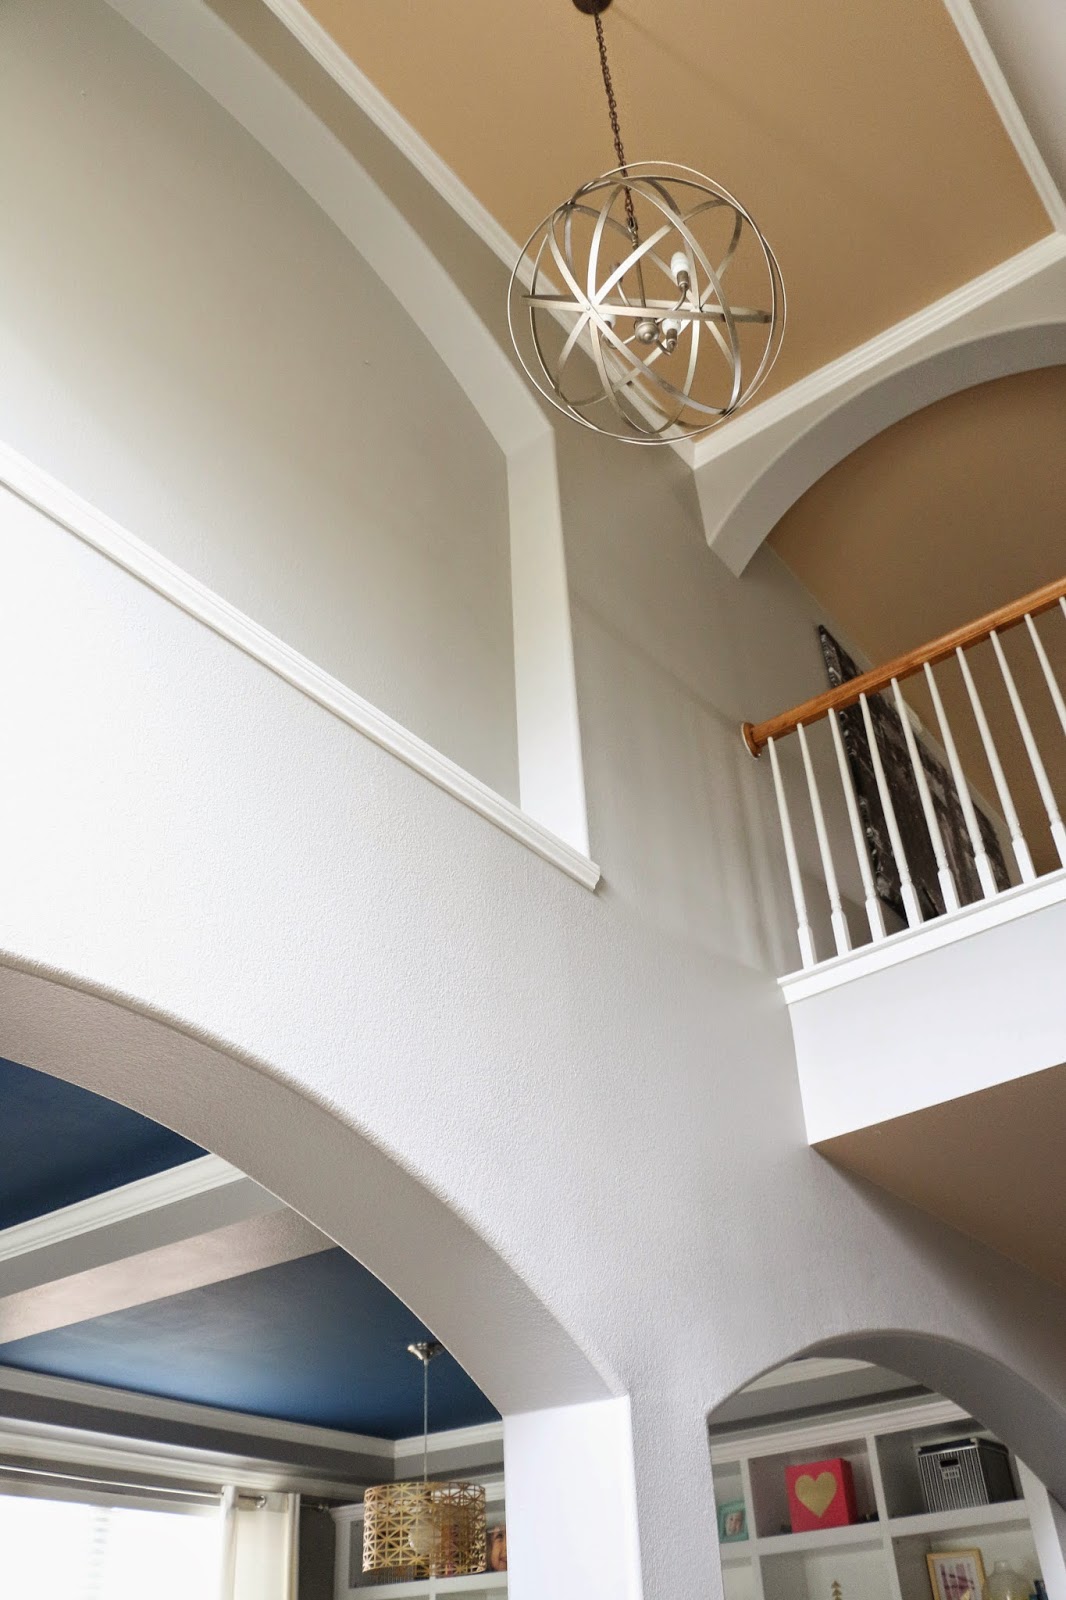
The only thing left was to turn the power back on and admire my new foyer light. The only real issue with this method (aside from the fact that the two wires are spliced together outside of the ceiling canopy) is that the chain and ceiling canopy are a different color than the new light fixture. Normally this would bother me, but the light is so high up, it really is hard to tell from the ground. Eventually we plan on repainting the ceilings here and in our living room, and we will need scaffolding for that, so we can always change those out at that time. Otherwise, I am happy that we finally were able to get this light up and didn’t have to rent a large lift just to do it.